Shops
Stores/shops that you own can be added in this section, and all of them can be operated centrally from one location.
The admin or the designated person can operate the stores/shops as decided and directed by the admin.
Go to Setup then Shops.
Here all the basic information about your stores can be set by you. Add/Edit the shop.
Basic Information
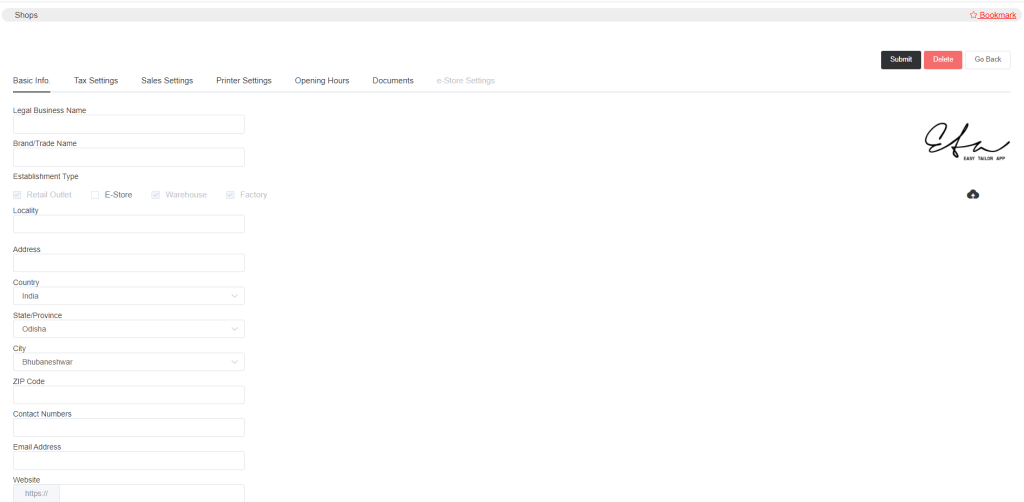
Enter the basic information about the shop like Legal Business Name, Brand Name, Establishment Type, Locality, Address, Country, etc.
- In Establishment Type, if your shop is a Retail Outlet then select the option as shown in the image. If it is a Warehouse or Factory, select them accordingly. Also if you have made it your e-store then you may select that too.
- Note that if your shop is a ‘Retail Outlet’ and its warehouse and factory are somewhere else then you do not need to select the ‘Warehouse‘ and ‘Factory‘ options. You only need to enter your ‘Warehouse’ and ‘Factory’ location name.
Also, note that if the Establishment Type is not Retail Outlet then the Tax Settings and Sales Settings will not appear.
Hence the Retail Outlet box is selected, in the image so the tax and sales settings are displayed.
You can also upload the logo of your business.
Click on the cloud icon to upload the brand logo.
Also, the sale invoice print information that is if you want to print the legal business name, brand name, locality name etc can be set from Setup->Preferences->Sales-Print Prefs.
Tax Settings
Next is the Tax Setting for the shop.
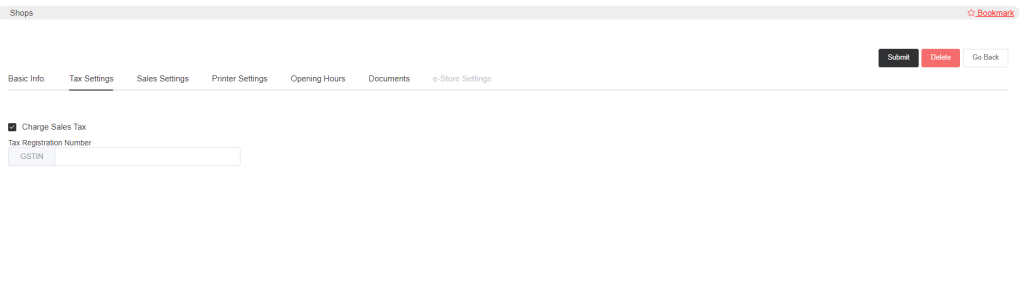
If you want to apply tax for sales, select Charge Sales Tax, and a column will appear, where you can set your Tax Registration Number. And now submit it.
Sales Settings
Then the sales settings of the shop. You get to add all the sales parameters.
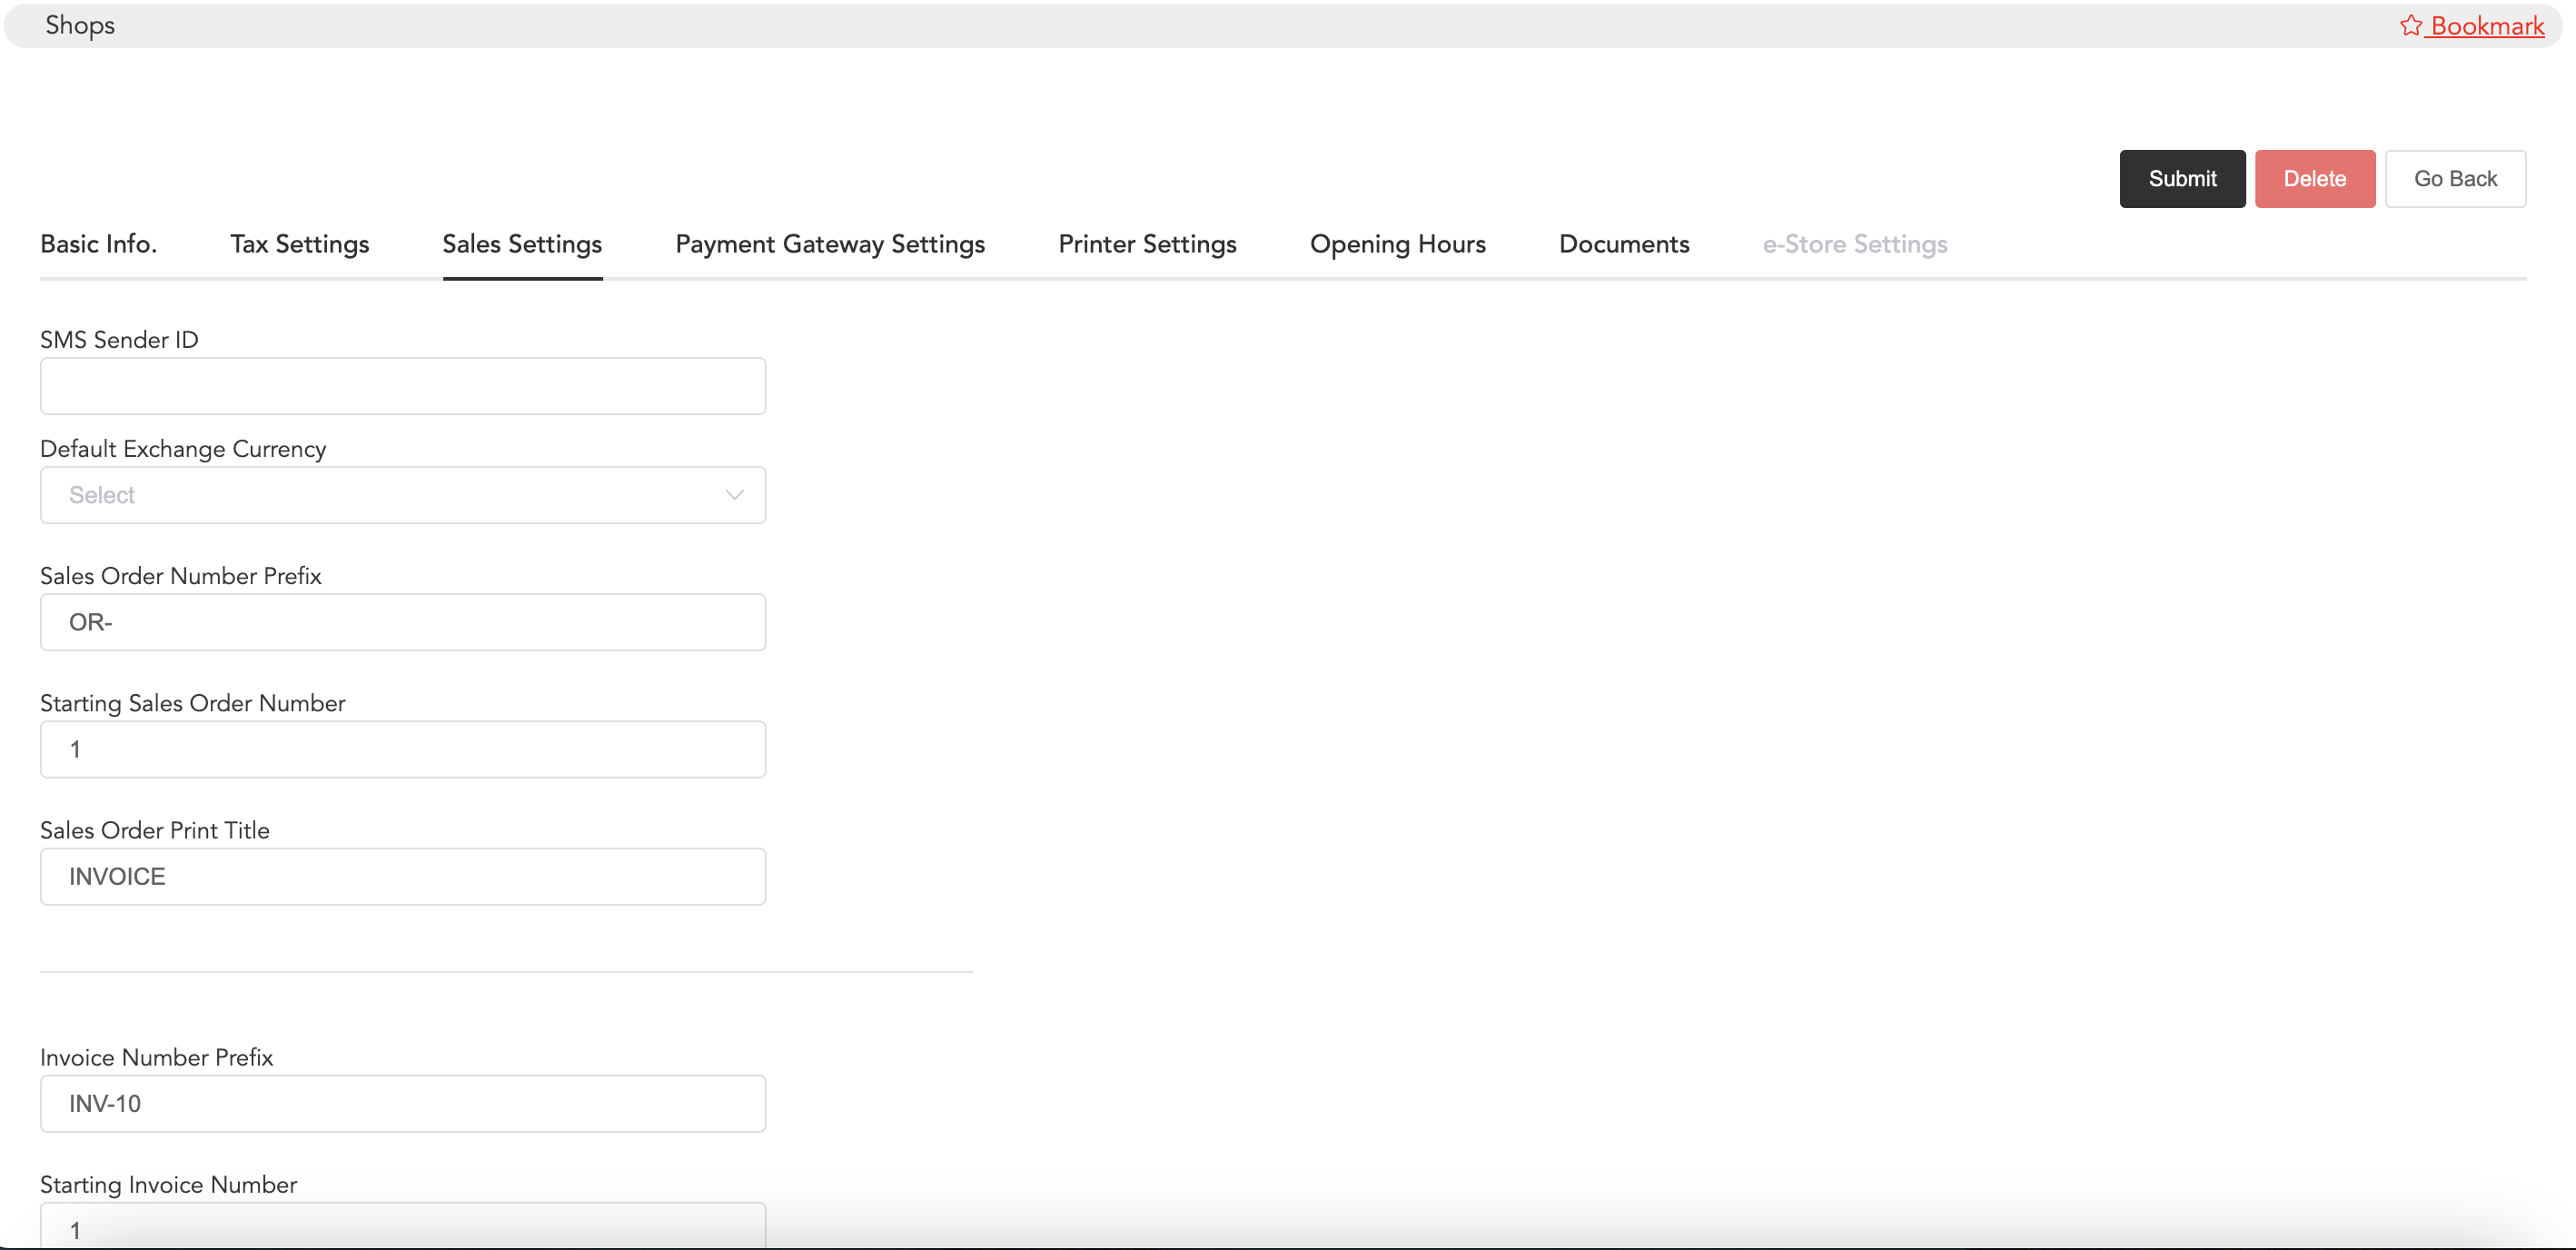
- If you set the SMS Sender ID, this will add the sender information to the message heading.
- Default Exchange Currency means that it can be made as the default currency, if you want to add another currency other than your shop’s standard currency then you can select that also.
- In the Sales Order Number Prefix Column, you can enter the prefix that you want in your order form. Similarly, you can set the Starting Sales Order Number. You can set any letter or number as a prefix and set any number as a starting number.
- Also, you can set the print title of your order. That title will get printed on the order form.
- In the same way as order, you can set invoice number prefix and starting number.
Payment Gateway Settings
E-payments can be enabled and you can receive money by sharing the e-payment link with the customers. And for each store, you can enable the e-payment.
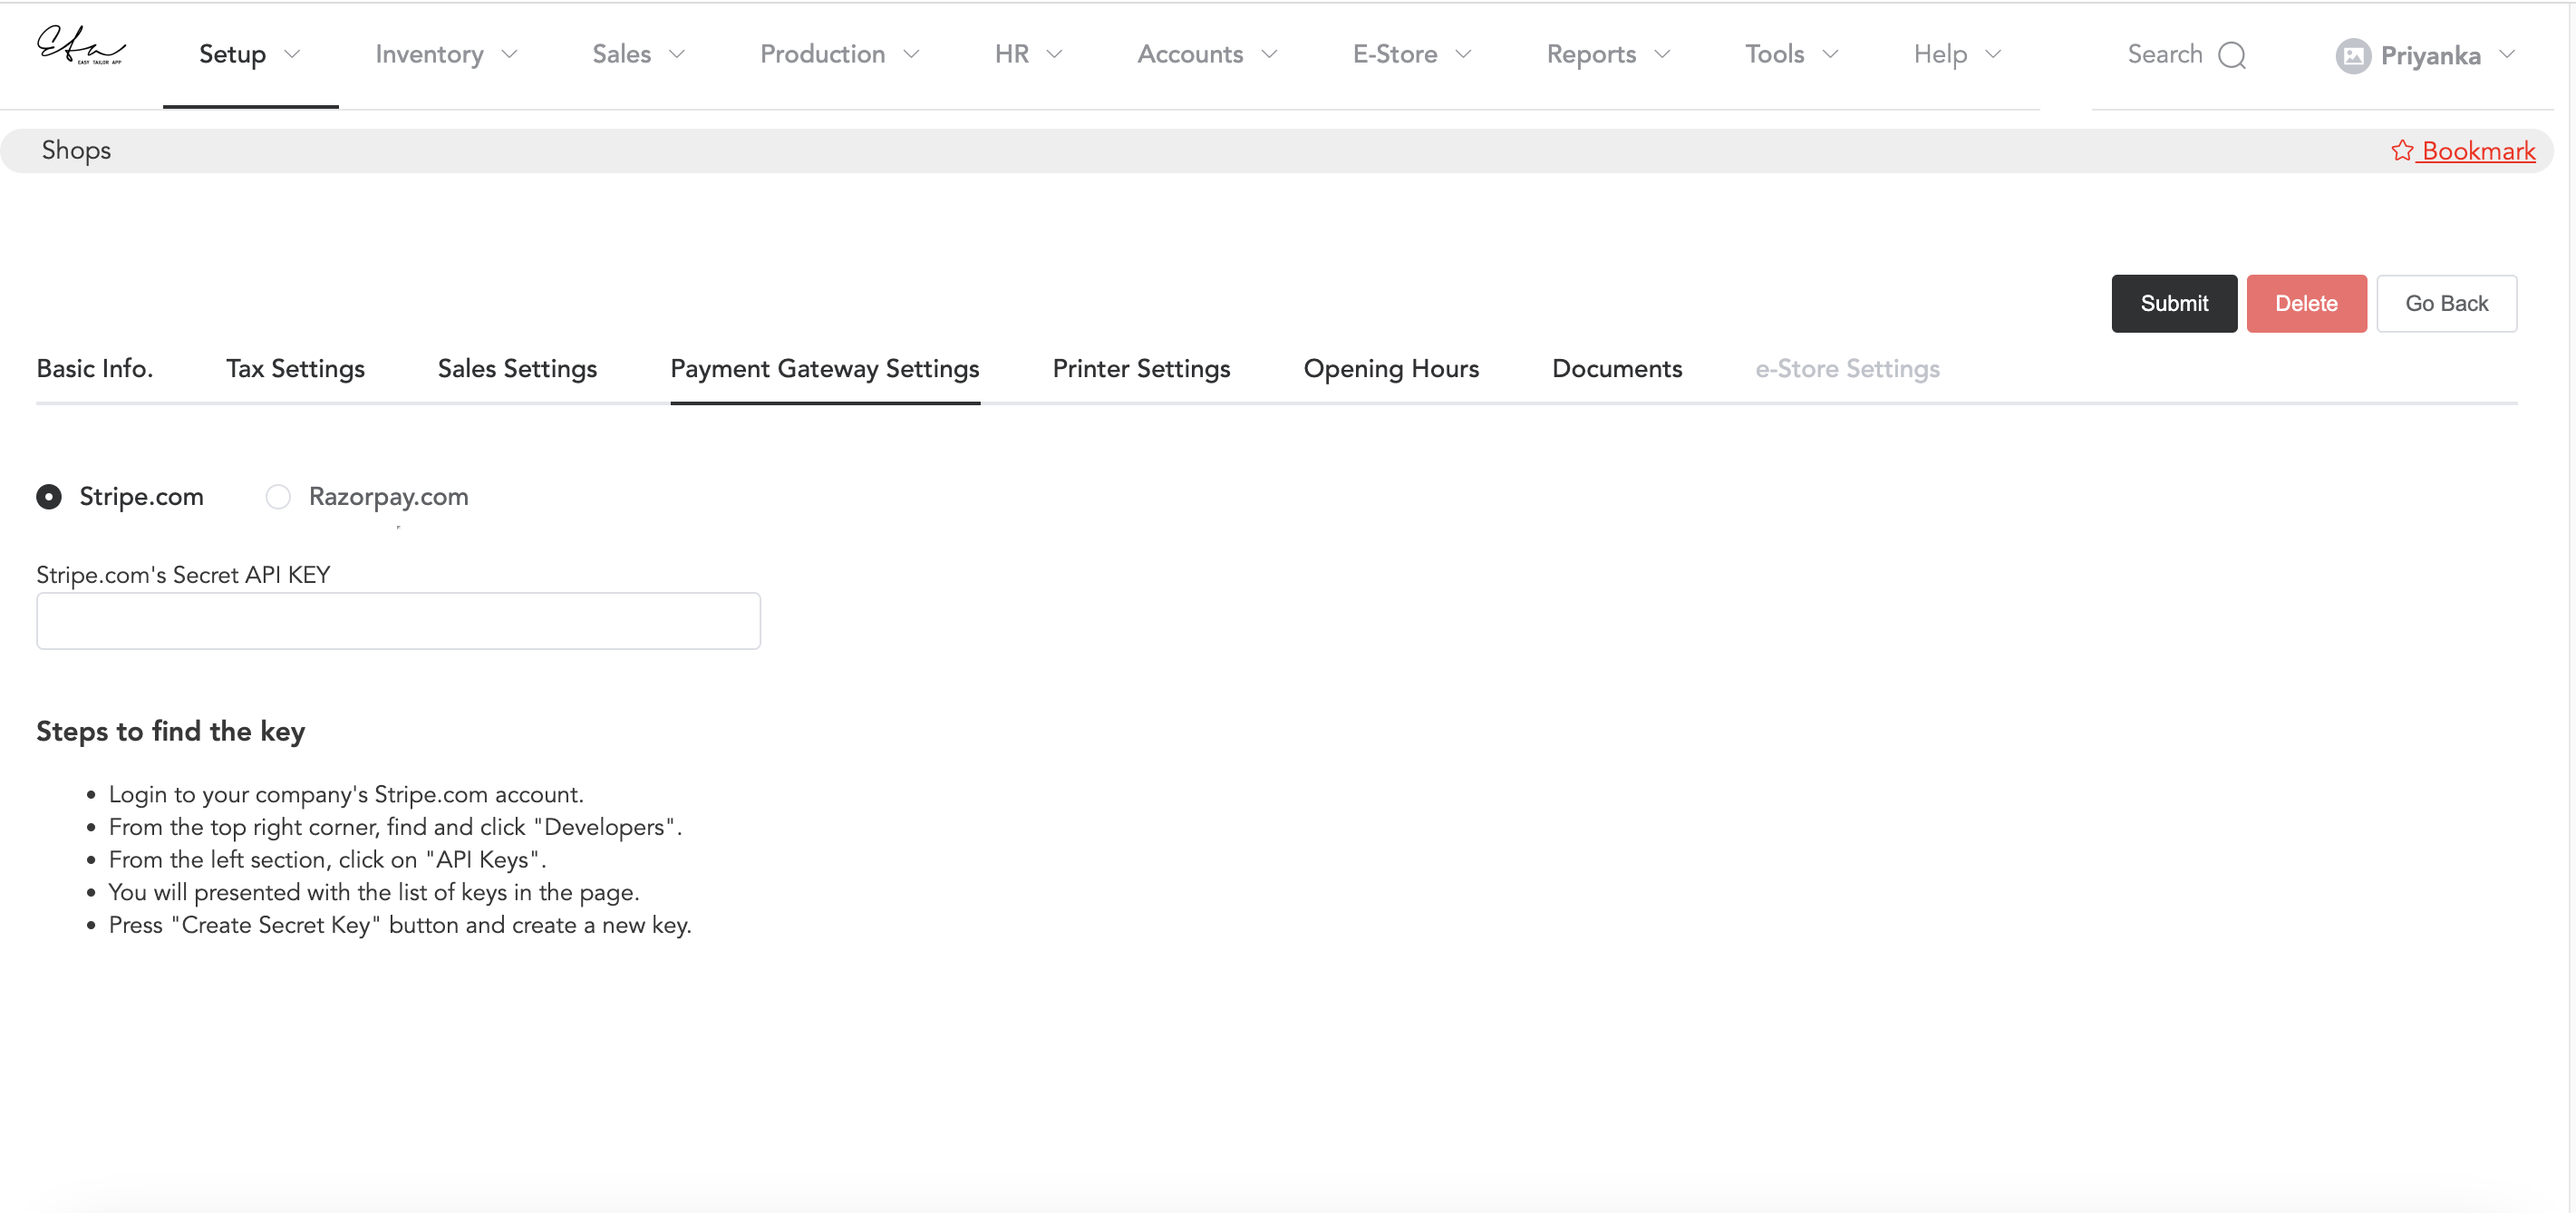
You can choose, whether you want to enable Stripe or Razorpay. For more details, you can follow the below article.
Printer Settings
You can customize the printer settings and can set footer notes.

Select the paper size if you want it as A5 or Thermal Receipt paper. Also, select if you want to print Header & Footer. Then whatever details you add in the header or footer, those will appear in the print. For instance, you can add terms and conditions in the footer.
Let’s now see how to add footer notes.
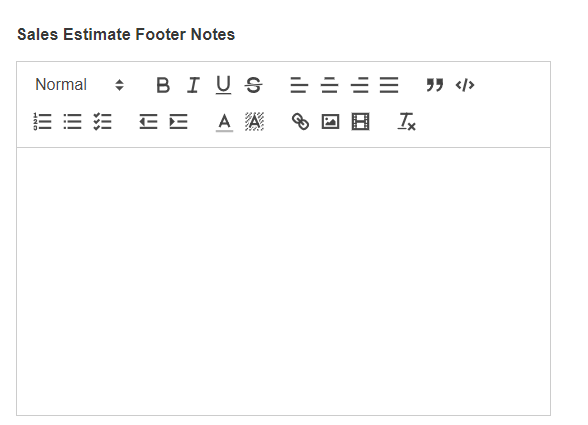
You can see in the above image where you can set footer notes. You can design the footer by yourself. For sales estimates, you can use the above field in the software.
Next, you will see Sales Order Footer Notes
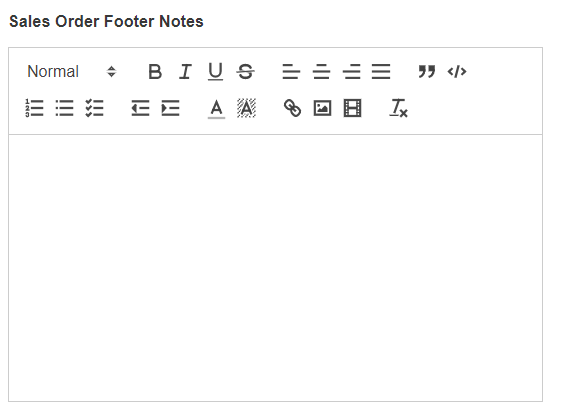
You can set the footer notes for sales order prints. The contact details or anything that you will set here will be displayed in the print.
In the same way, you can set footer notes for purchase orders and external sourcing.
Opening Hours
The opening and closing times of the store/shop can be configured as well.
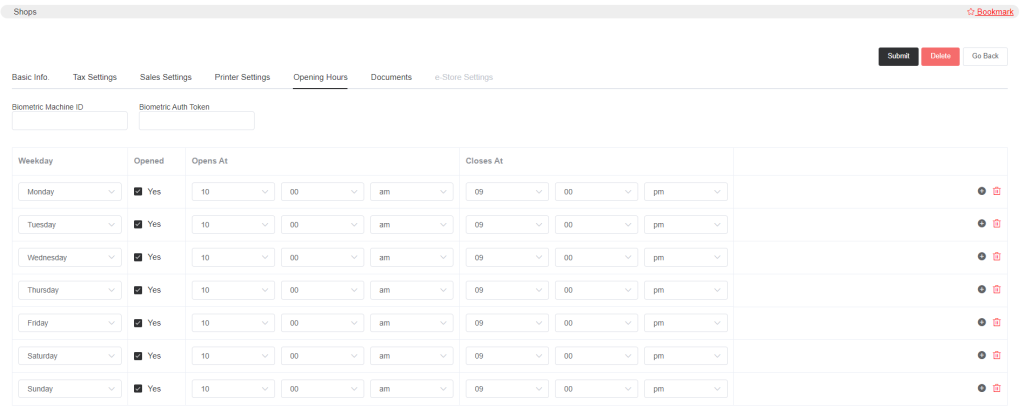
You can record the daily attendance of your employees by using a Biometric Machine. You may contact us for biometric machine integration. You will only need to define the opening and closing hours, and the biometric machine will record the attendance.
You can also record the attendance of the employees, manually.
Documents
You can also add documents for your shop/store. Click Add New Document
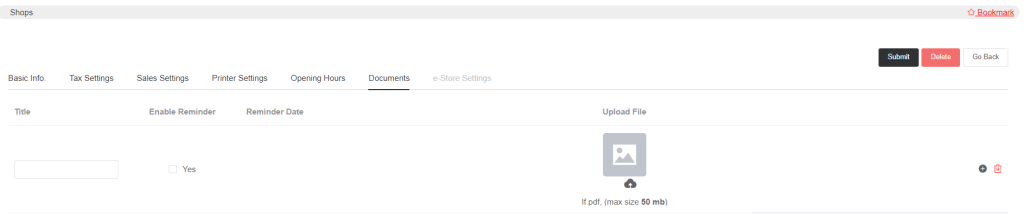
Now enter the title of your document. You can synchronize reminders with dates for important documents. If you select Yes of Enable Reminder then you will be displayed a column where you can set the reminder date.
Images of documents may also be uploaded.