Vendors
Register your vendors here and provide their detailed information. You can define their payment terms i.e. how payments can be made for the vendors.
Go to Inventory and then Vendors.
- Basic Info.
The basic information in the vendor profile contains all the detailed information about the vendor.
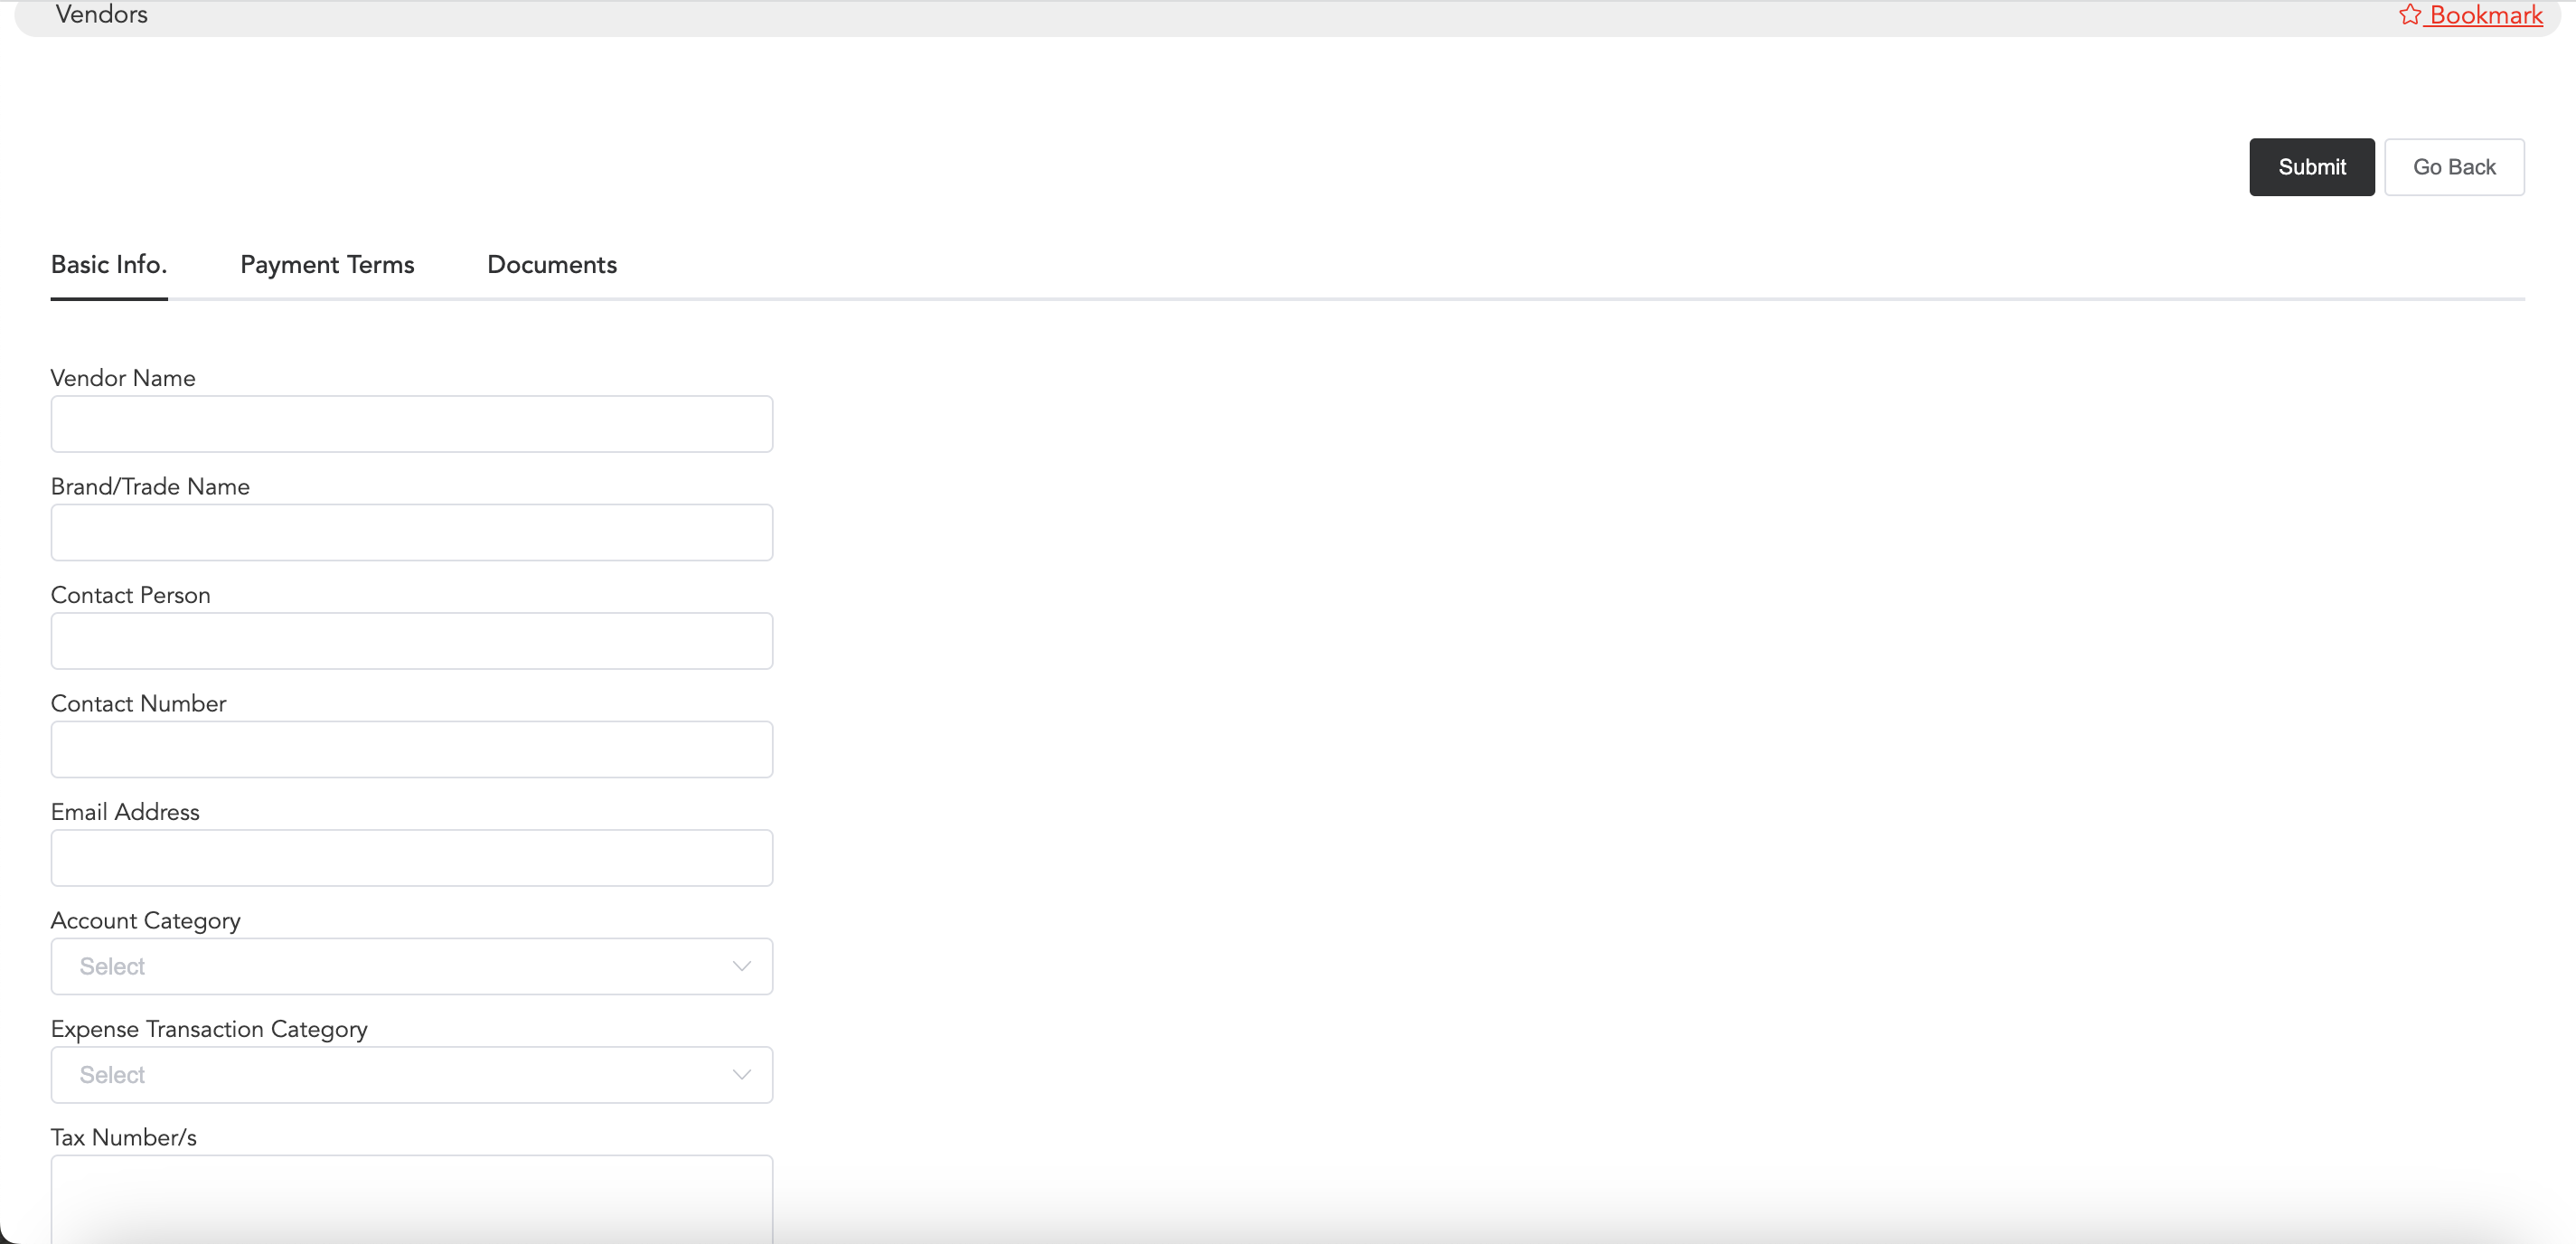
Enter the vendor name, brand/trade name of the vendor, and contact person name of the vendor which means there is anyone, whom you can contact if the vendor is not available for some reason. Next, add the contact number and email address of the vendor.
Select the account and expense transaction categories that apply to the vendor name registration. So choosing the expense category will help in obtaining a proper account report.
Then you can enter the Tax number (if any).
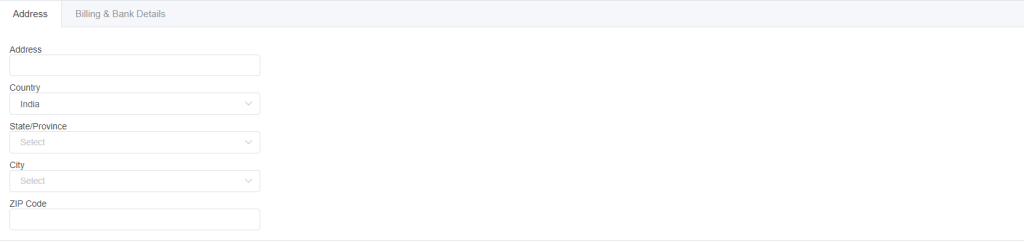
Now enter the address and select the country, state, city and ZIP Code of the vendor.
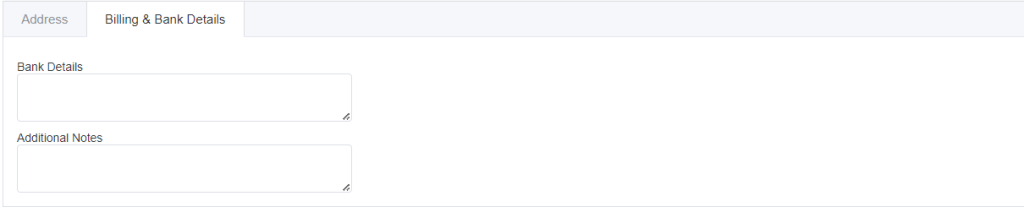
In billing and bank details you can add the vendors’ bank details and any additional notes for internal use.
- Payment Terms
By defining this, you will automate the payables of the vendors in advance. I.e., from the total invoice, what percentage will be paid to the vendor in how many days after receiving the purchase invoice.
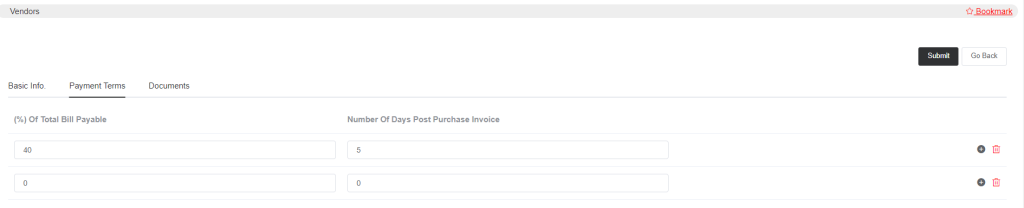
So this works in a way that if you want to pay 40% of the total bill after 5 days of sending you the purchase invoice. This way you will not need to enter any payment date for the vendors, according to the number of days you mentioned, the payable due date will be calculated and displayed.
- Documents
You can upload any files related to the vendor details.
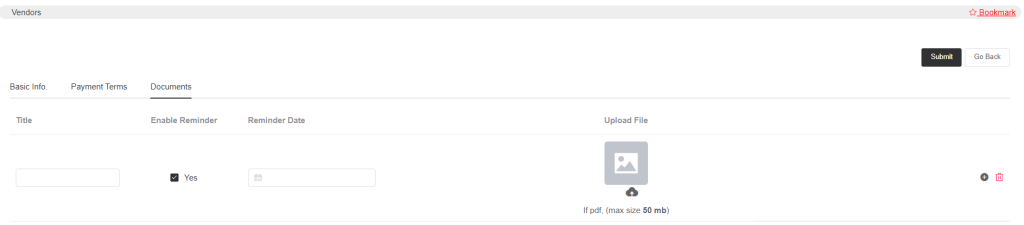
Enter the title of the documents and if you want to set a reminder to not miss any important update, then you can select the Enable Reminder option and enter the reminder date. You may also upload any image or file concerning the vendors.