Master Products
Here you can add all the details of inventory products like fabric, ready garments, stitching/raw materials like thread, buttons etc.
Go to Inventory and then Master Product. Click Add New Product or Click on Actions and then Add New Product.
- Basic Info.
In the basic information about the product, you can add every necessary detail of the product.
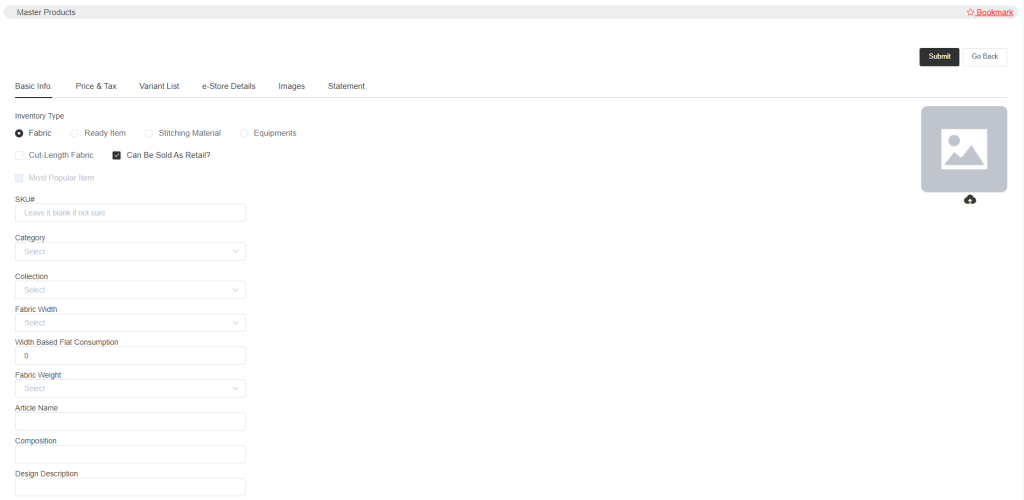
- If you want to add fabric to the stock inventory, select Inventory Type as Fabric.
Define the fabric’s cut-length status. Because some fabrics are quite expensive and not everyone has them in stock, if you mark the fabric as cut-length, a buy order for it will be created when it is added to an order.
If you select the option Can Be Sold As Retail then other than selling fabric with tailoring items, you can sell them individually.
Now you can enter the SKU; if not, the system will generate an SKU code for you. Remember that the SKU should always be new and cannot be repeated.
Select the Category. Again you can define the fabric categories in Setup->Inventory Setup->Fabric Categories.
Then select the Collection. Again collections can be set in the setup section.
Set other details like fabric width, fabric consumption, fabric weight, article name, composition, and design description.
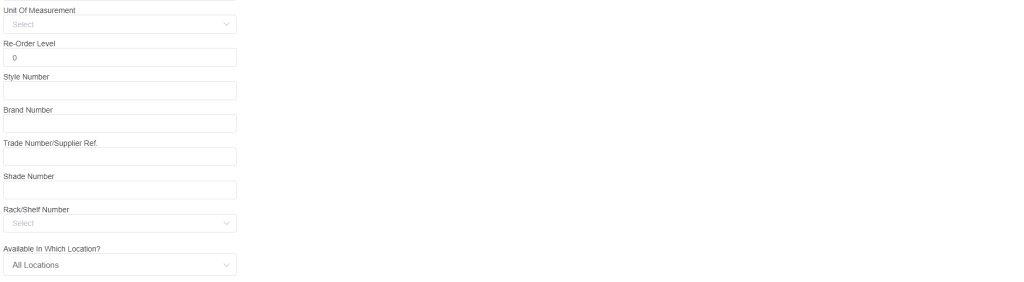
Also, select the unit of measurement and Re-Order Level, so the reorder level will create an item alert for you. If you set 15, for an item then if the item is below 15 you can see it in the closing stock report.
Add other details like style number, brand number, trade number, and shade number. Select the rack/shelf number, the rack number can be created in the setup->inventory setup. And lastly, select the location.
- Similarly, you can select Inventory Type as a Ready Item.

Select if the item is a Cut-Length Item i.e. you do not keep that item in stock and you will have it in stock after the customer places an order for the item. Select if the item is a Most Popular Item.
You can set the SKU# or leave it and the system will create one for you.
- If you want to do any tailoring process for any retail item then you can select the option Alteration Allowed. Then add the Alteration Tailoring Template, the template that you have created in the sales template for alteration garments. So in the order window if you select the alteration-allowed retail item, then it will give you an option to add the tailoring template item in which all the production processes can be done.
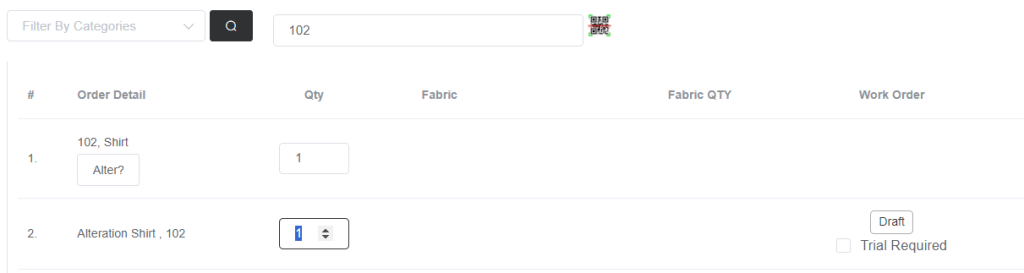
You can see in the above image, the retail item is selected and once click on the option Alter?, it will add the alteration item template from the tailoring/sales template for which you can create a work order and send the item for any production processes.
Add other details like category, collection, article name, and all other details.
- Price & Tax
Using this tab, you can set a product’s cost price and sales price. Enter the prices accordingly.
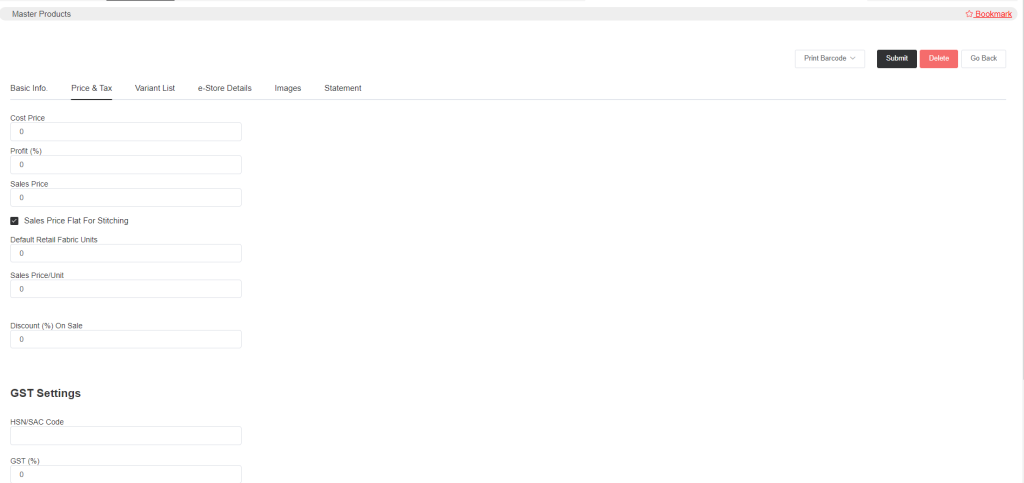
Enter the cost price and profit percentage then it will calculate the sales price according to the profit percentage. Sales Price Flat For Stitching, select the option if the sales price does changes with stitching.
then enter the fabric unit and sales price per unit.
If you provide any sale discount then add the discount percentage. And then enter the tax-related details (if any).
- Variant List
The variants can be created to add additional details like color, size, etc. So the variants can be created in the setup->Inventory setup.
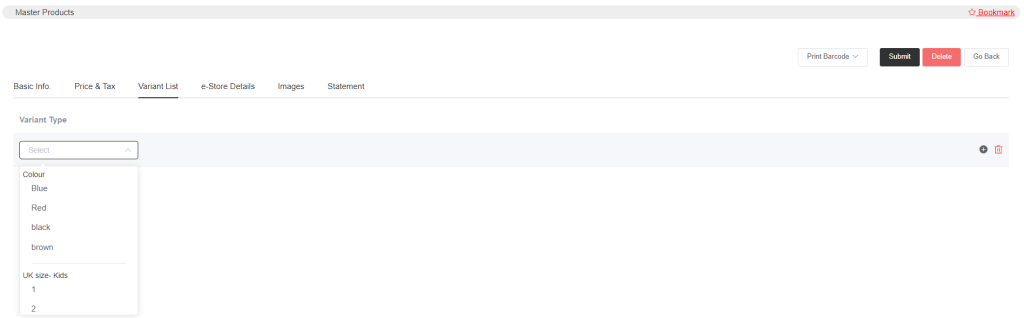
As the variants are created before, you will only need to select the appropriate variants for the item.
- e-Store Details
If the product is available online then select Is this product available online. After selecting the option you will be presented with different columns where you can enter the item details that will be displayed online.
- Images
In this image section, you can upload the item’s image. If you have activated the e-Store then you can make the images available online.
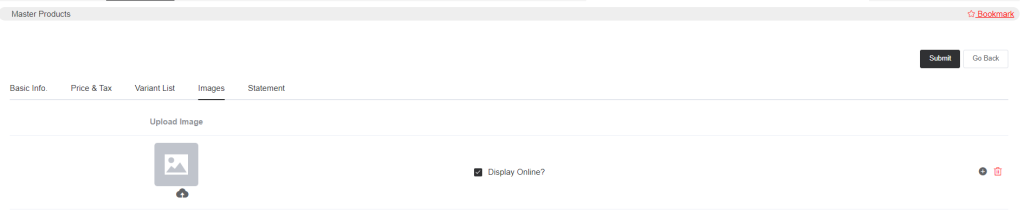
Upload the item image, and select Display Online option if you want the image to be displayed online.
- Statement
Detailed inventory statements are displayed in the statement section. Your statements should be reviewed following the dates.
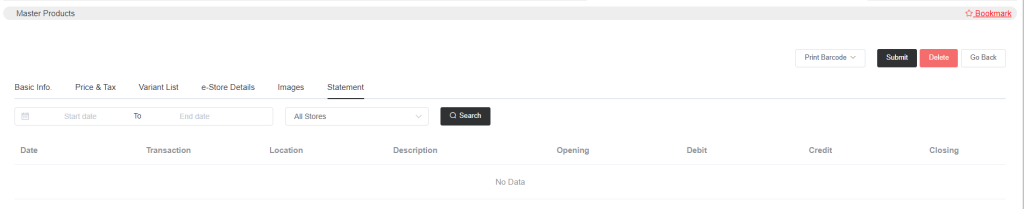
The statement will be displayed after you select a date range and location. After selecting click on search.
After submitting all the data a Print Barcode option will appear and you can print different labels.
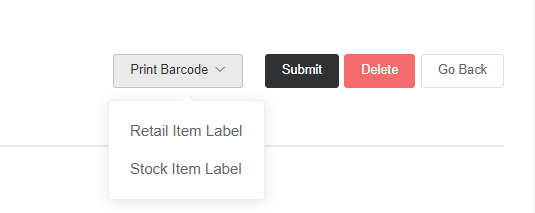
You can print the Retail and Stock label for the item you added.