Invoices
You can list all the purchase invoices that you receive from the vendors against your purchase orders. You can also make payment against each invoice.
Go to Inventory then Purchase and then Invoices
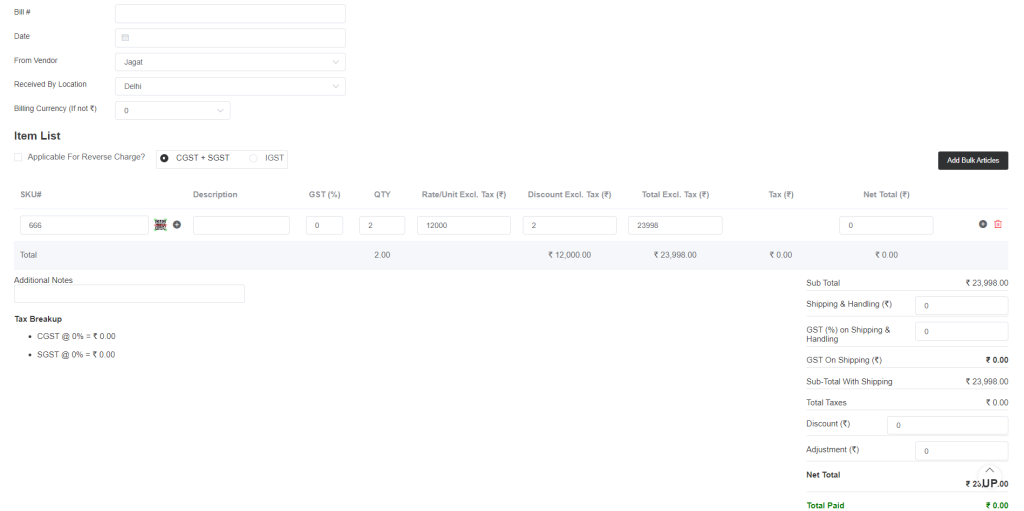
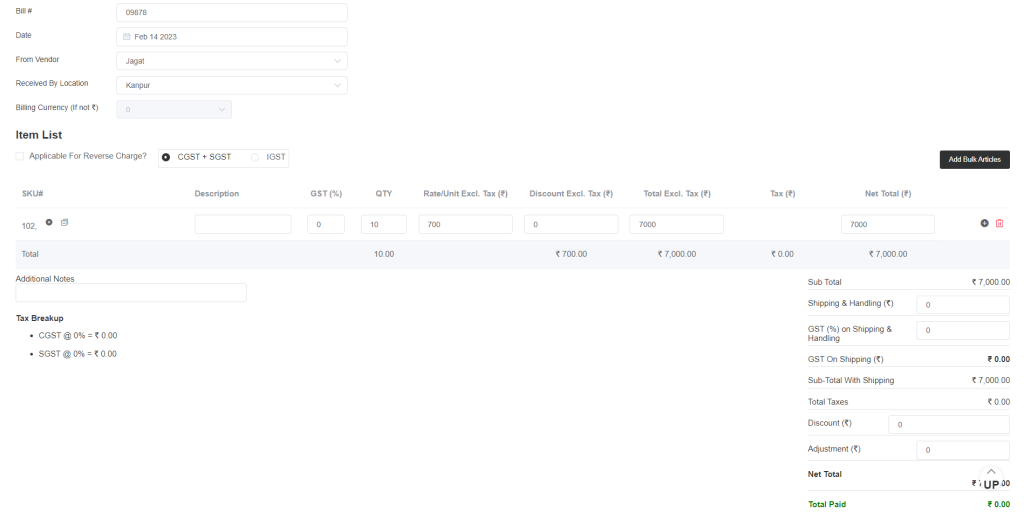
Enter a valid bill number then select the date and vendor/supplier name. Select the location. Select the currency only if the billing currency is different from your country’s currency.
Now you will be displayed with the item list. You will be displayed with the tax that will be applied.
And if a reverse charge is applicable which means if the items are returned, a reverse charge will be added. In that case, you can select the option Applicable For Reverse Charge.
Now add the items to the list by searching the SKU and adding all the details like item description, tax, quantity, and price. You can add the discount and shipping charges also in the provided column.
You can add more items to the list by clicking the plus sign.
In another way, you may use the Add Bulk Articles option to add more articles to the list. In this process, you can create new inventory item profiles at the same time, purchase invoices will get updated, and stock will be added. Click Add Bulk Articles, then Start Adding Articles.

Now add the articles one by one with all the necessary details and submit.
Then next when you open the invoice you will see different options like payment terms, record payment, and documents.
In Payment Terms, you will see the due date when you will need to pay the vendor against the invoice. So for this, you need to set the payment terms in the vendor profile.
In Record Payment, you can record the payment for the vendors against the invoice. Go to record payment and then click Add New Payment
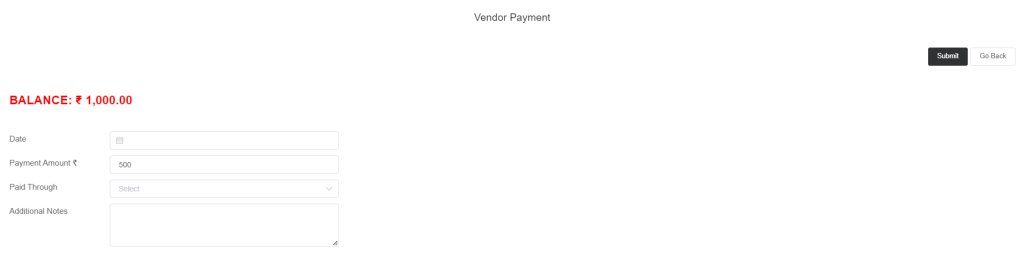
You can see in the above image the total invoice balance is 1000, from the total balance you can also make partial payments. Select the date. Enter the amount and select the payment source. Add additional note for internal use and submit. Then the payment will be recorded.
In Documents, you may upload any documents related to the invoice or vendor for future reference.
The option Print Action will let you print retail labels, and stock labels (to create the labels go to setup->preferences->qr/2d label)
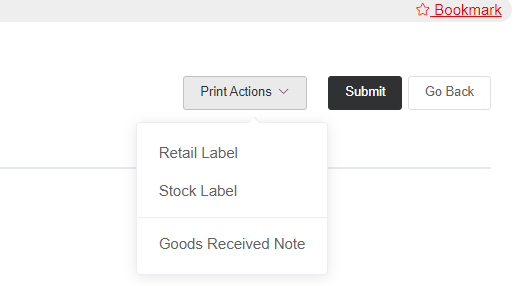
You can also print a note showing the received item description.