How to Create Work-Orders after Taking Orders
Once the order is added then you can create work orders. After you create work orders, the work orders will move to production, workers can be assigned and production processes can be started.
To create the work orders, go to the order window, and there in the item line, you will see the work order creation option.
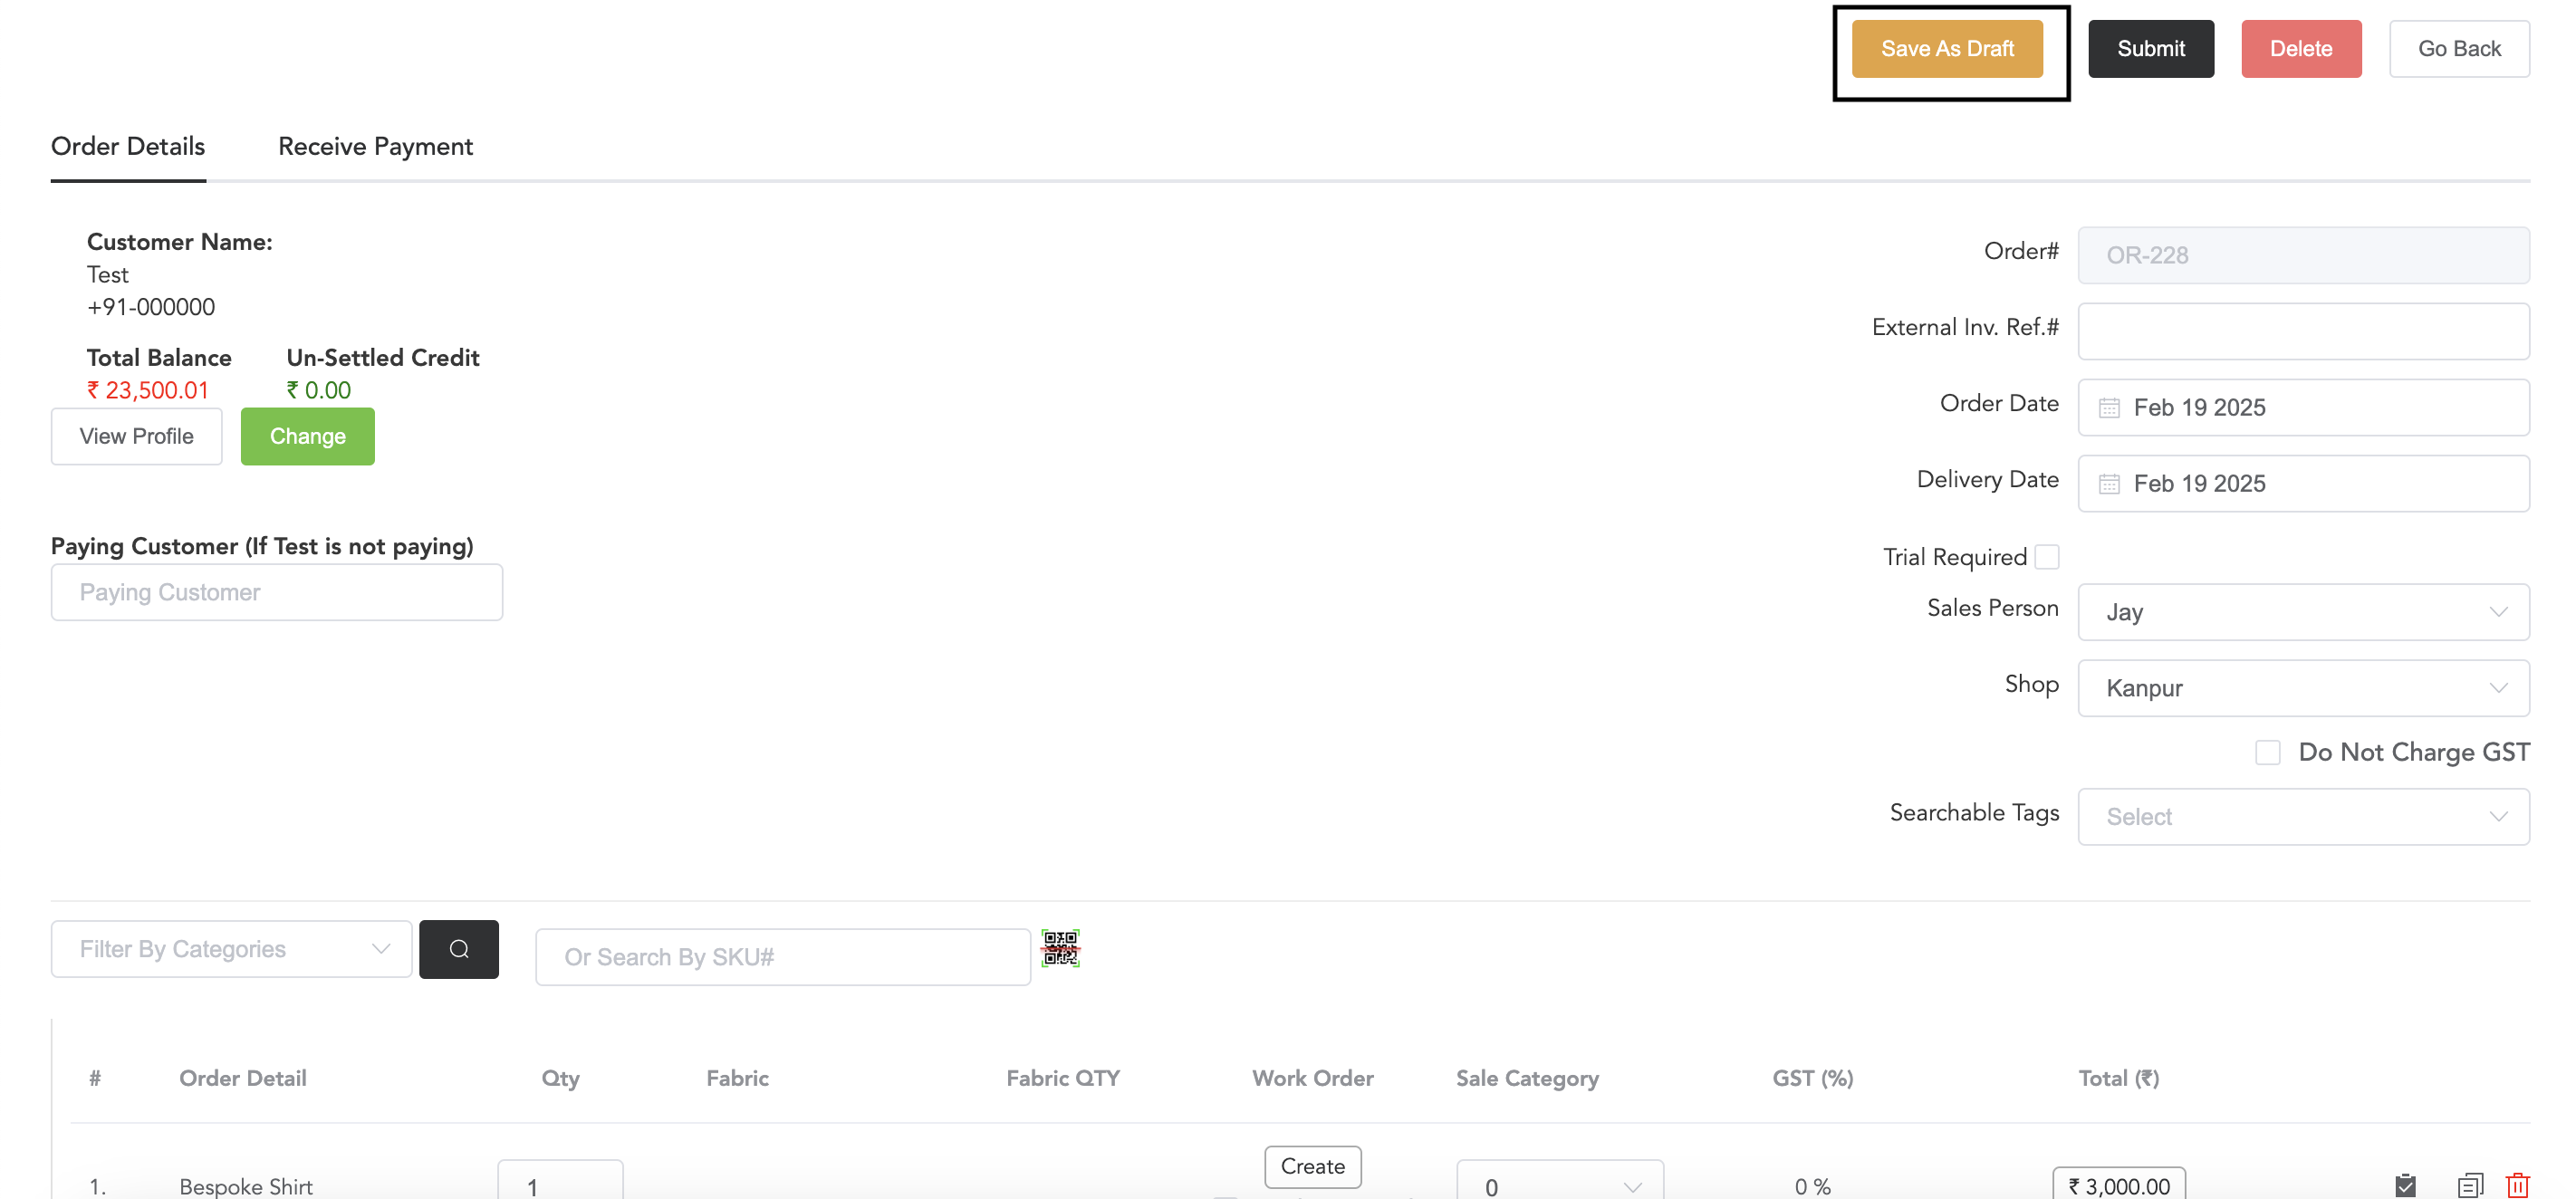
If it is in Draft, you can click on that, and you will see the Create option. Now, click on the Create option. And if you save the order as a draft, then you will also see the ‘create’ option.
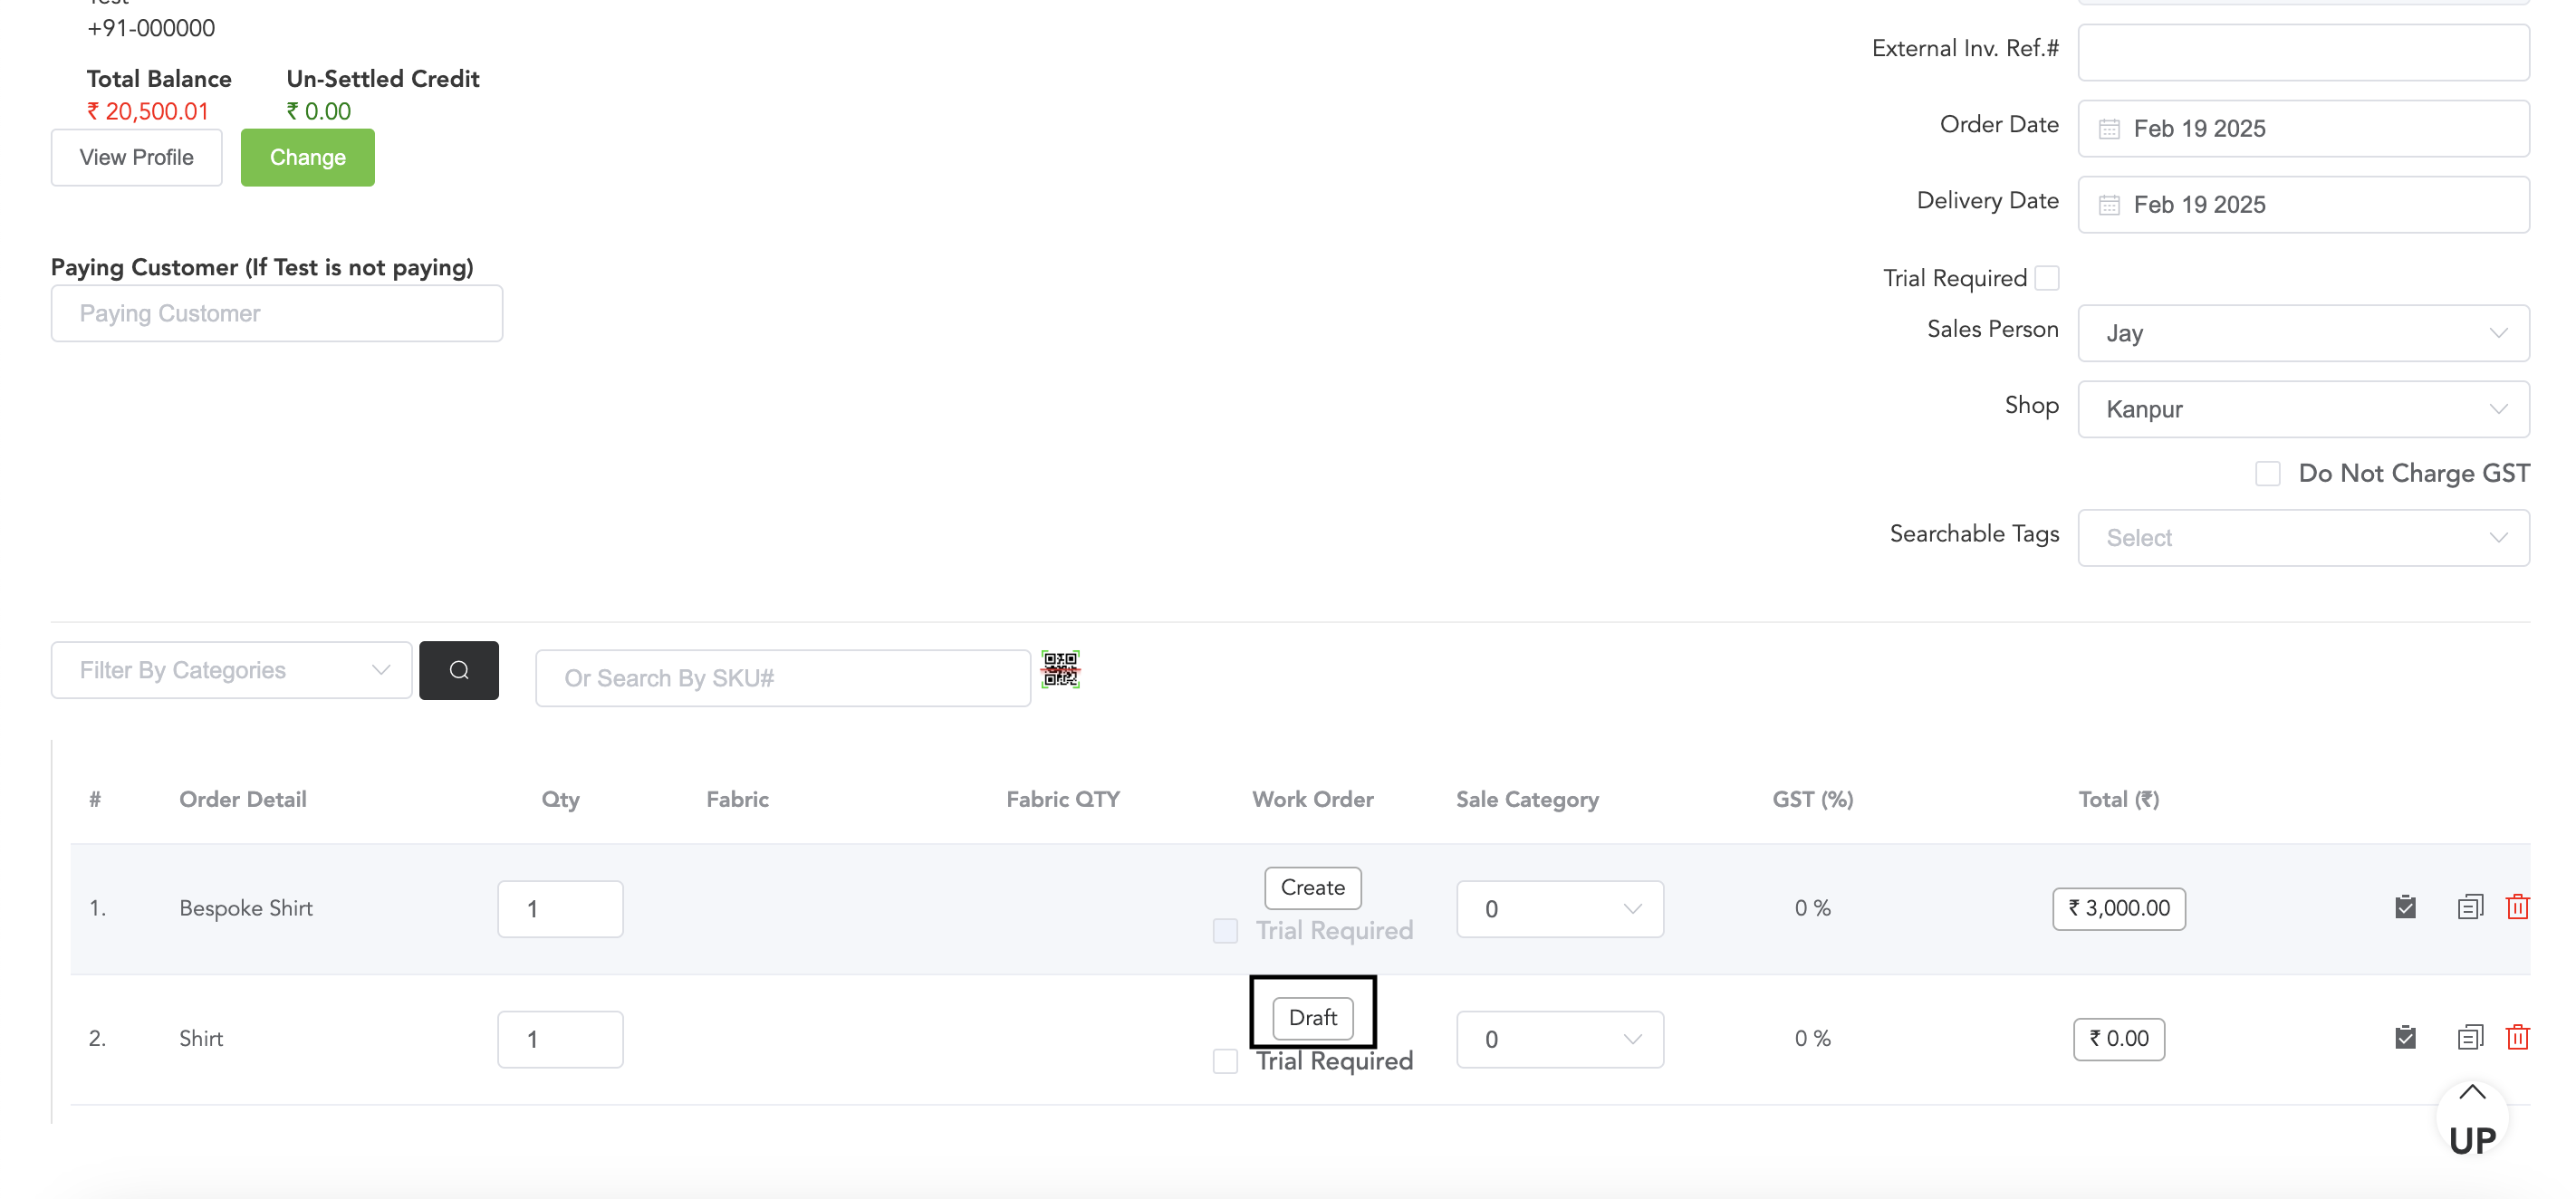
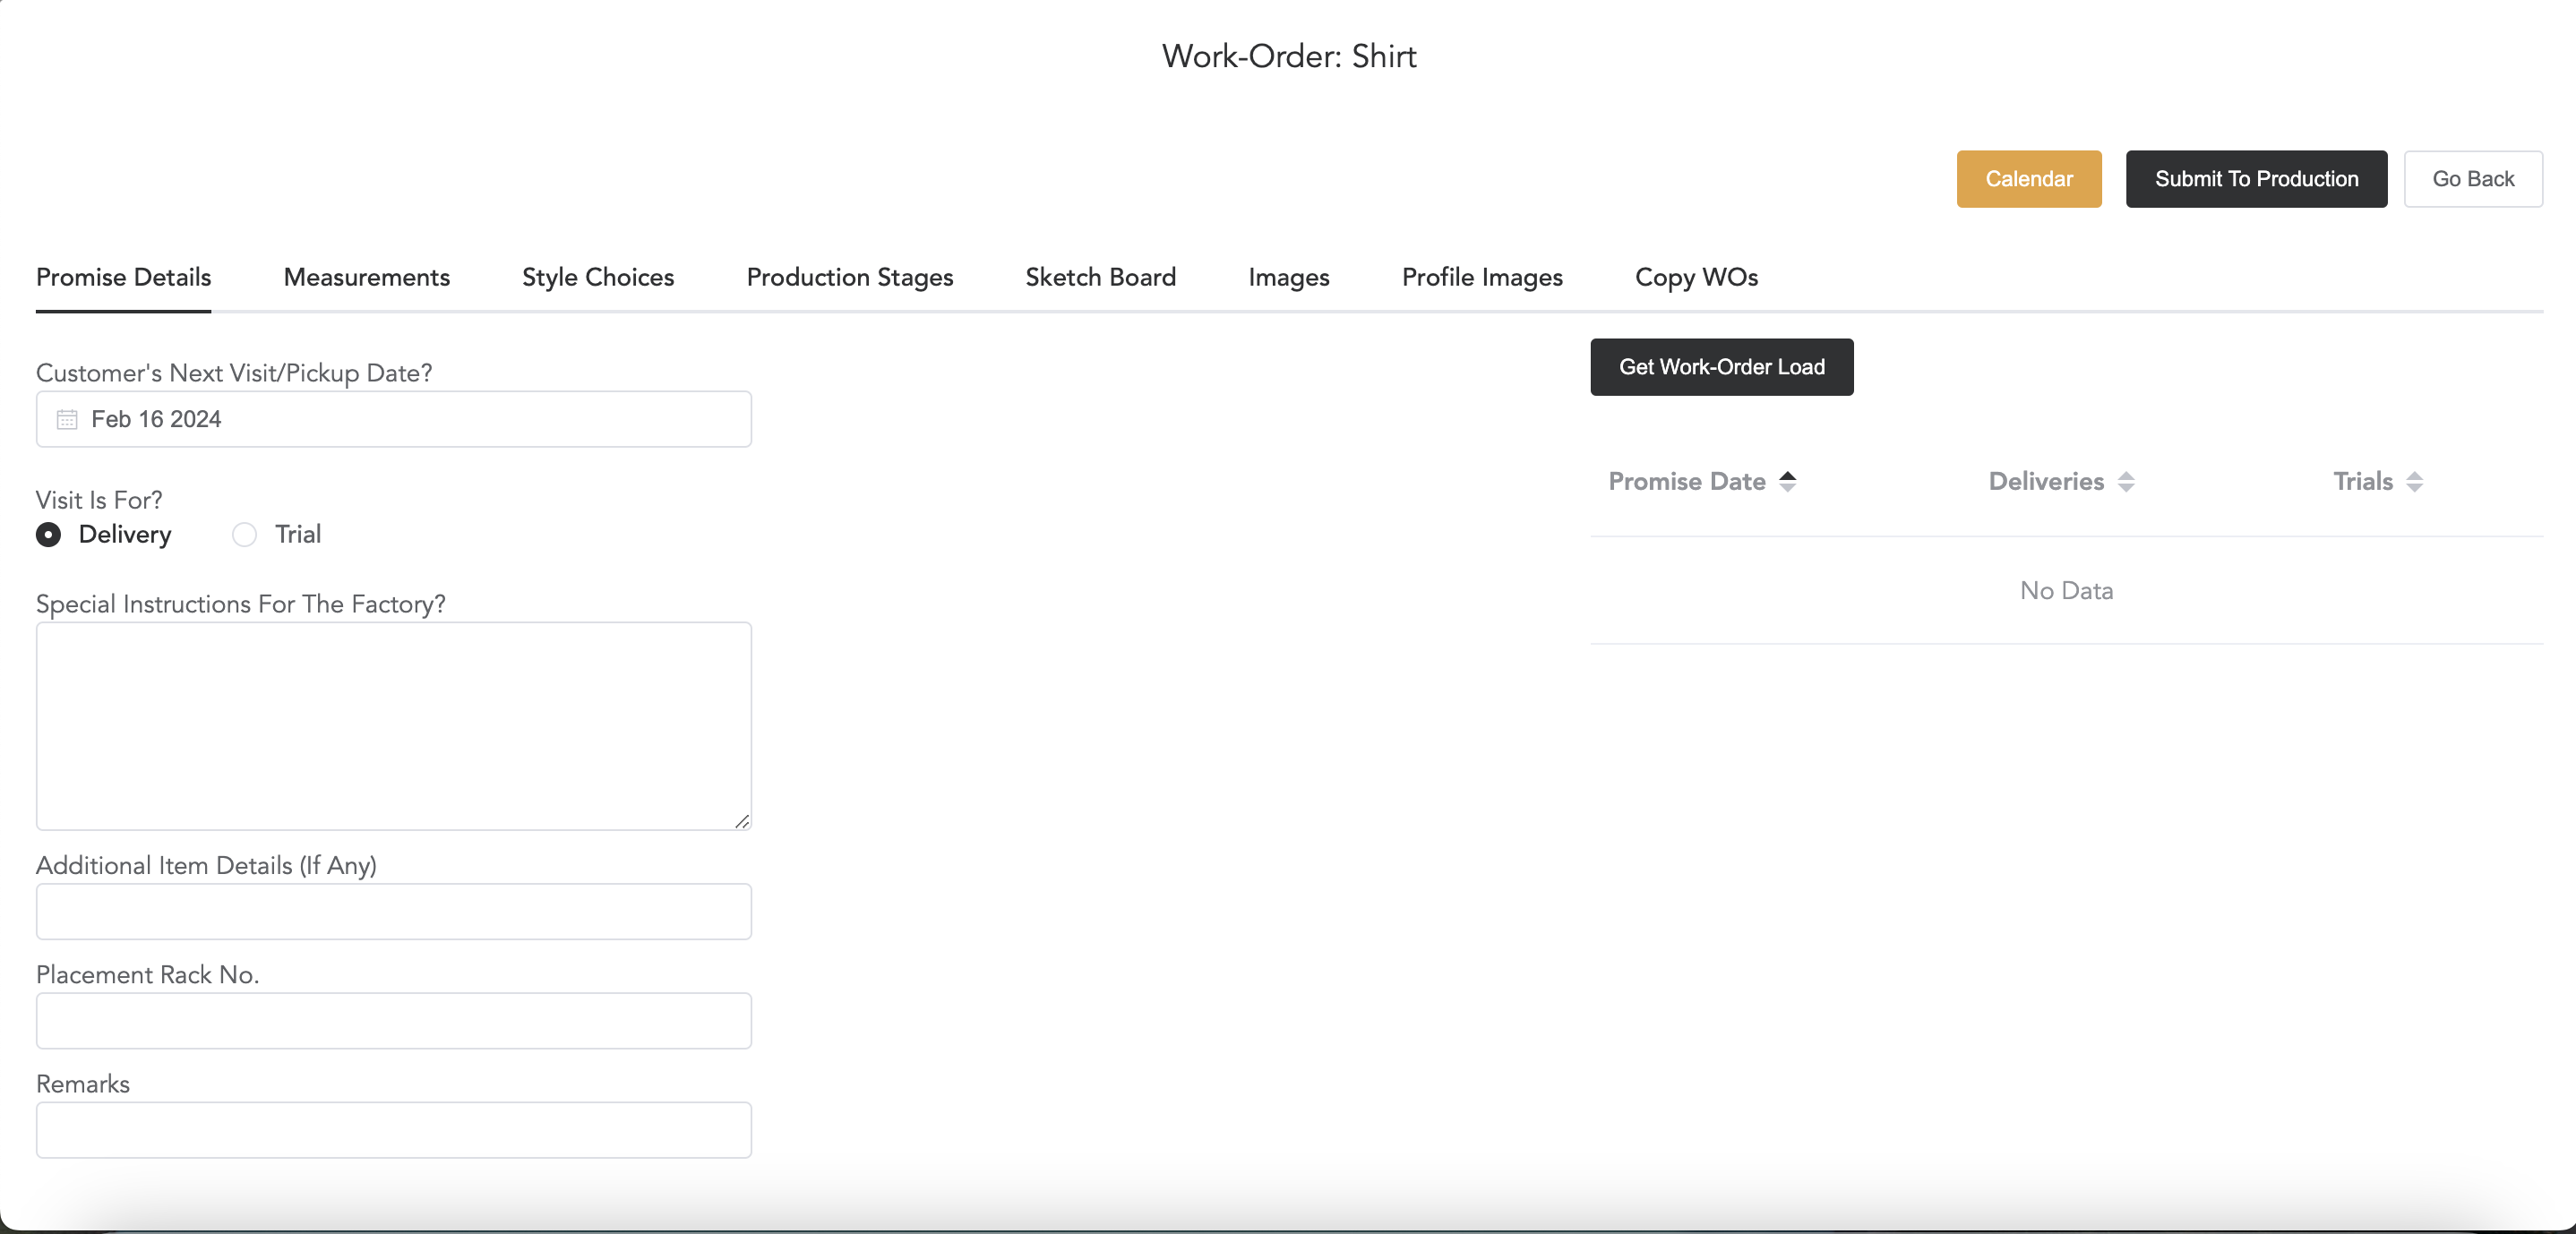
After you click on Create, it will direct you to the work order window. There you can check all the required field details.
First is Promise Details, You can check and edit the ‘Customer’s Next Visit Date’, and if the visit is for trial or delivery, if there are any special instructions for the factory, you can add them, additional item details, placement of Rack which means, in which rack the item is kept.
Once you finish checking this, next is Measurements
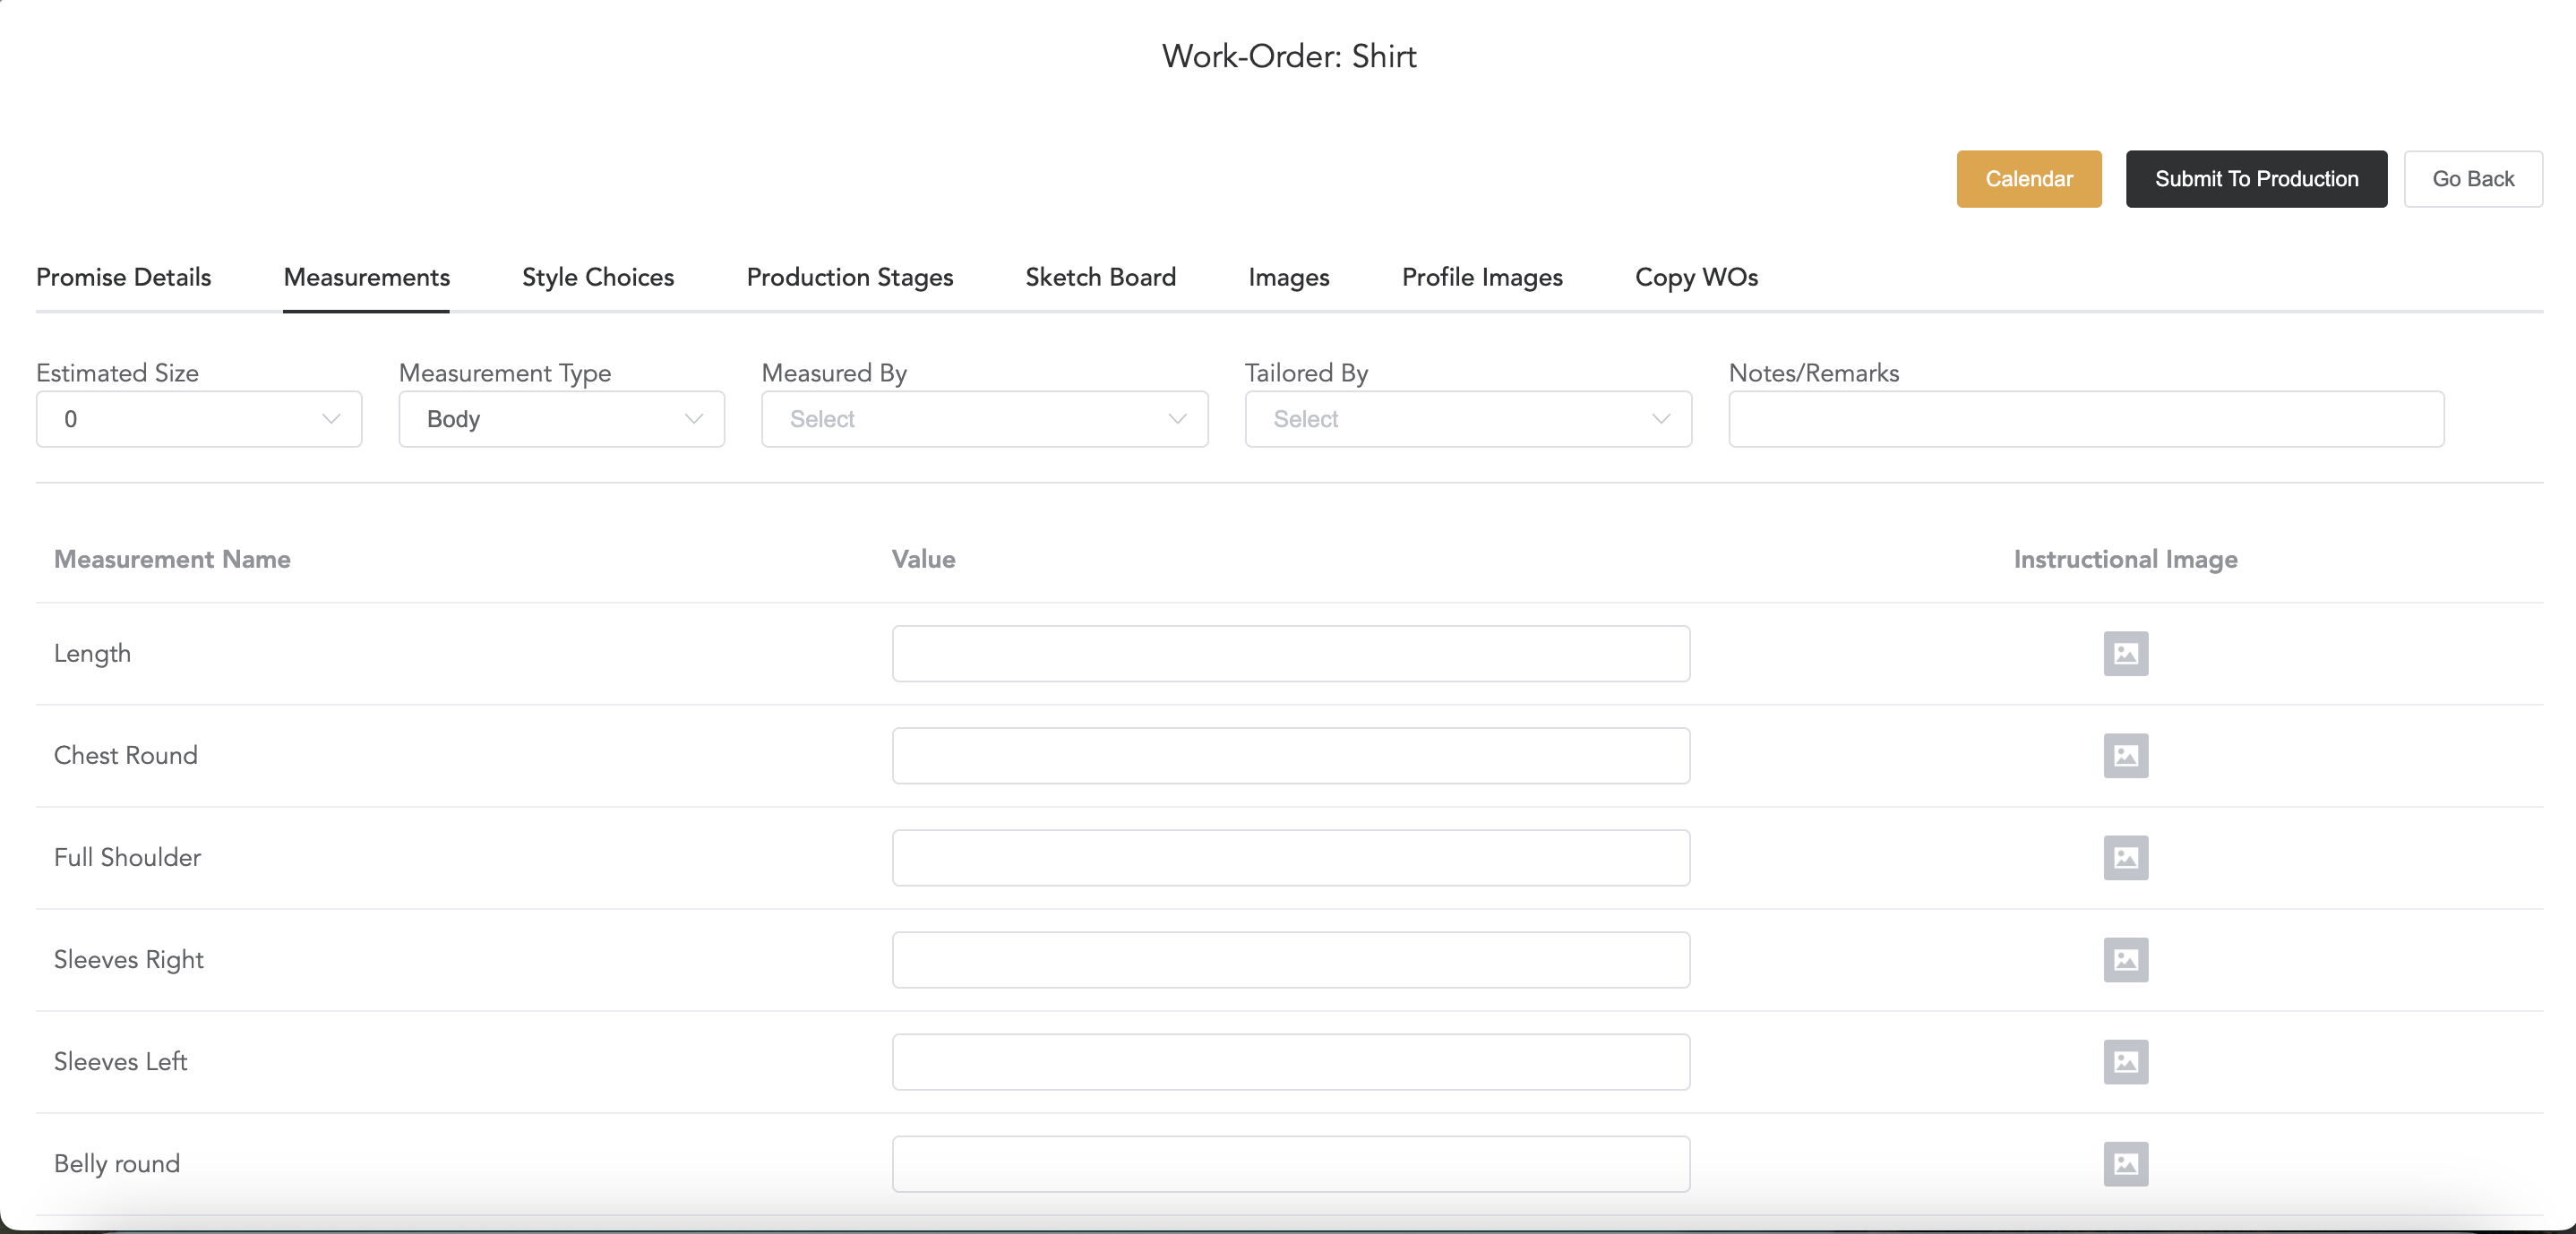
If the measurement values have been added to the customer profile, then all the values will get copied here, and here you can edit the measurements.
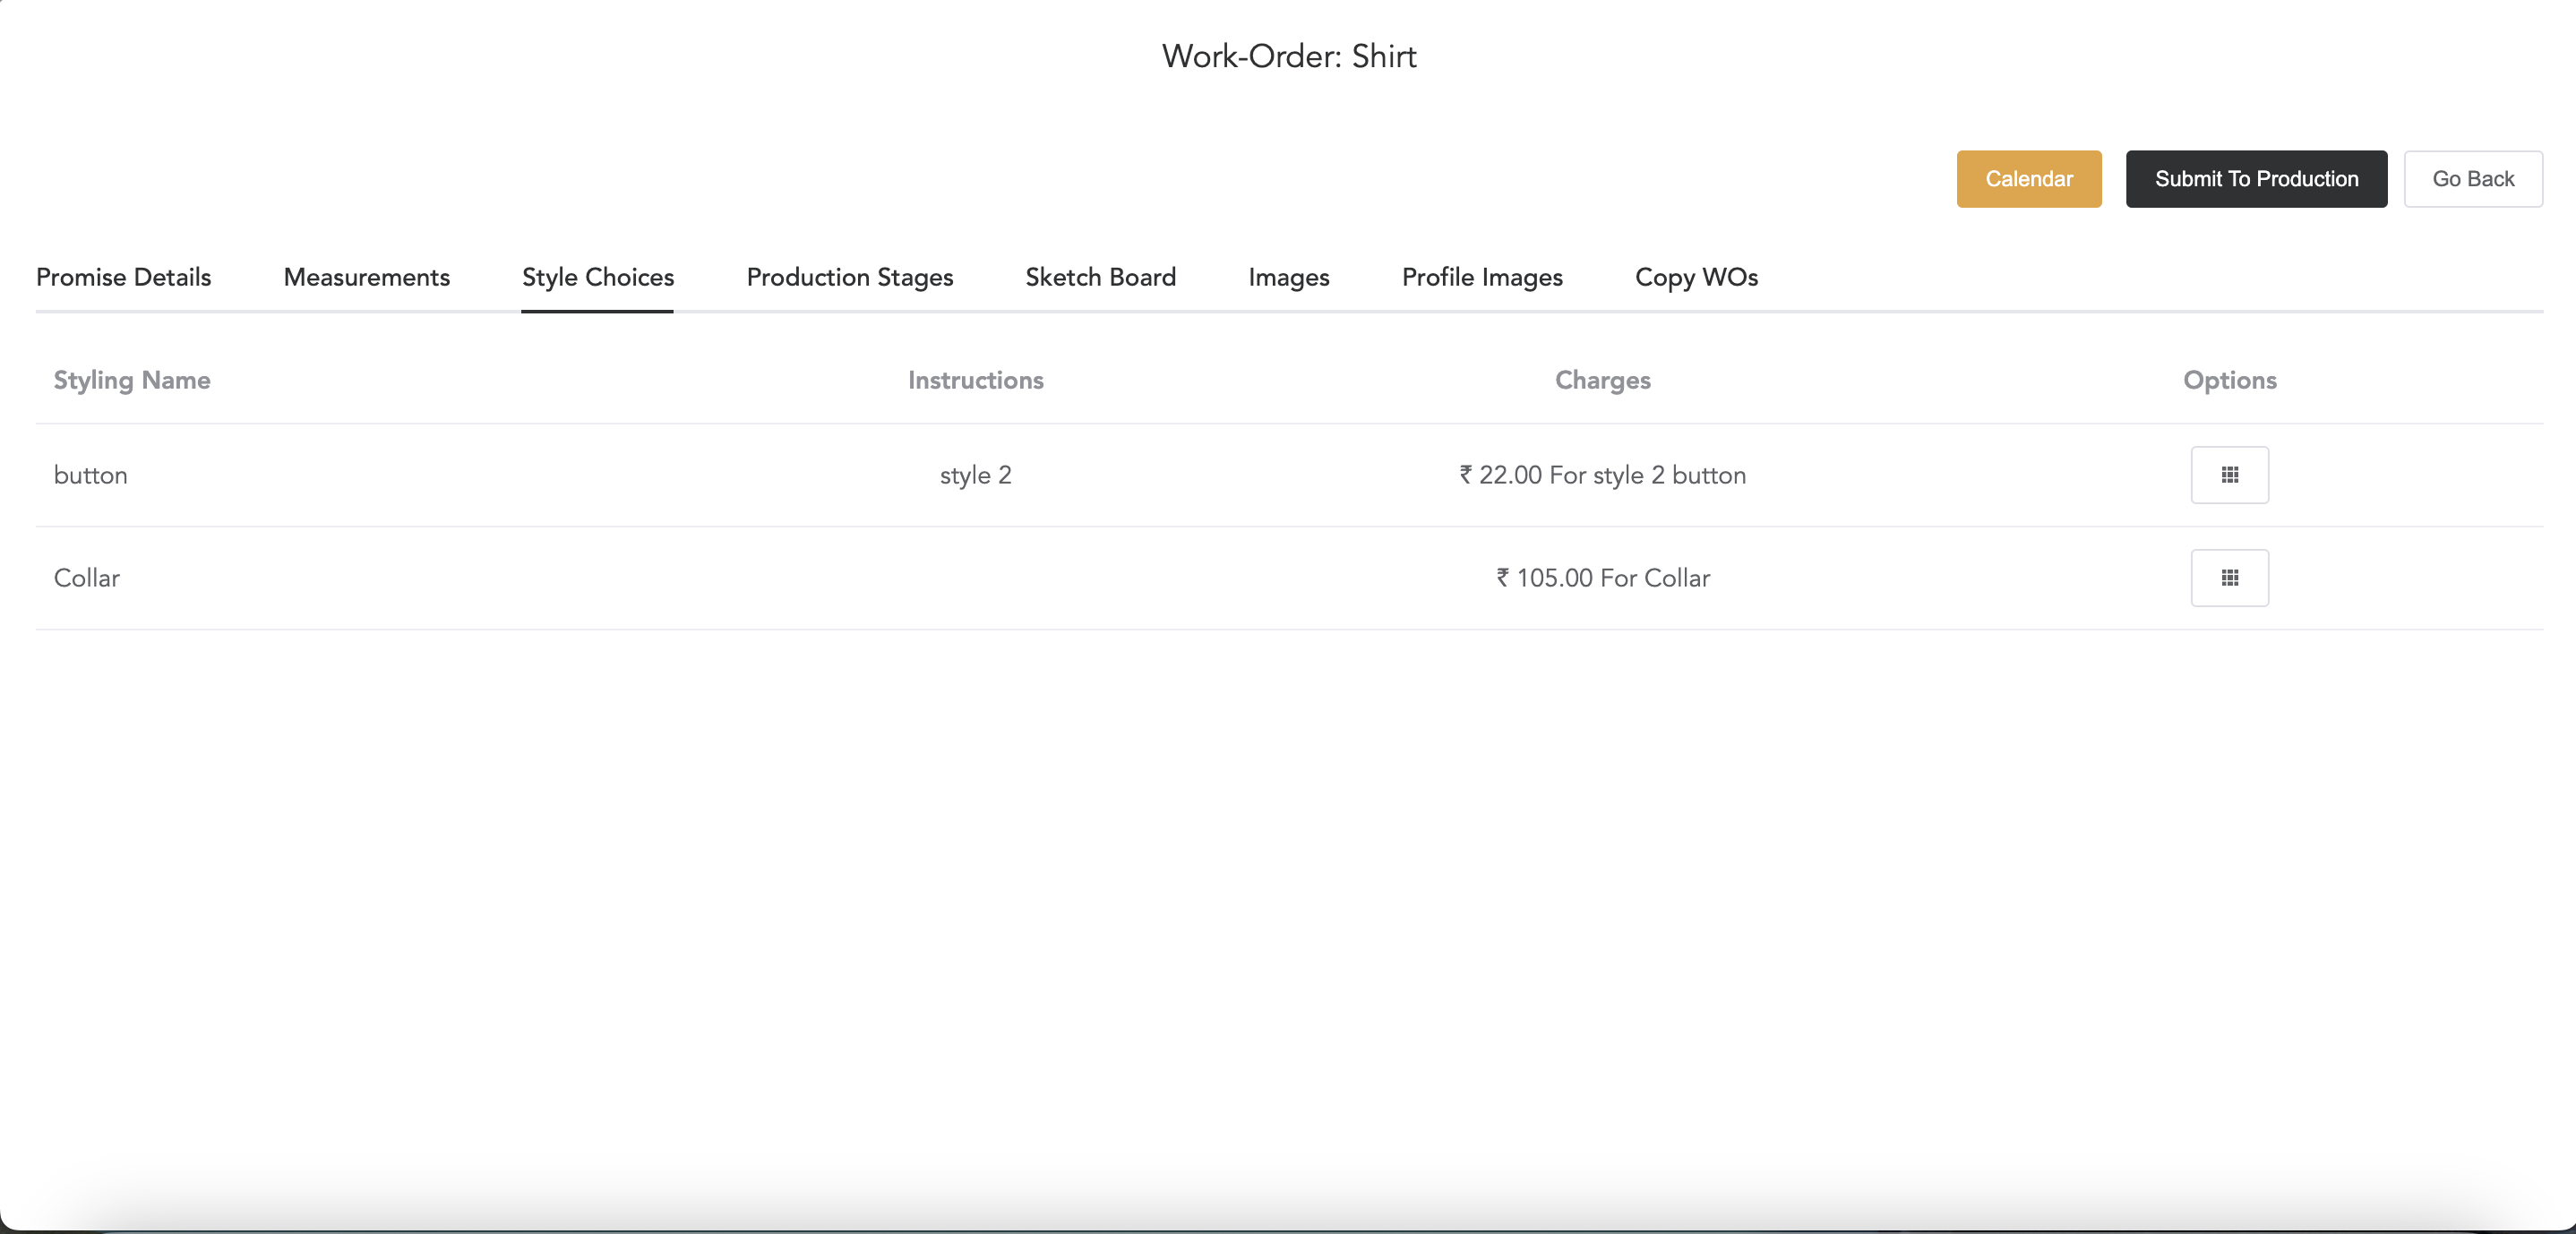
Next is the Style Choices,
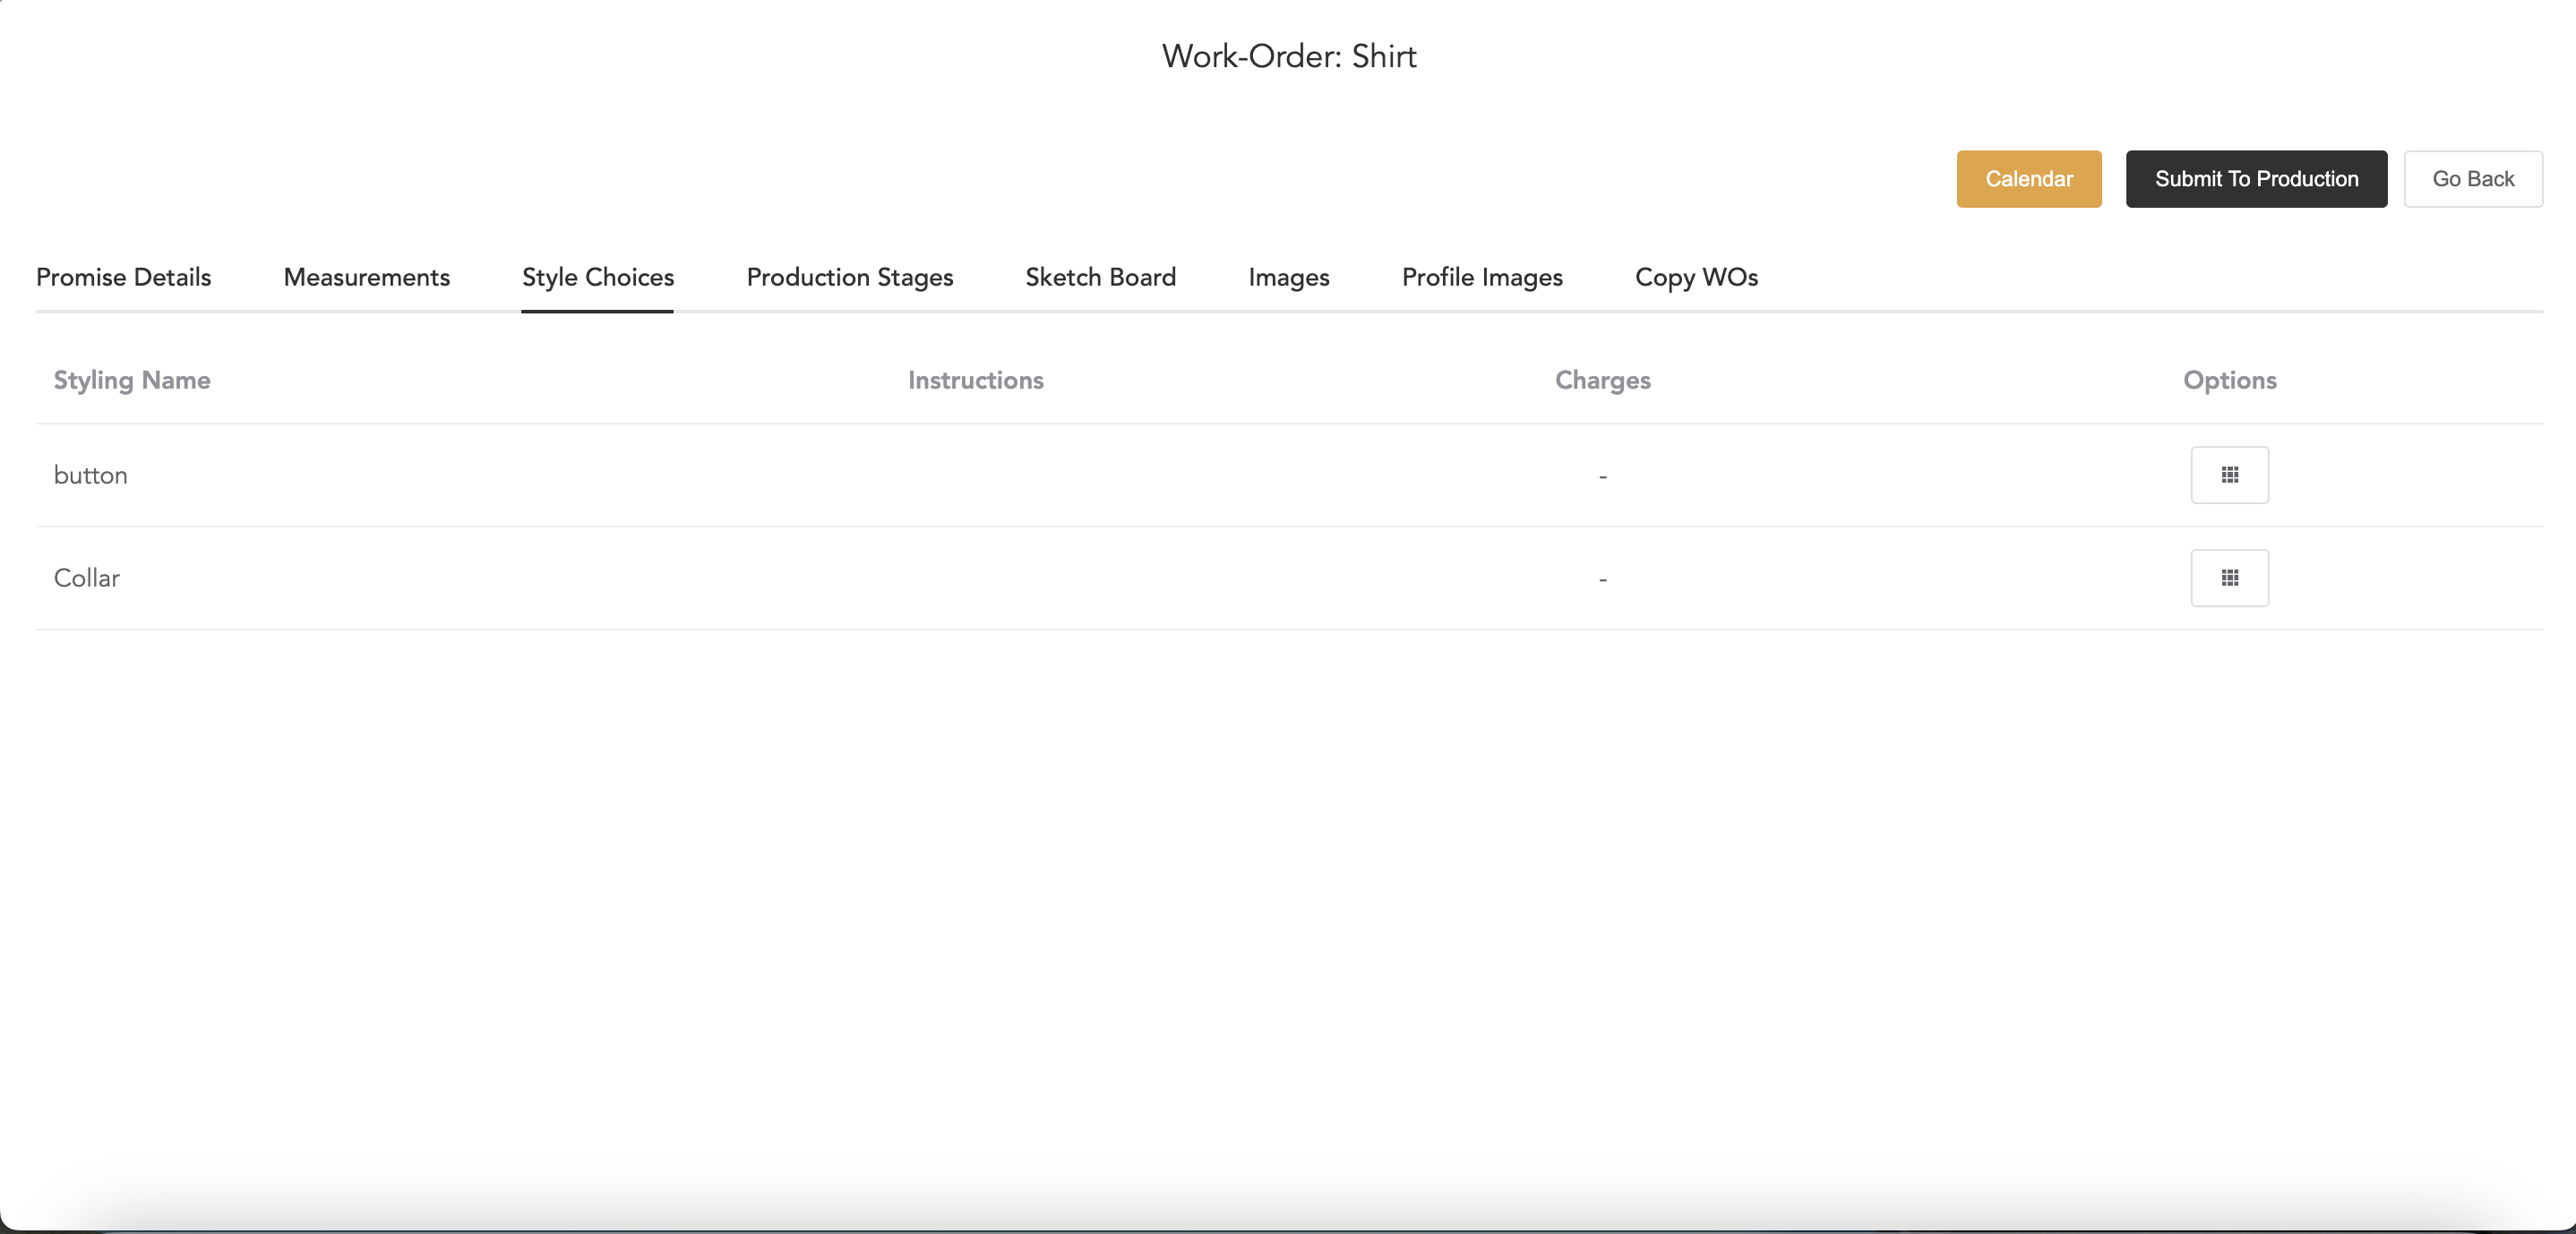
The style choice options along with images and extra charges, can be added while creating the item profile in setup->tailoring setup->sales template. Click on the Options to select and add any style.
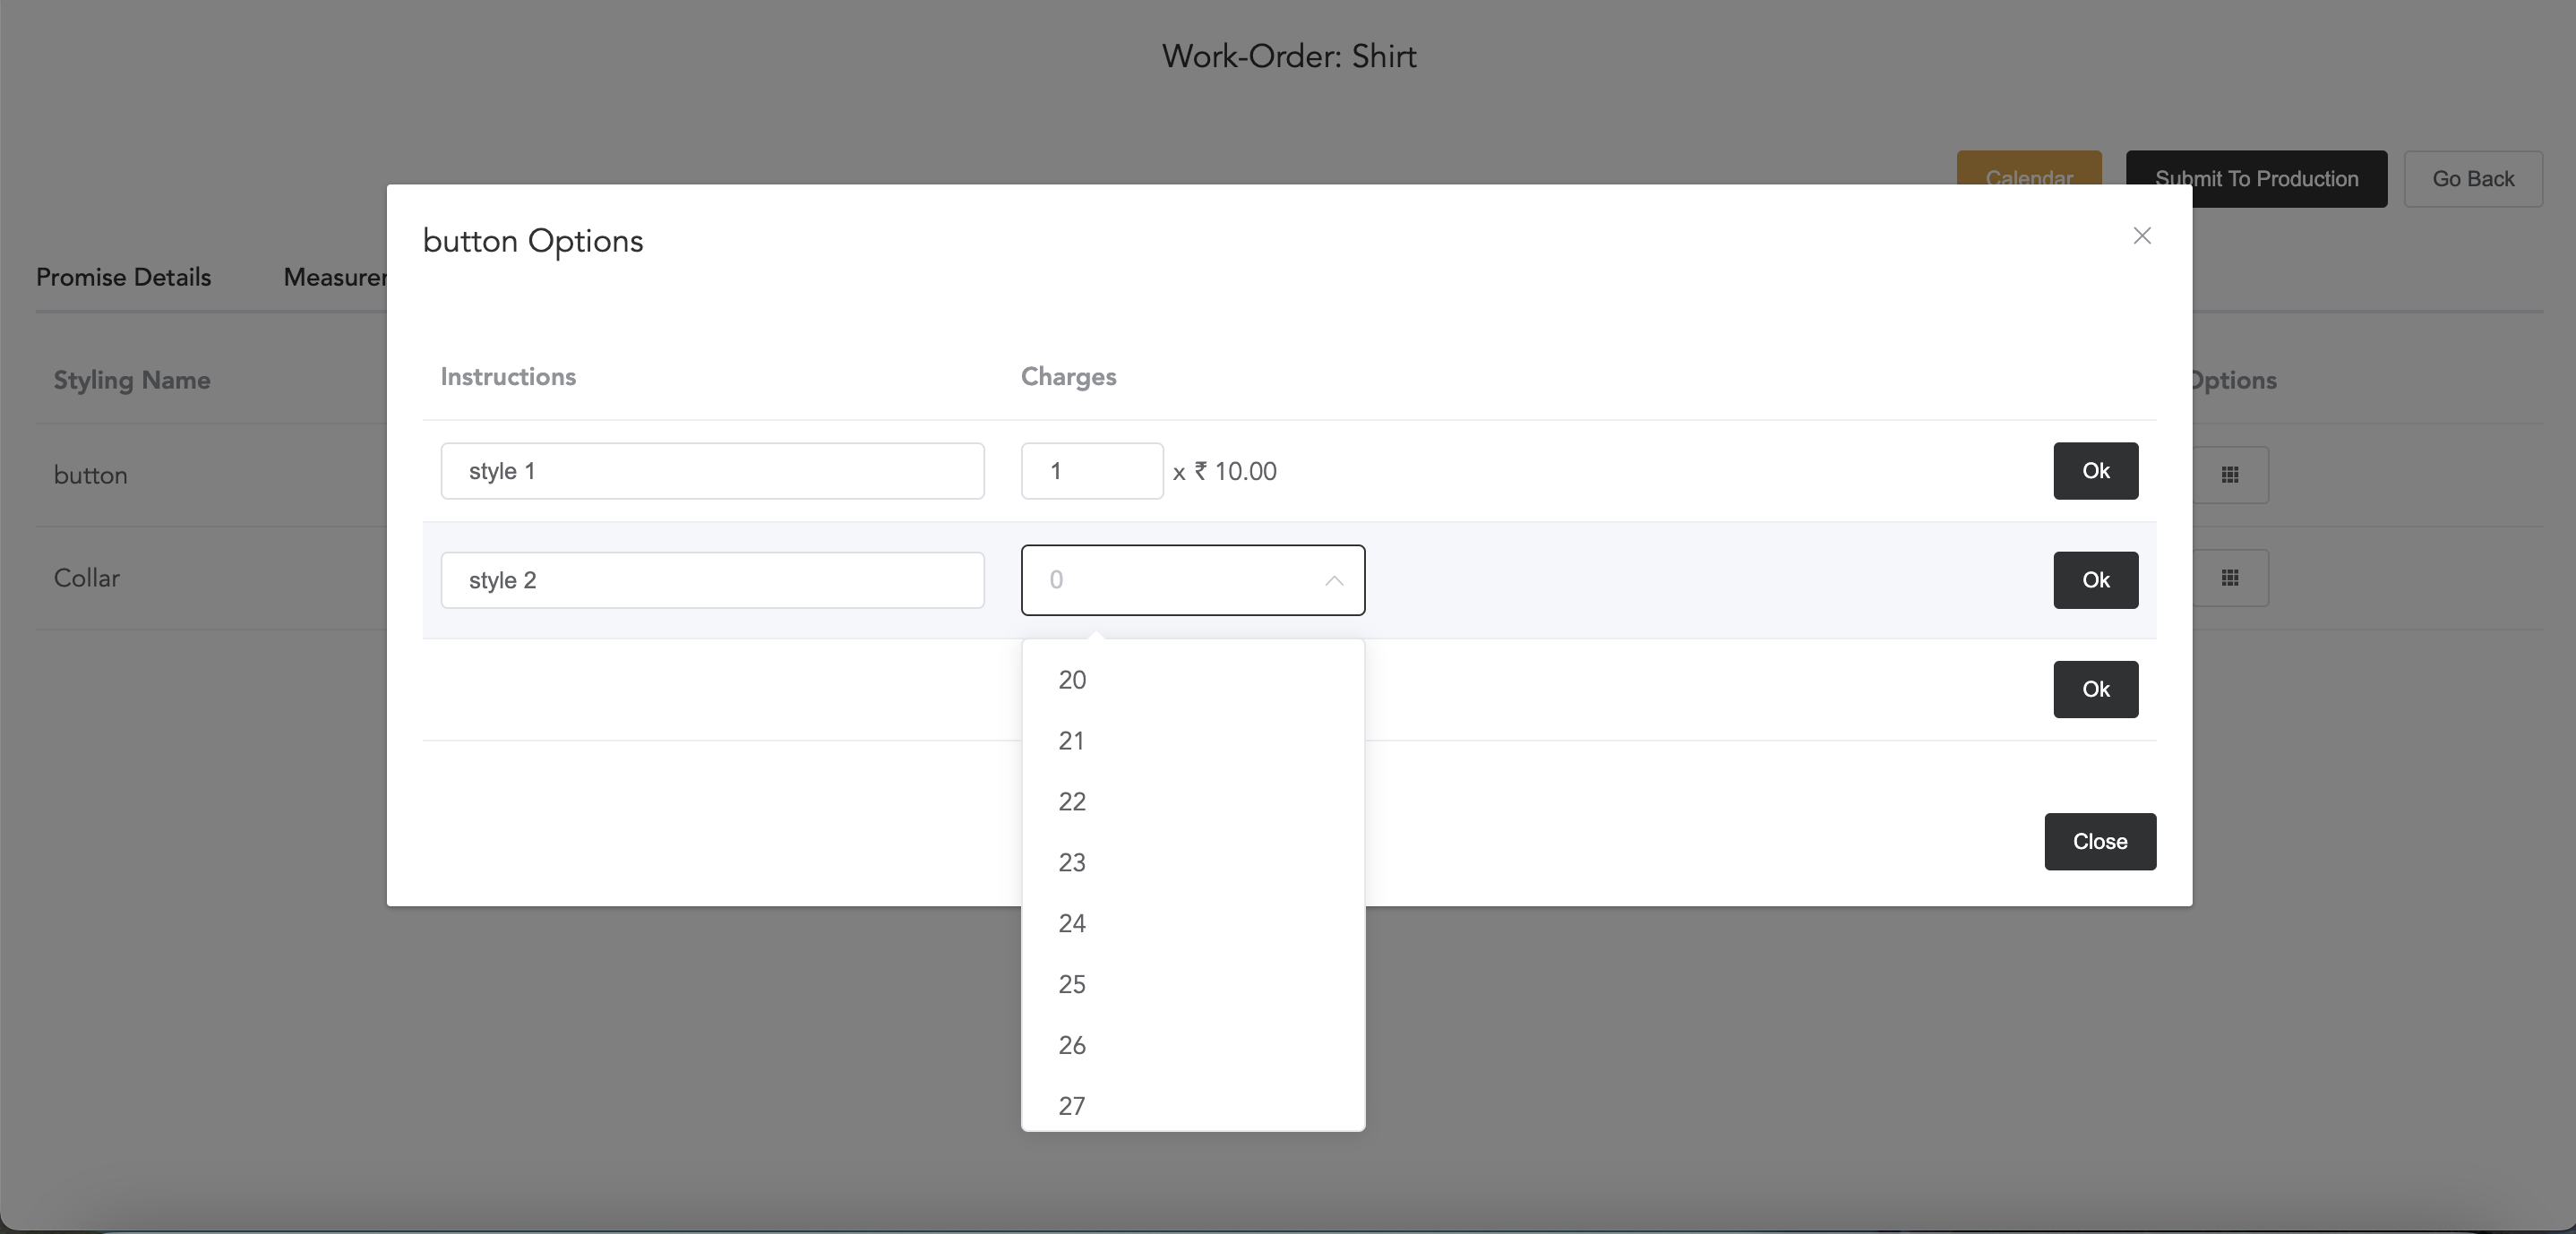
You can select the price which is needed and click on OK to select the style. And the style will be added.
Now as the styles are chosen, you can go to the next option Which is the Production Stages

Now check and select which production stage is required and which is not required. If you have marked any production stage as default from the production master then those production stages will be auto-selected for each work order.
And Add as Add-On option is, if you have submitted the work order to production and work has started then later on, you will be required to add any other production stage, in this case add-on option will come to work. You can again open the work order and select the add-on process. Remember that to make any process available for add-on, you need to select the add-on to enable the option in the production master.
Now comes the Sketch Board. Here, you can sketch any style that will be helpful for the workers.
In the Image section, any images related to the work order can be uploaded.
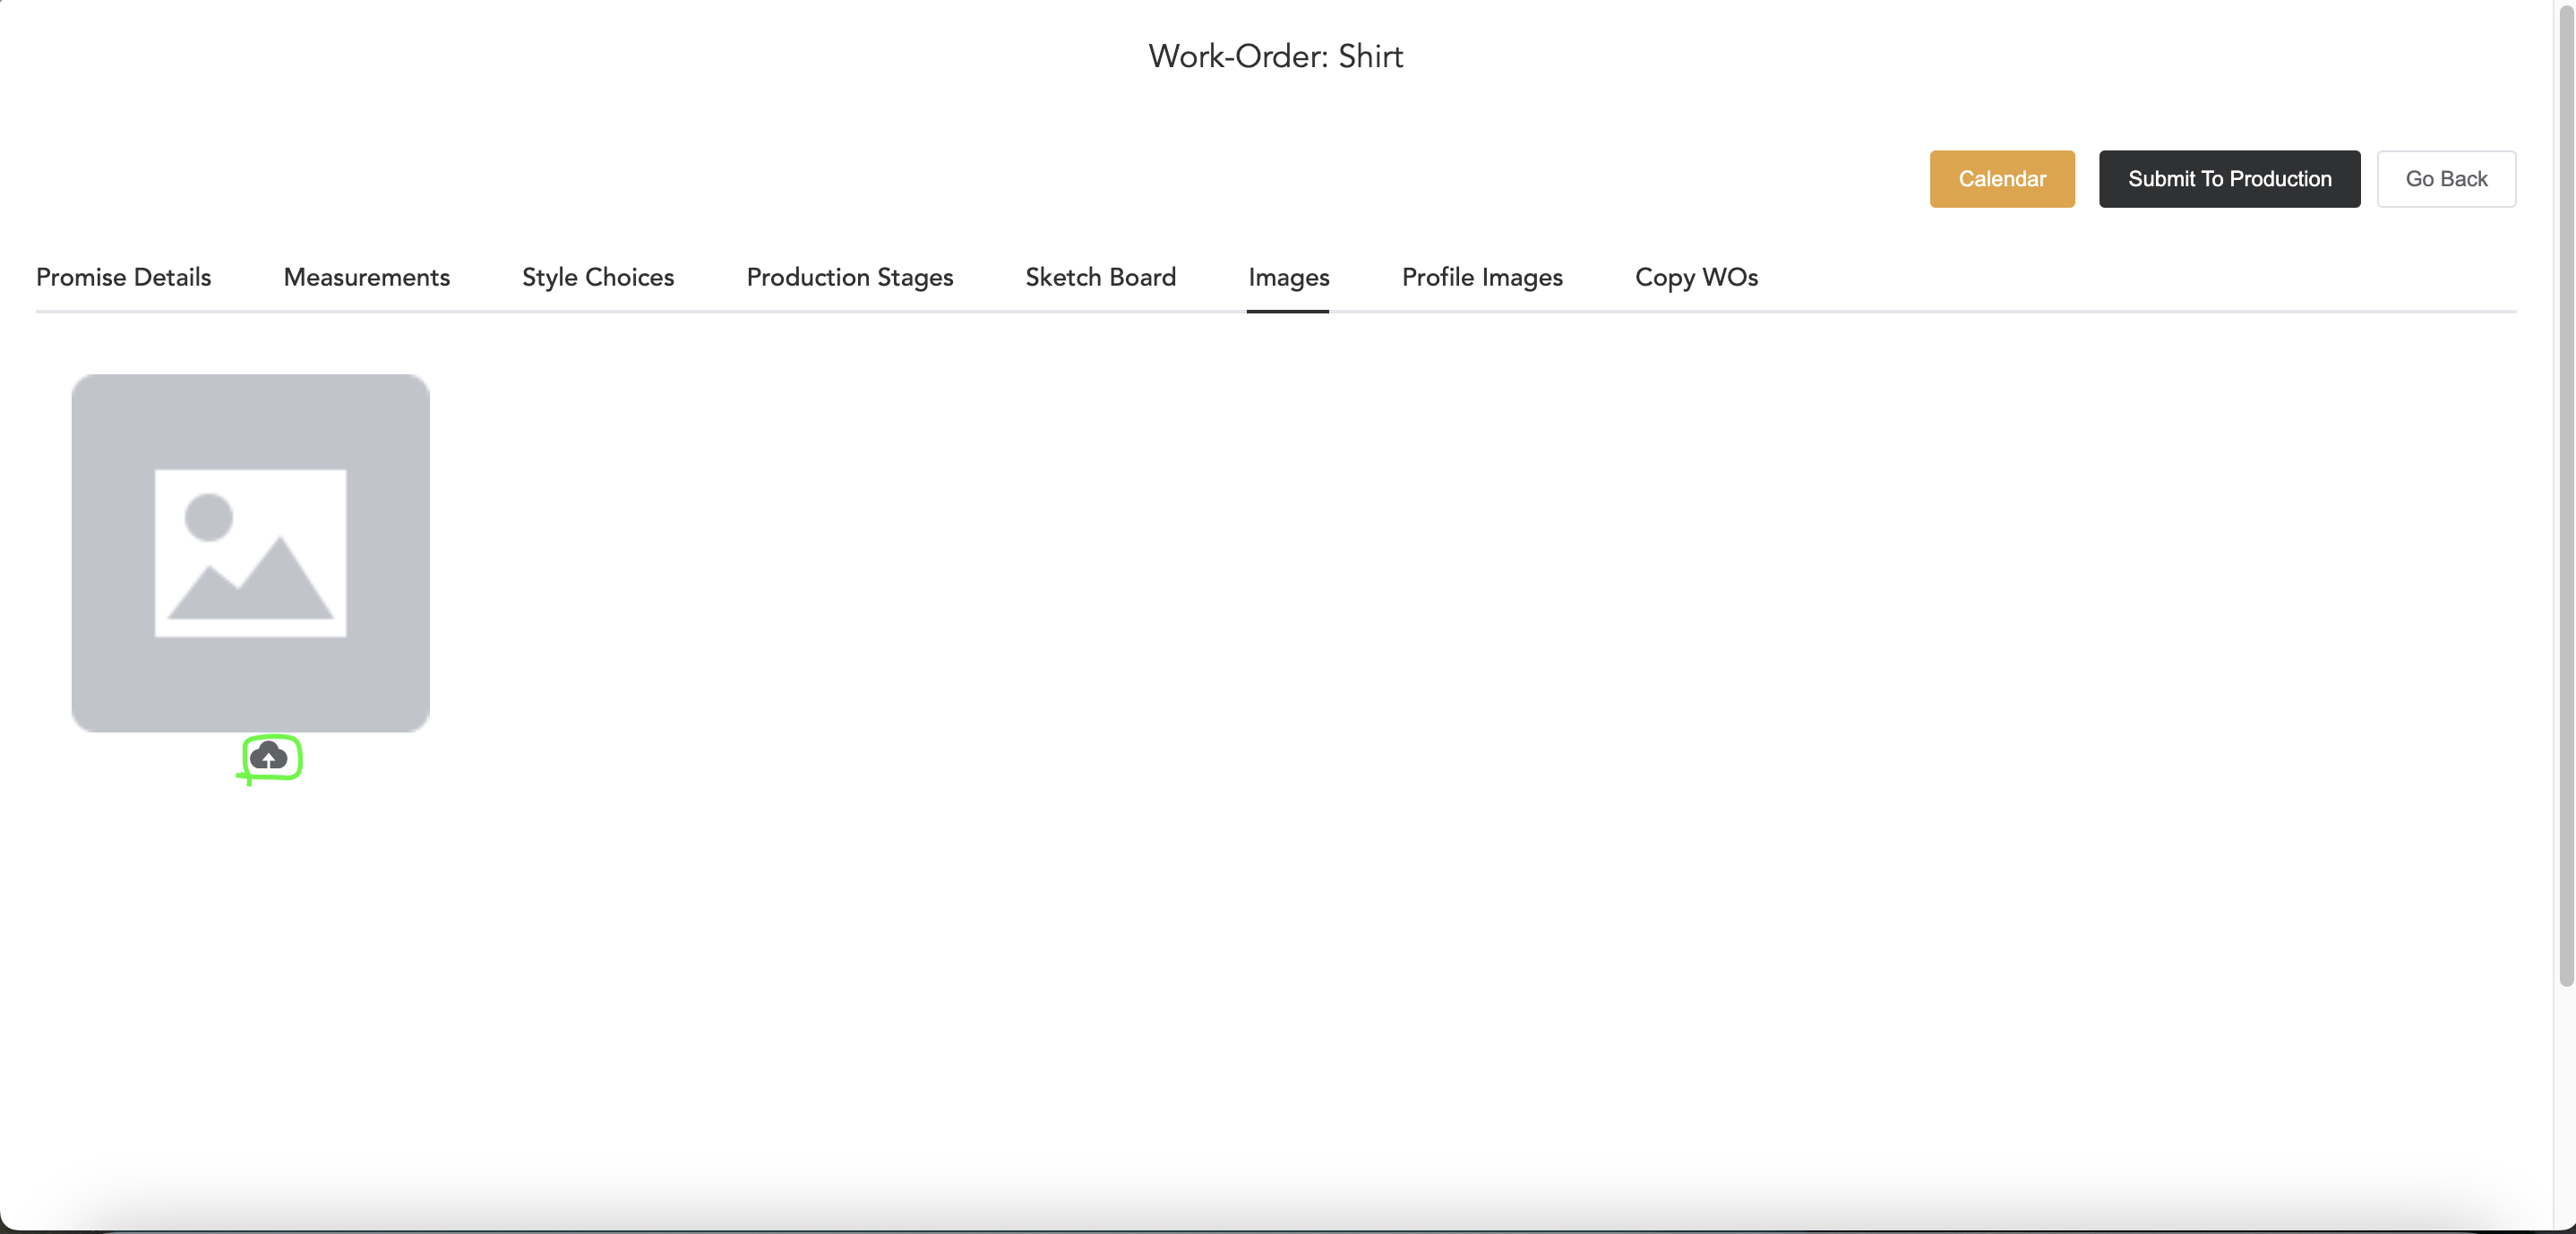
Click on the cloud icon to upload images and multiple images can be uploaded and printed.
In Profile Images, the customer’s body profile images will show up. While registering the customer profile, you can take pictures of the customer’s front profile, back profile, and side profile, and those images will be displayed here and can be printed.
Copy WOs, will help to copy similar work orders. If the order has same two or three items and you want to copy style choices from one work order to another, then you can copy that.
By clicking on the Calendar, you will see the production calendar.
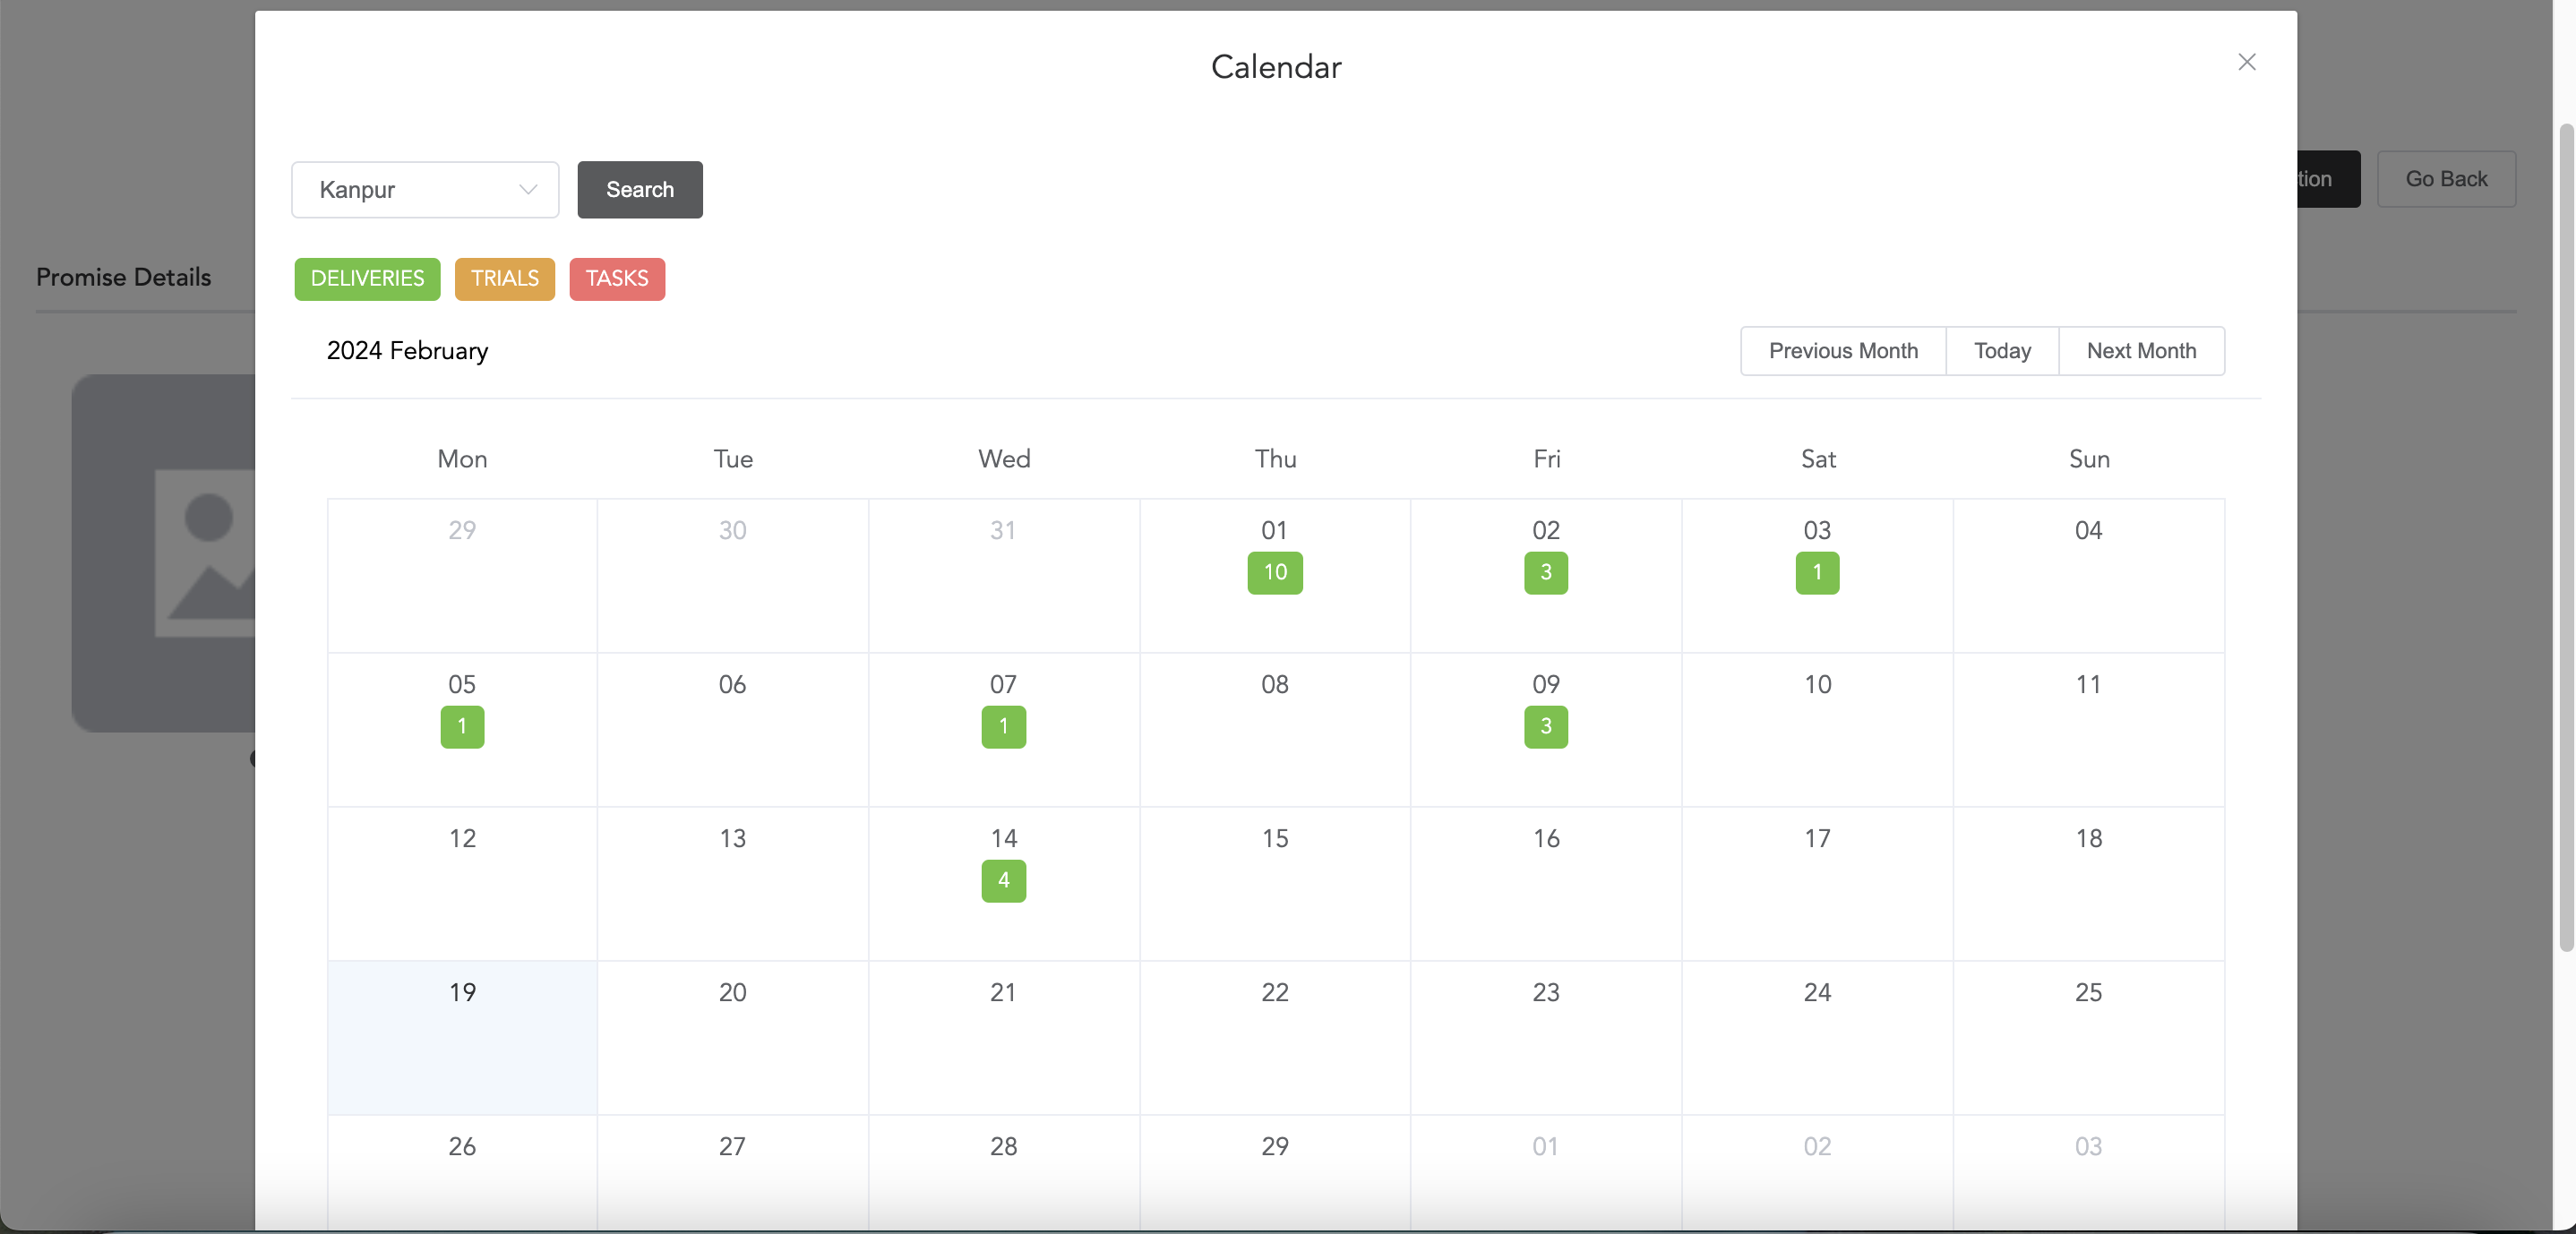
Select the store and click on search, you will see the deliveries, trials and tasks.
Once all the things are updated, you can submit the work order to production.