Tally Integration
Enabling Tally will let users select the appropriate tally synonym for their account categories and tax categories. The tally account data can be exported as an Excel sheet format.
To enable tally, go to Preferences and then Sales Prefs.
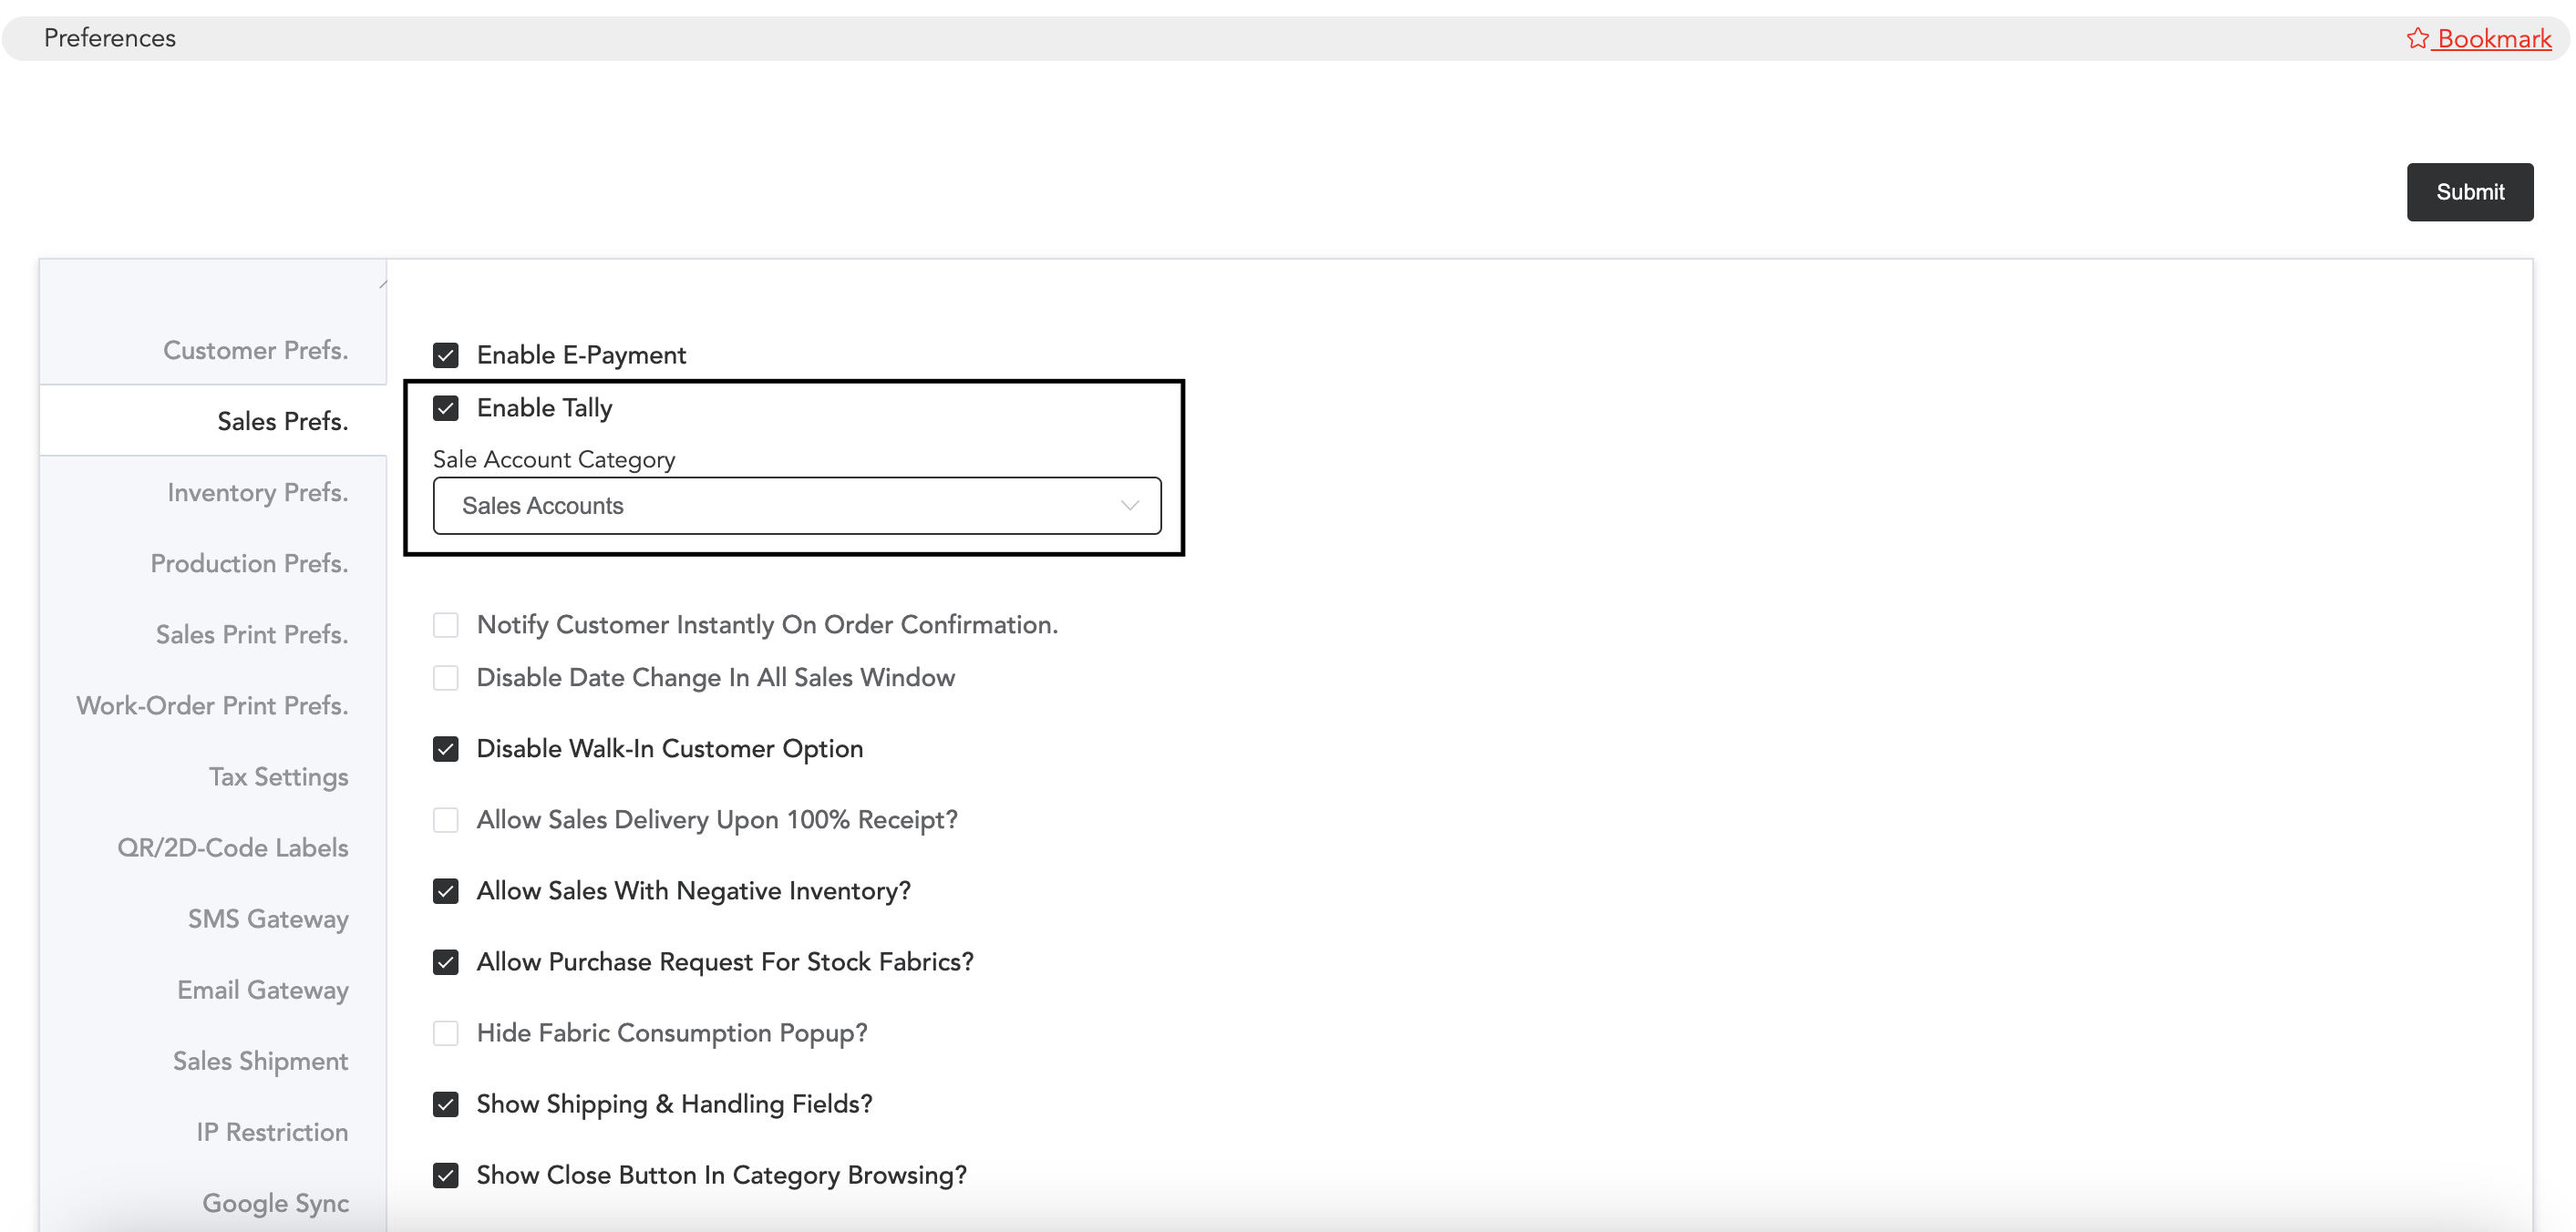
Select the option Enable Tally form here and select the Sale Account Category.
All the account categories with their tally synonyms can be created in the Setup->Accounts Setup->Account Categories.
Before you create ‘Account Categories’, if there are any taxes related to your business, you may add them and define the tally synonym there.
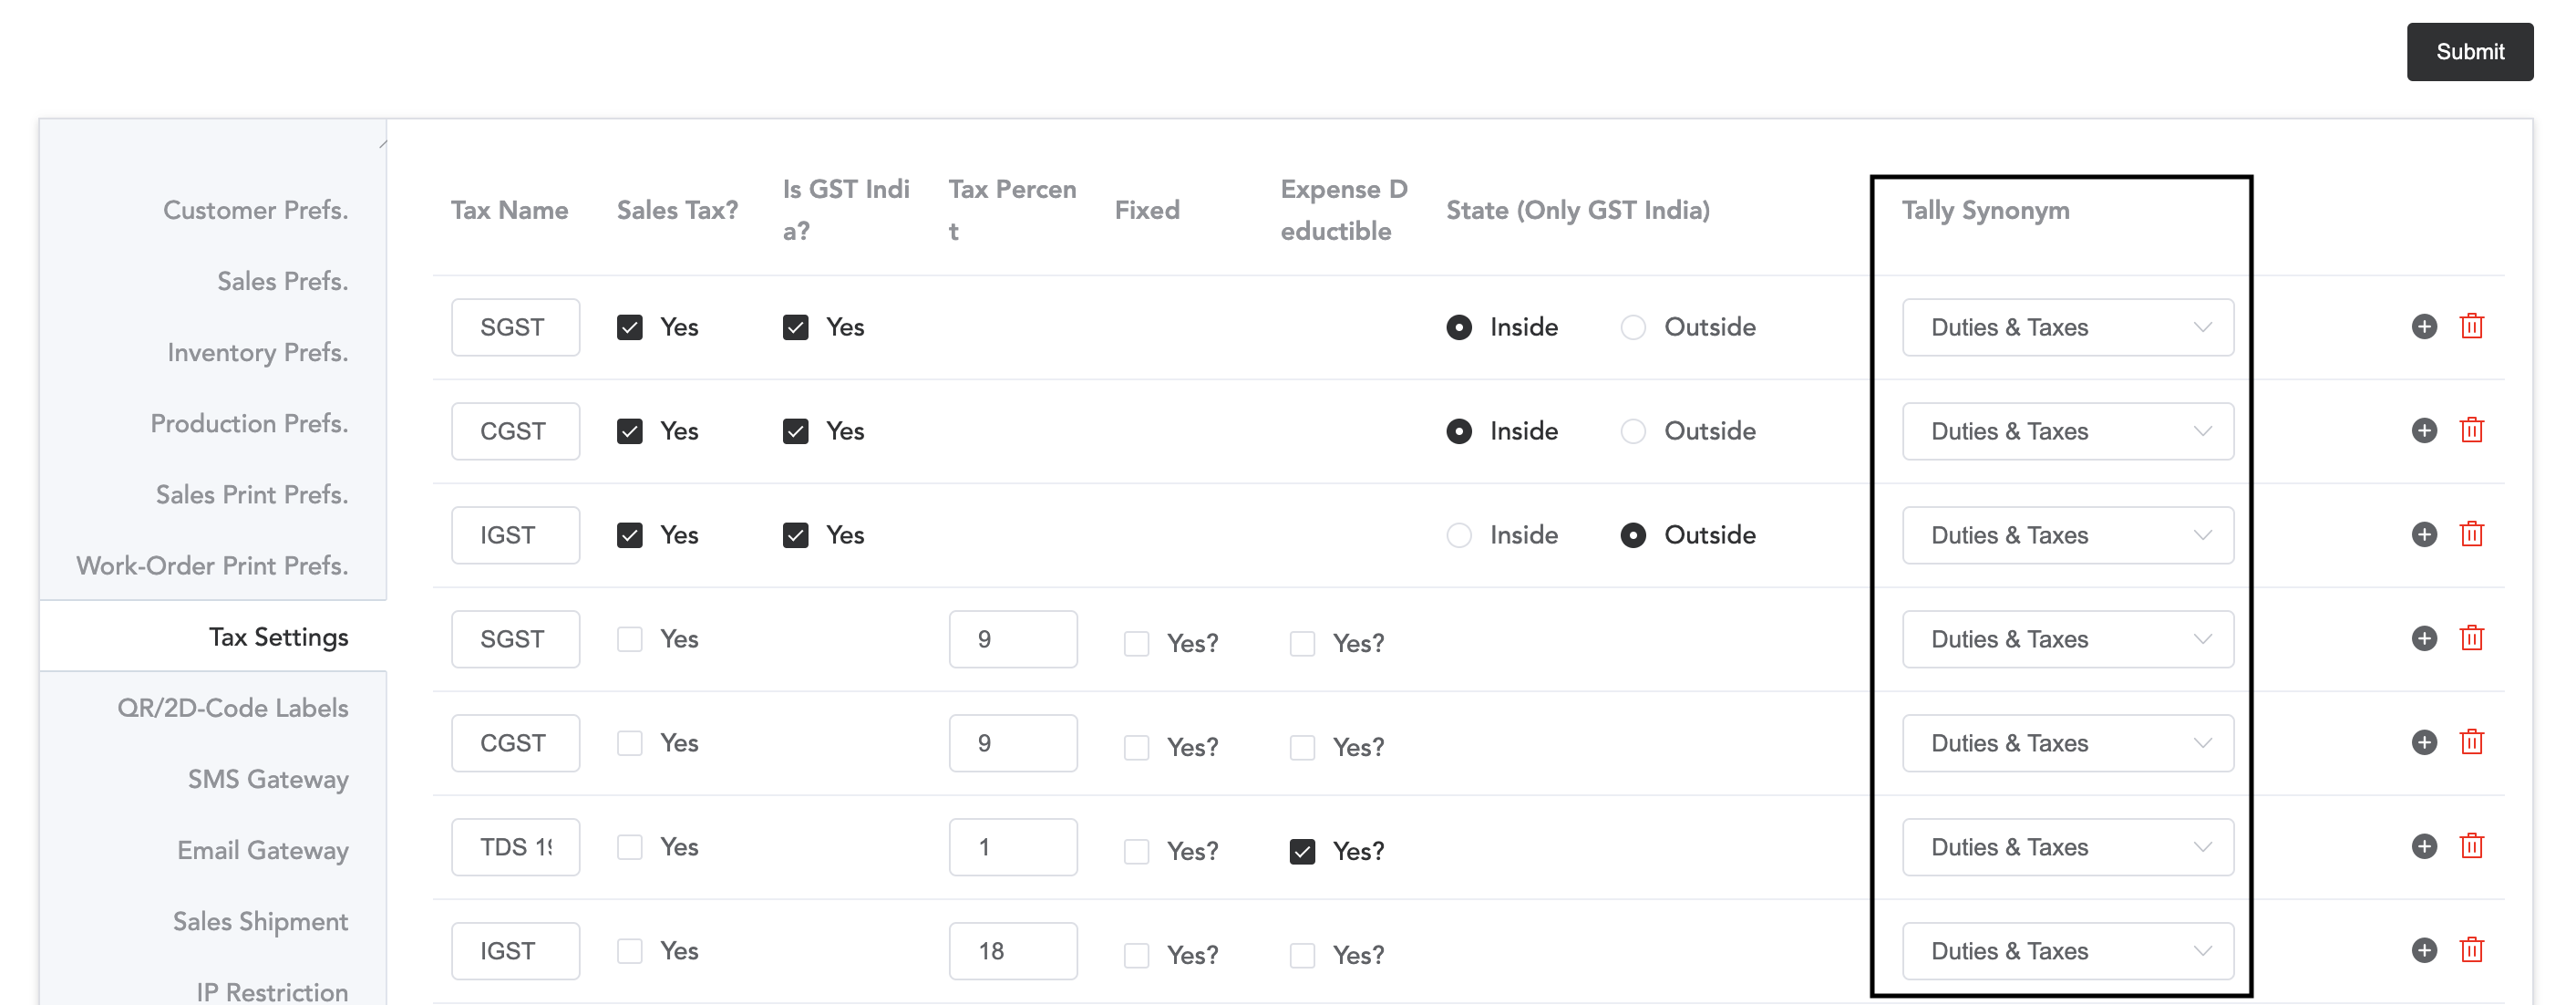
Add the taxes and select the tally synonym.
Next, you can create account categories in the Setup->Accounts Setup->Account Categories.
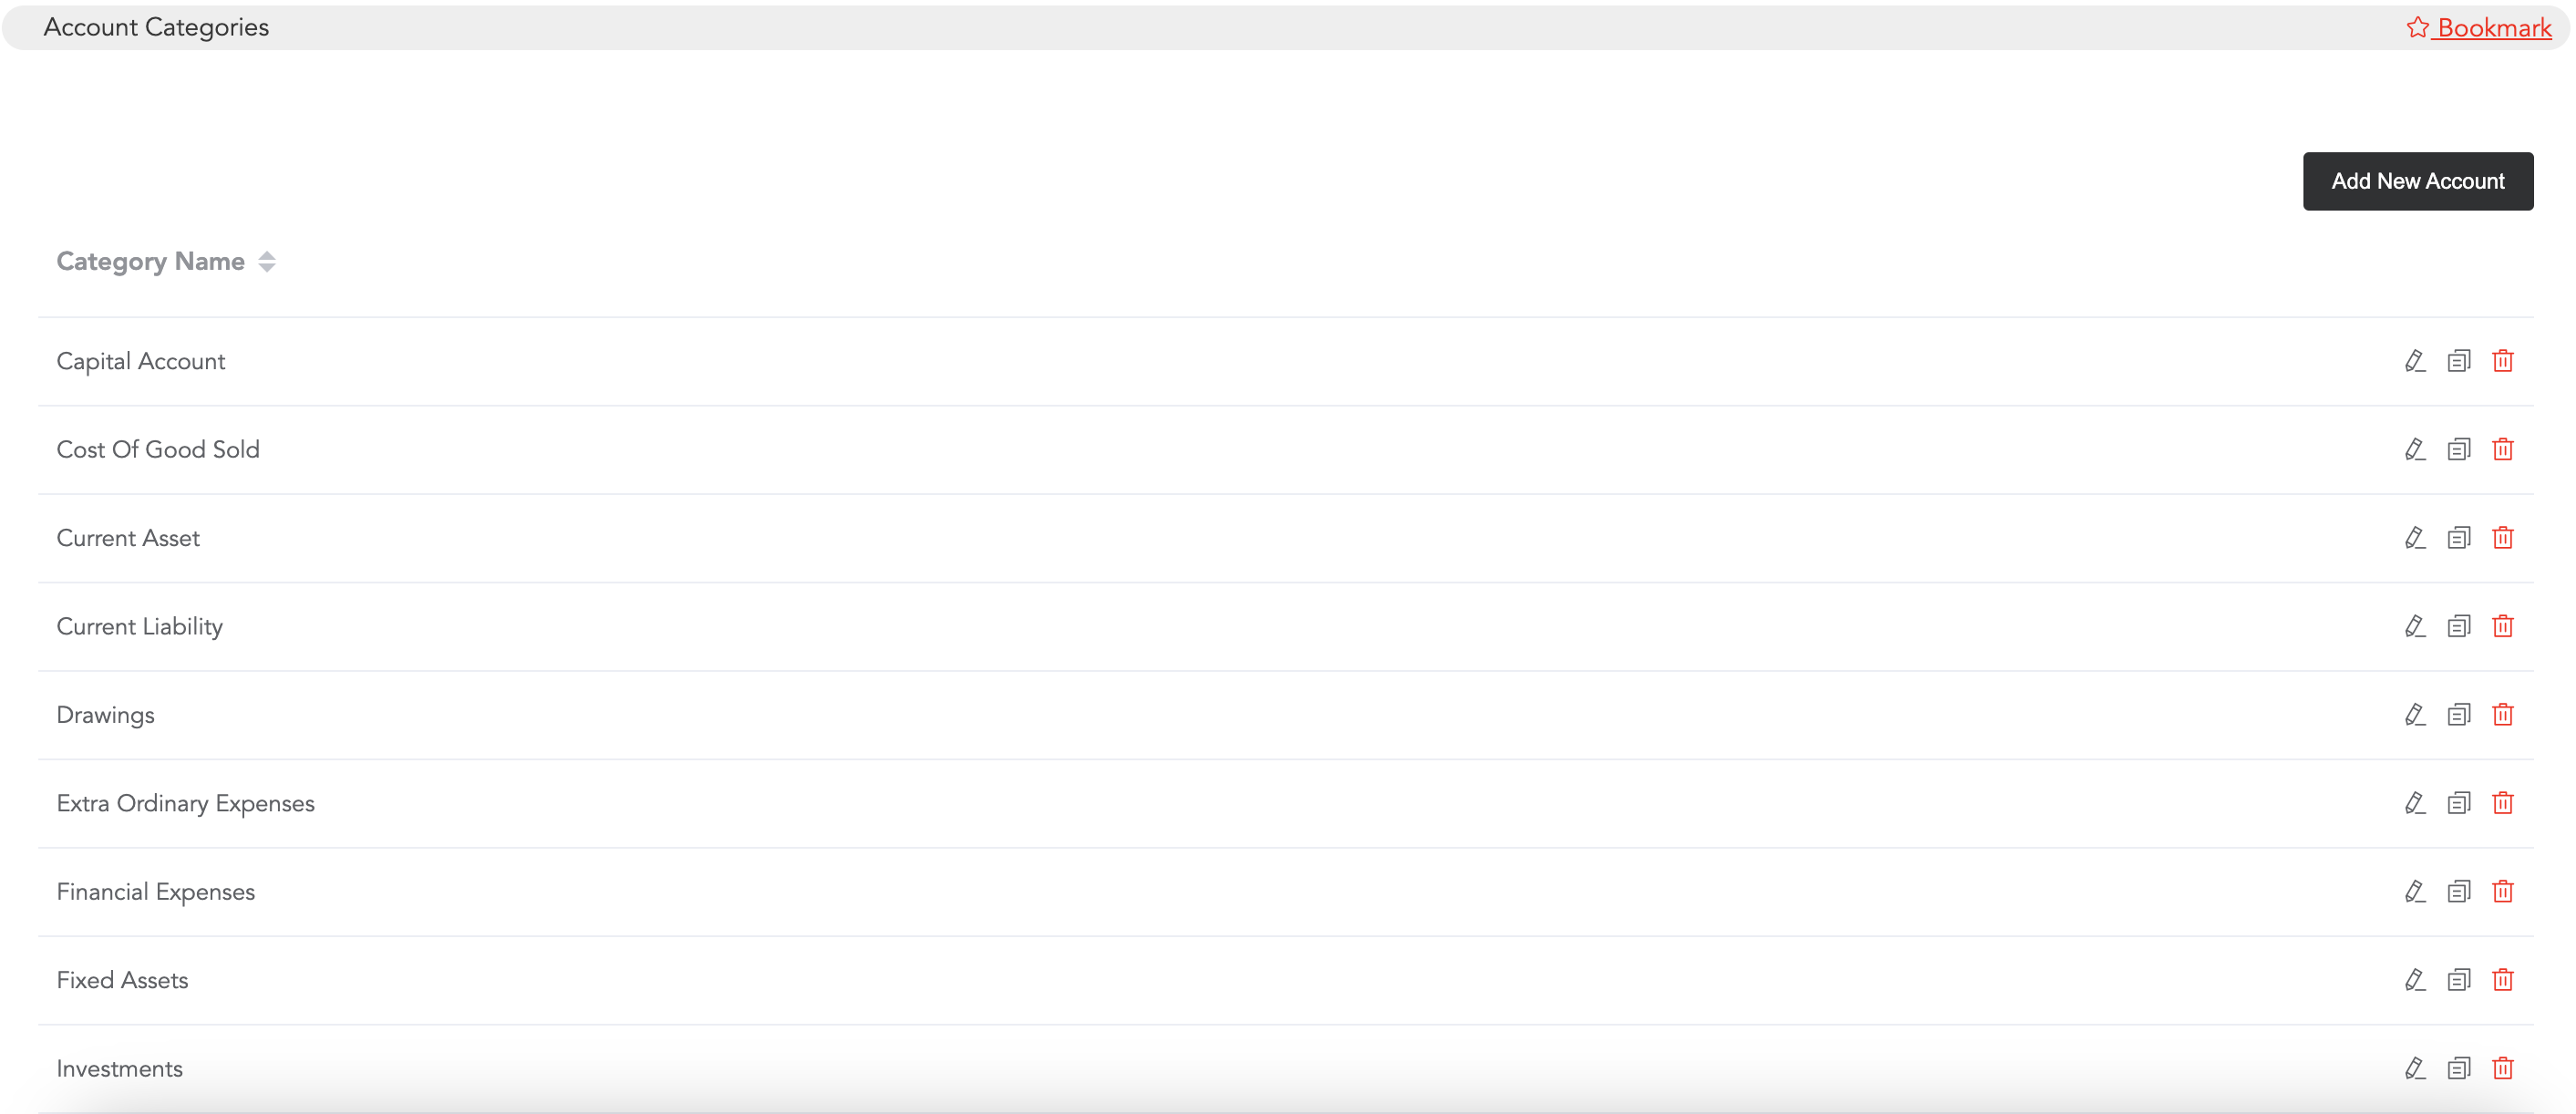
Click on Add New Category and add the category and subcategories of each account category. Remember that adding the subcategories is mandatory.
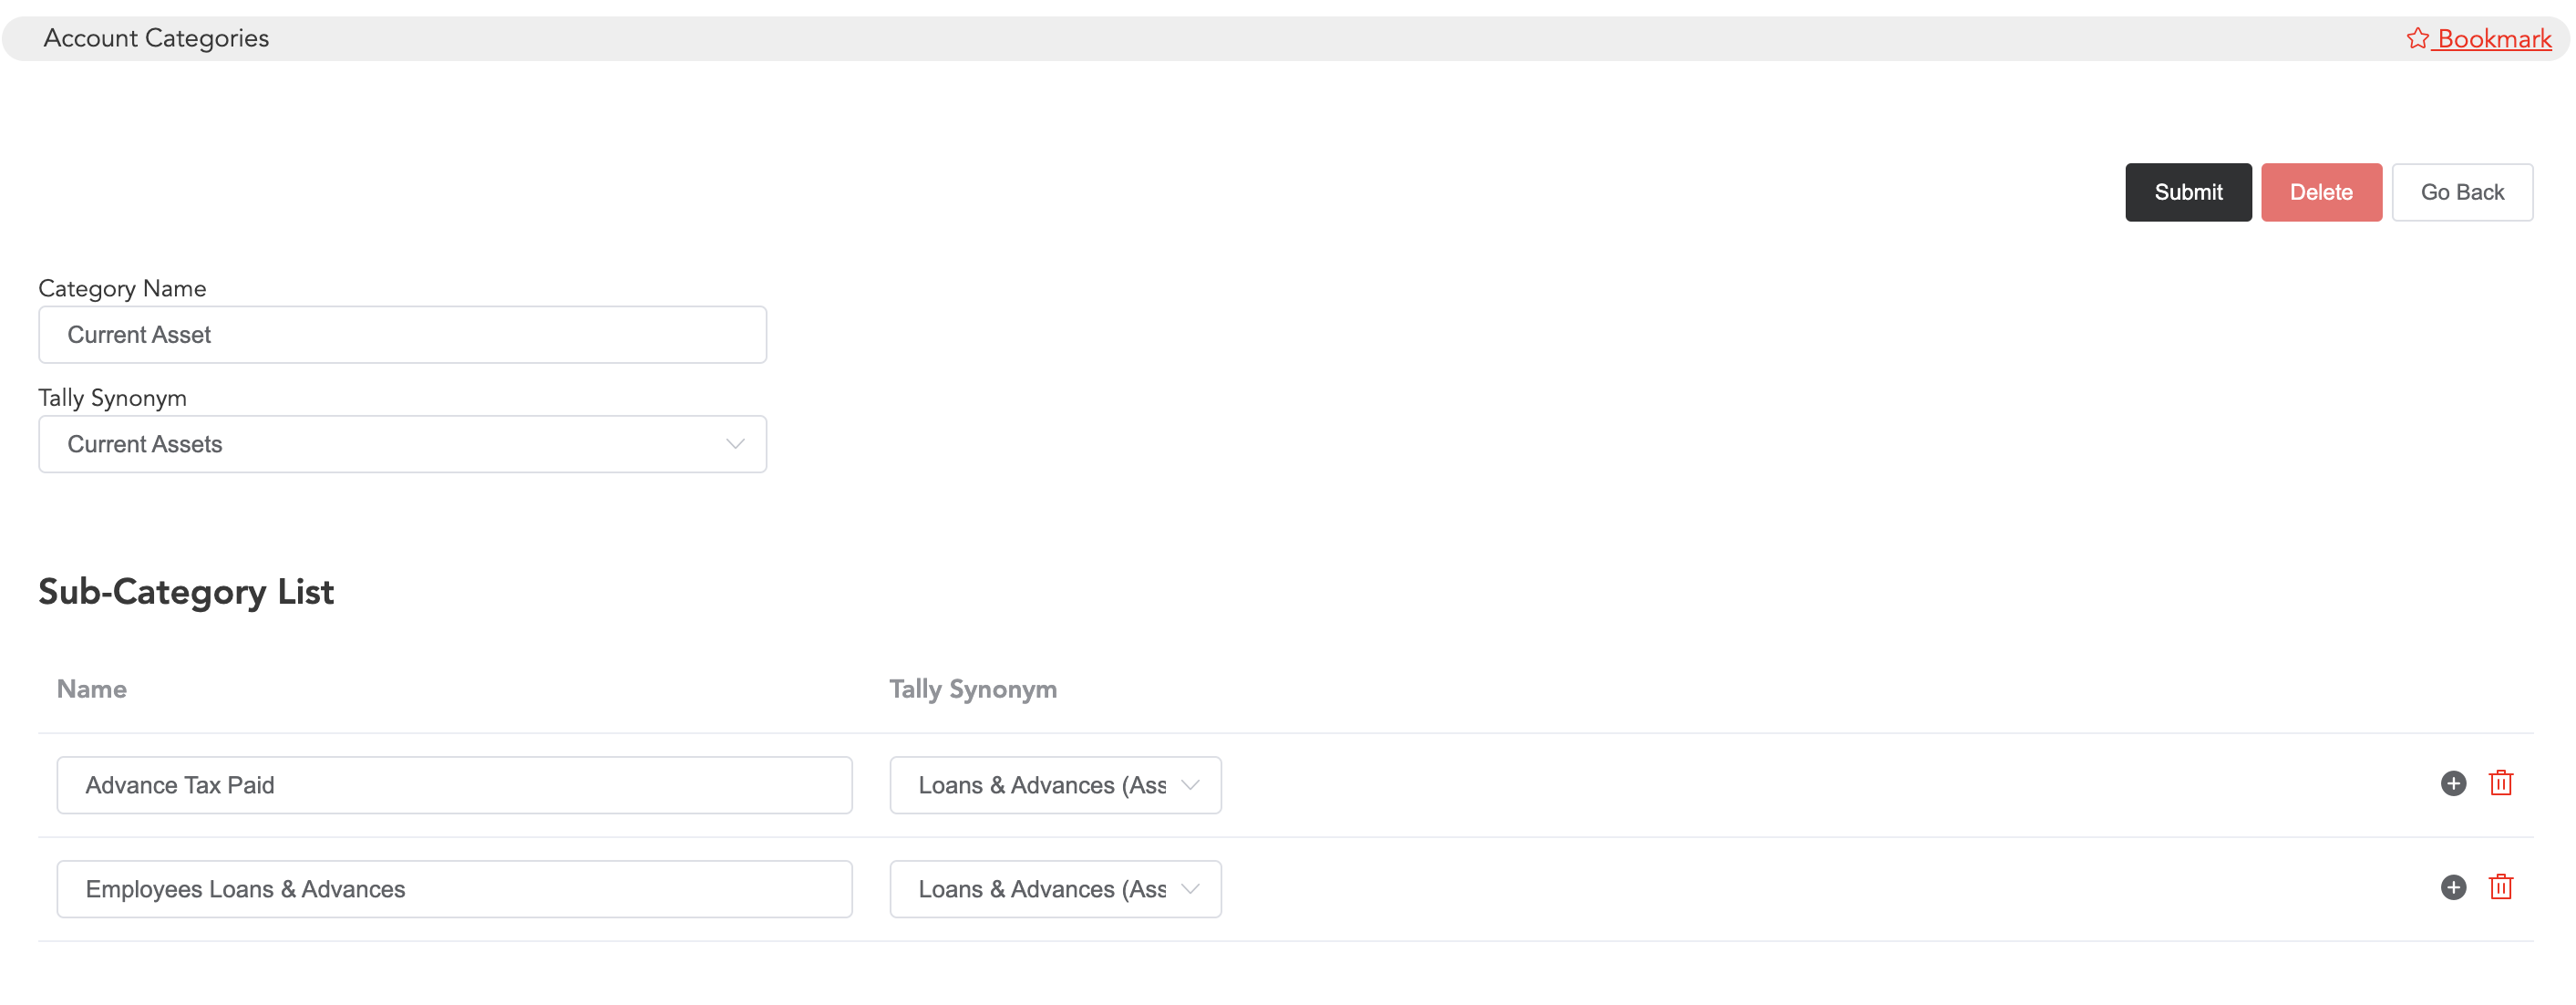
Enter the ‘Category Name’ and select the ‘Tally Synonym’ for that account category. Then, enter the sub-category name in the sub-category name field and select appropriate tally synonyms for each sub-category. Multiple sub-categories can be added by clicking the plus sign.
Once done, click on Submit. Then, the account category will be saved.
Also, while defining the bank names in the system, you get to choose the tally synonym. To add the bank names, go to Setup->Account Setup->Bank Names.
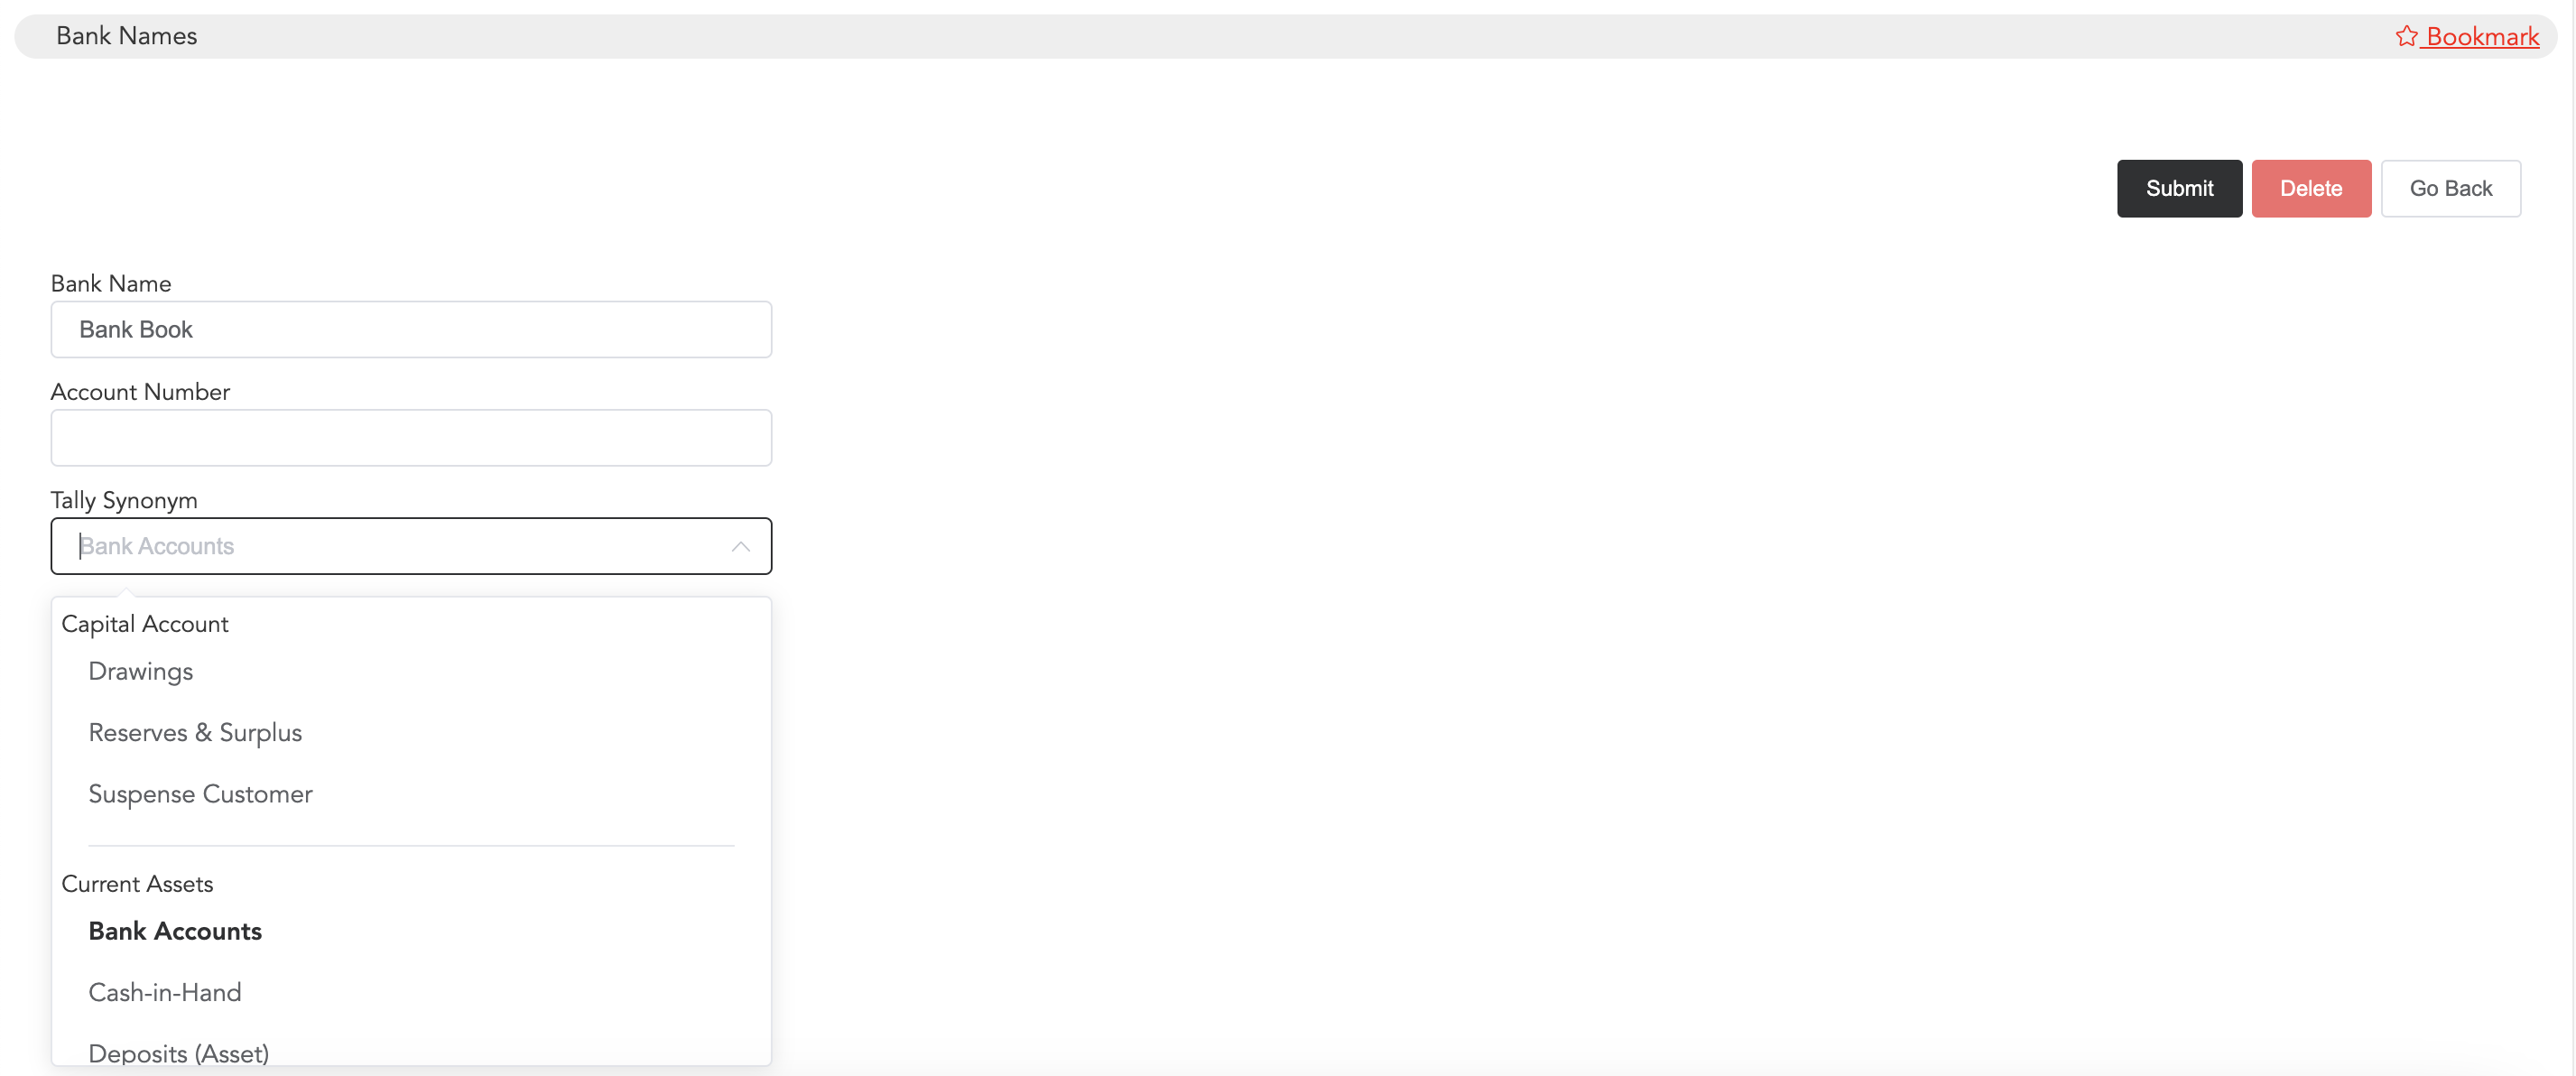
Enter the bank name and account number (if necessary) and select the tally synonym for that. Then submit.
So once you link all the things, you are done with the tally accounting process in the system. And whenever you want the accounting details, you may export them. To export the tally data, go to the Tools
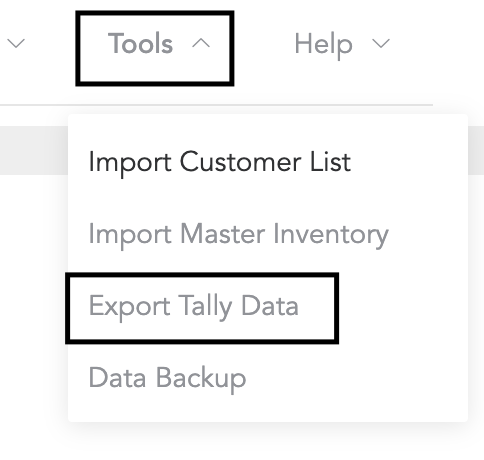
Click on Export Tally Data to receive the datasheet.