E-Store Customization II
In this part, you will understand the process of making all the items available online from the backend. Also, the website menus can be configured from here, and item categories that will be displayed on the website can be added.
To configure the details, go to the E-Store Module
Configure Categories
Different categories can be added, and you can add products to those categories. To add the categories, go to E-store, then Categories.
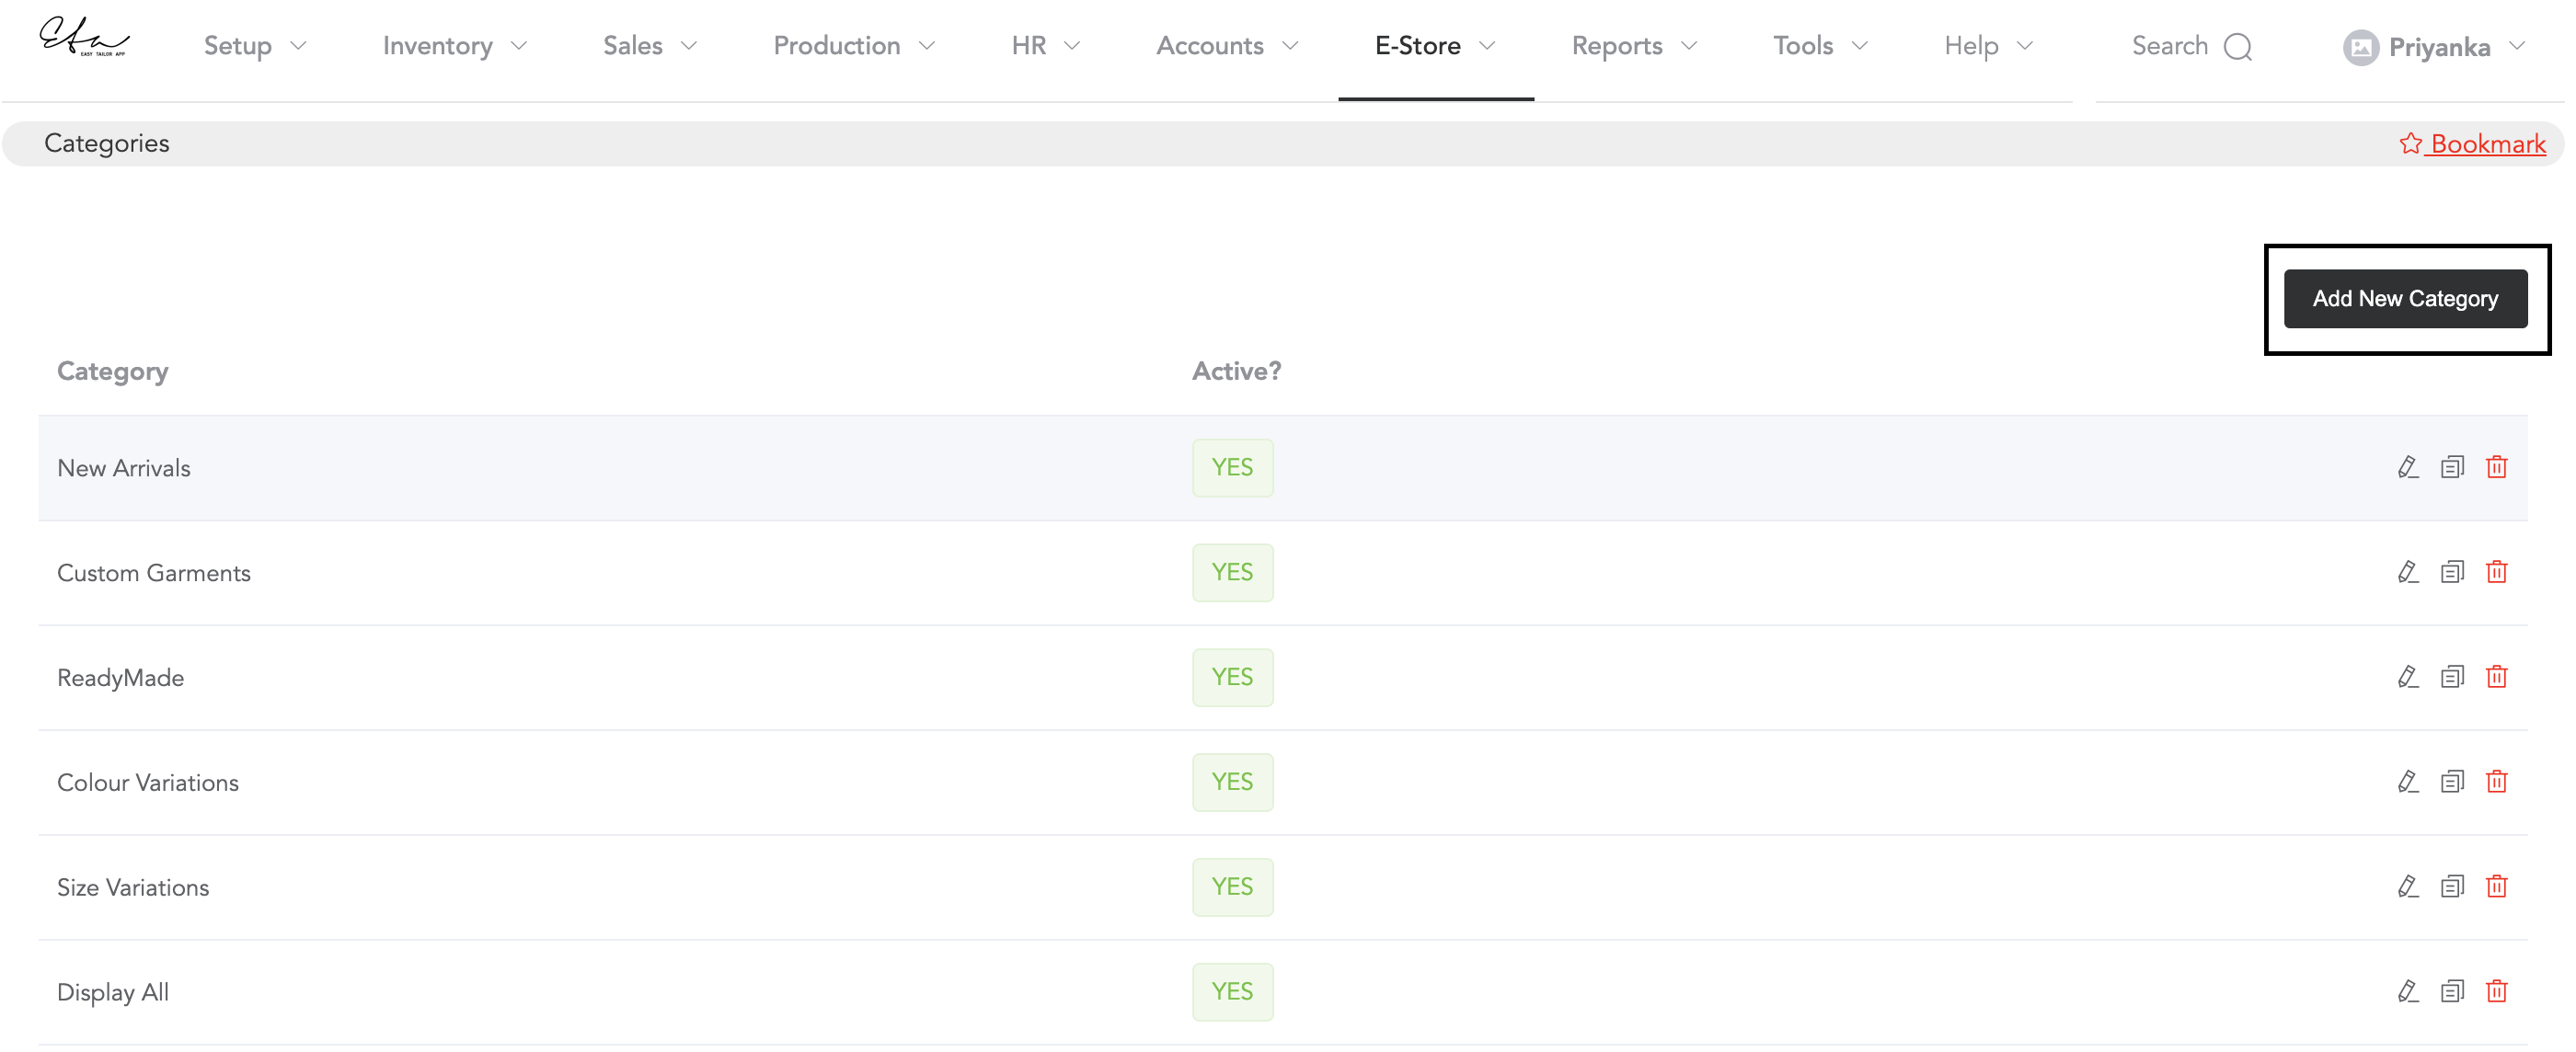
Click on Add New Category,
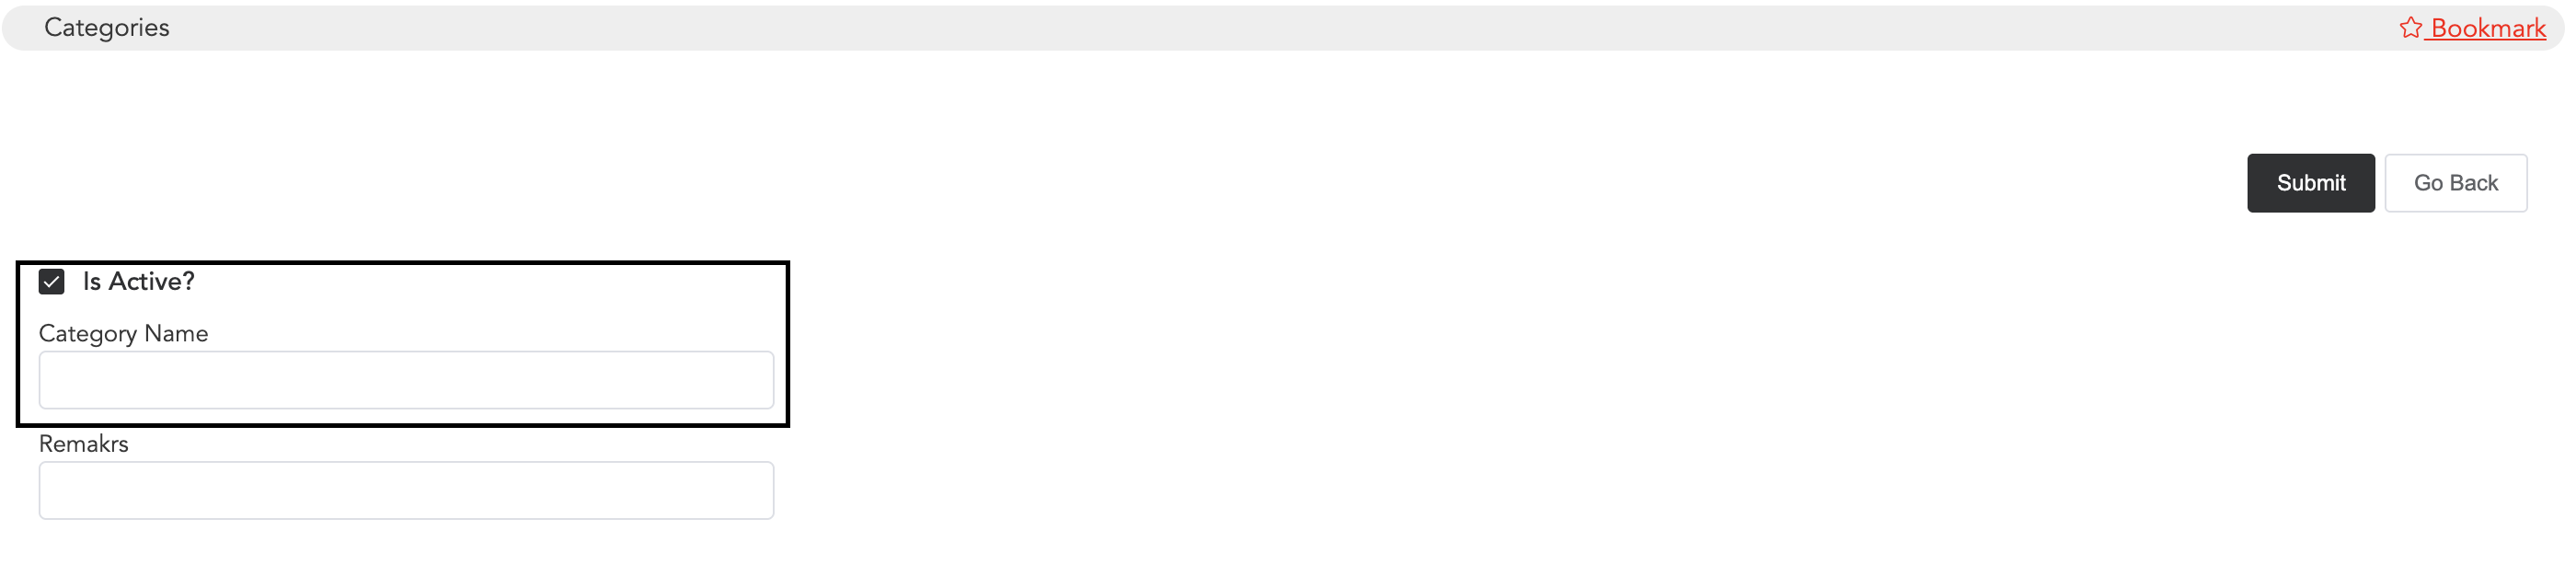
Enable the option ‘Is Active,‘ then add the category name and submit. You may add any remarks for internal use.
This way, all the categories can be added, and those will be displayed on the website.
Making Products Available on the Website
To add the products online, go to E-Store and then Products.
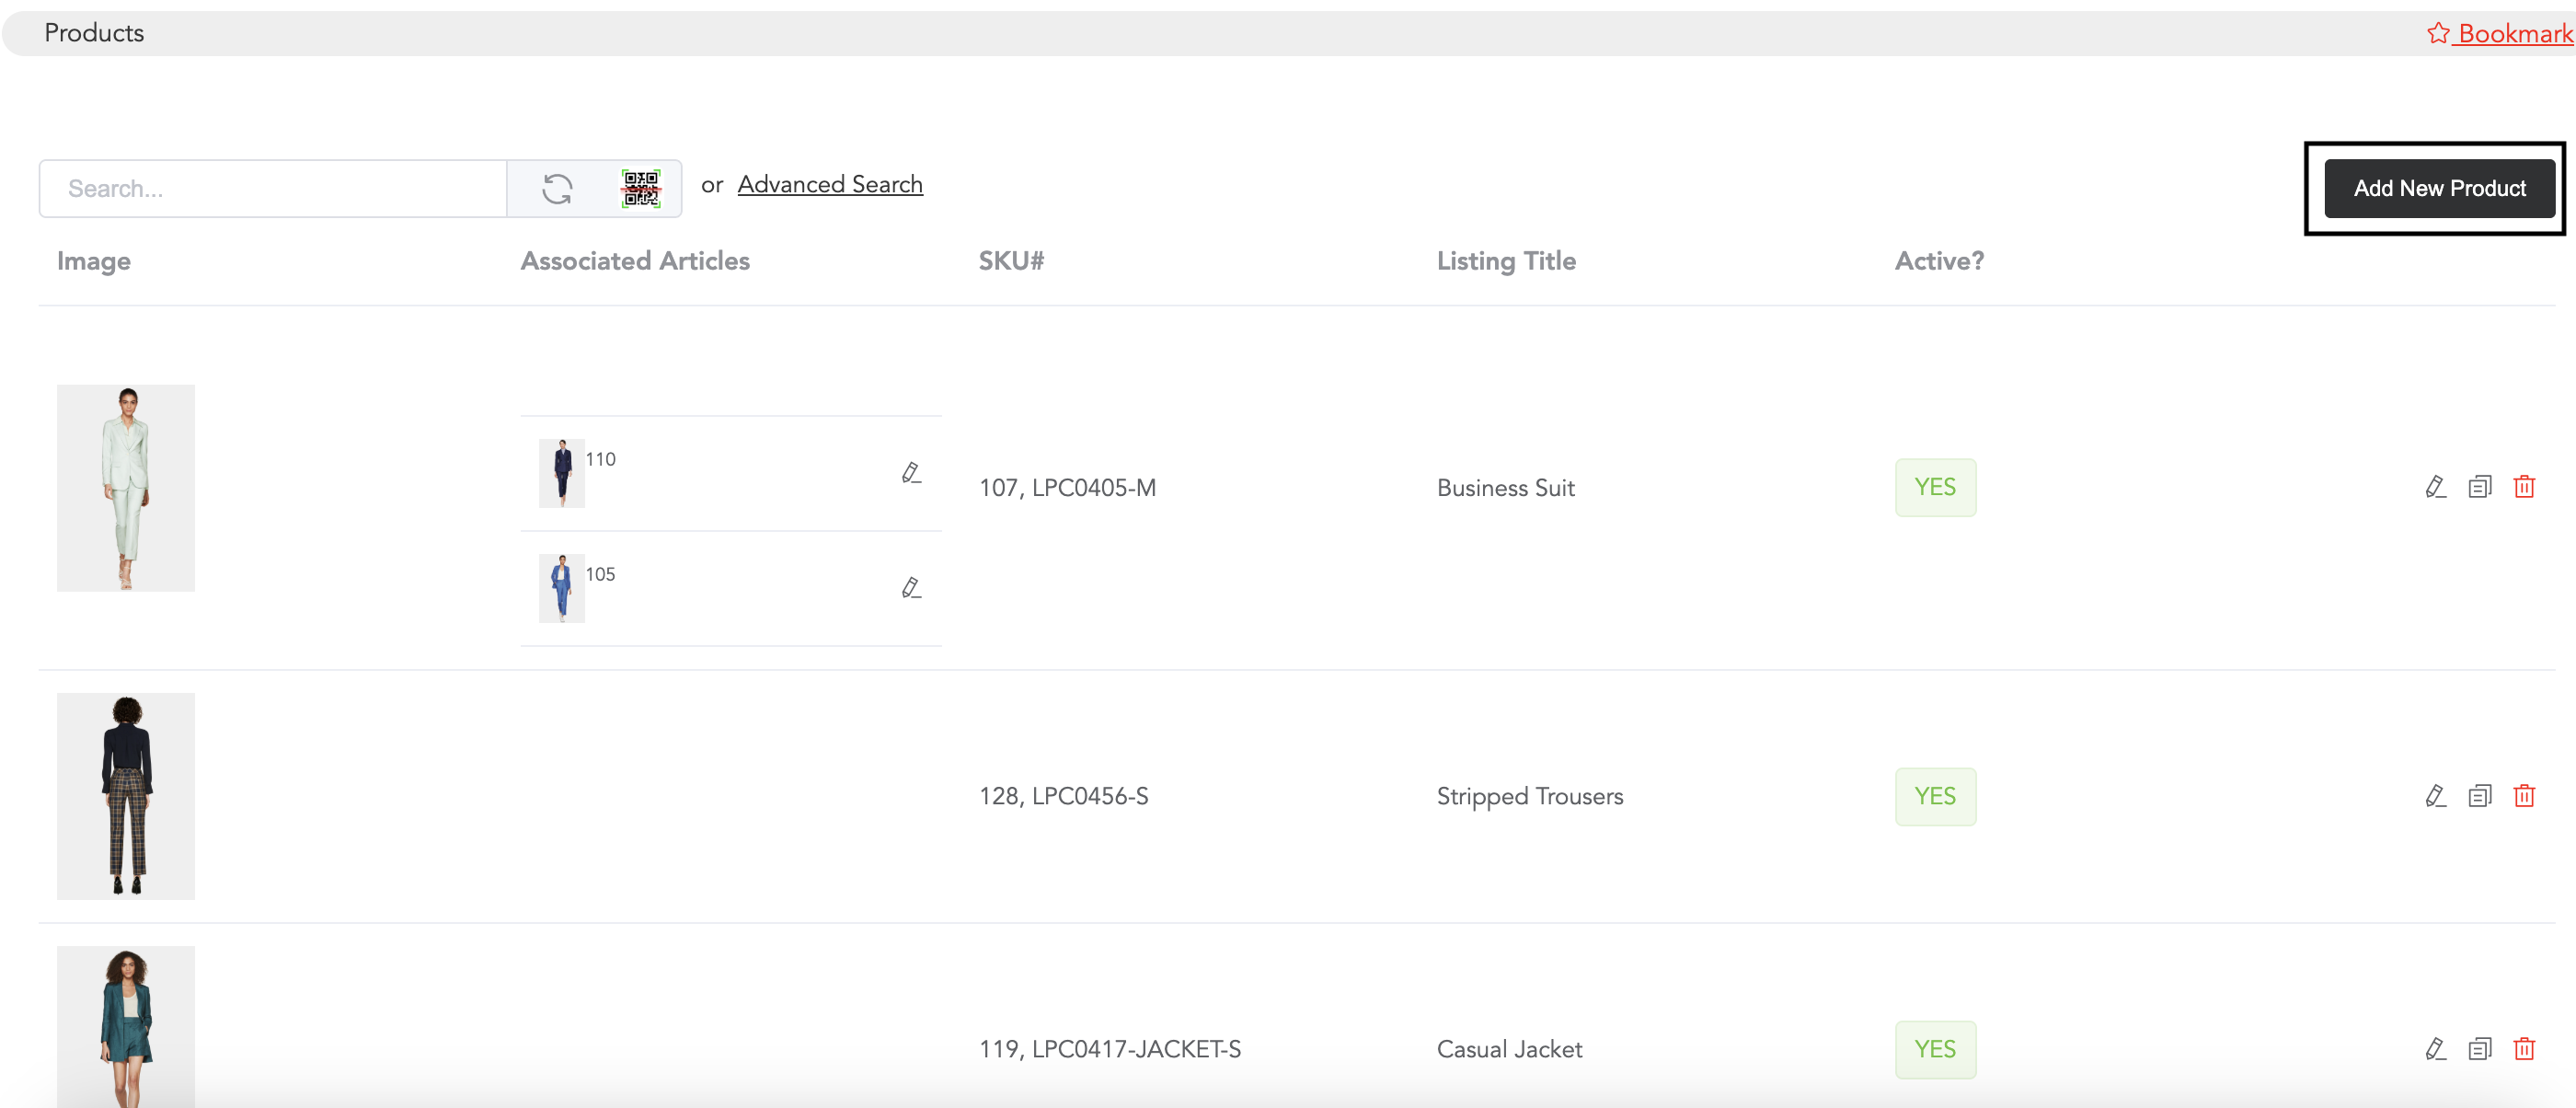
Add Products by clicking on ‘Add New Product’.
Basic Info.
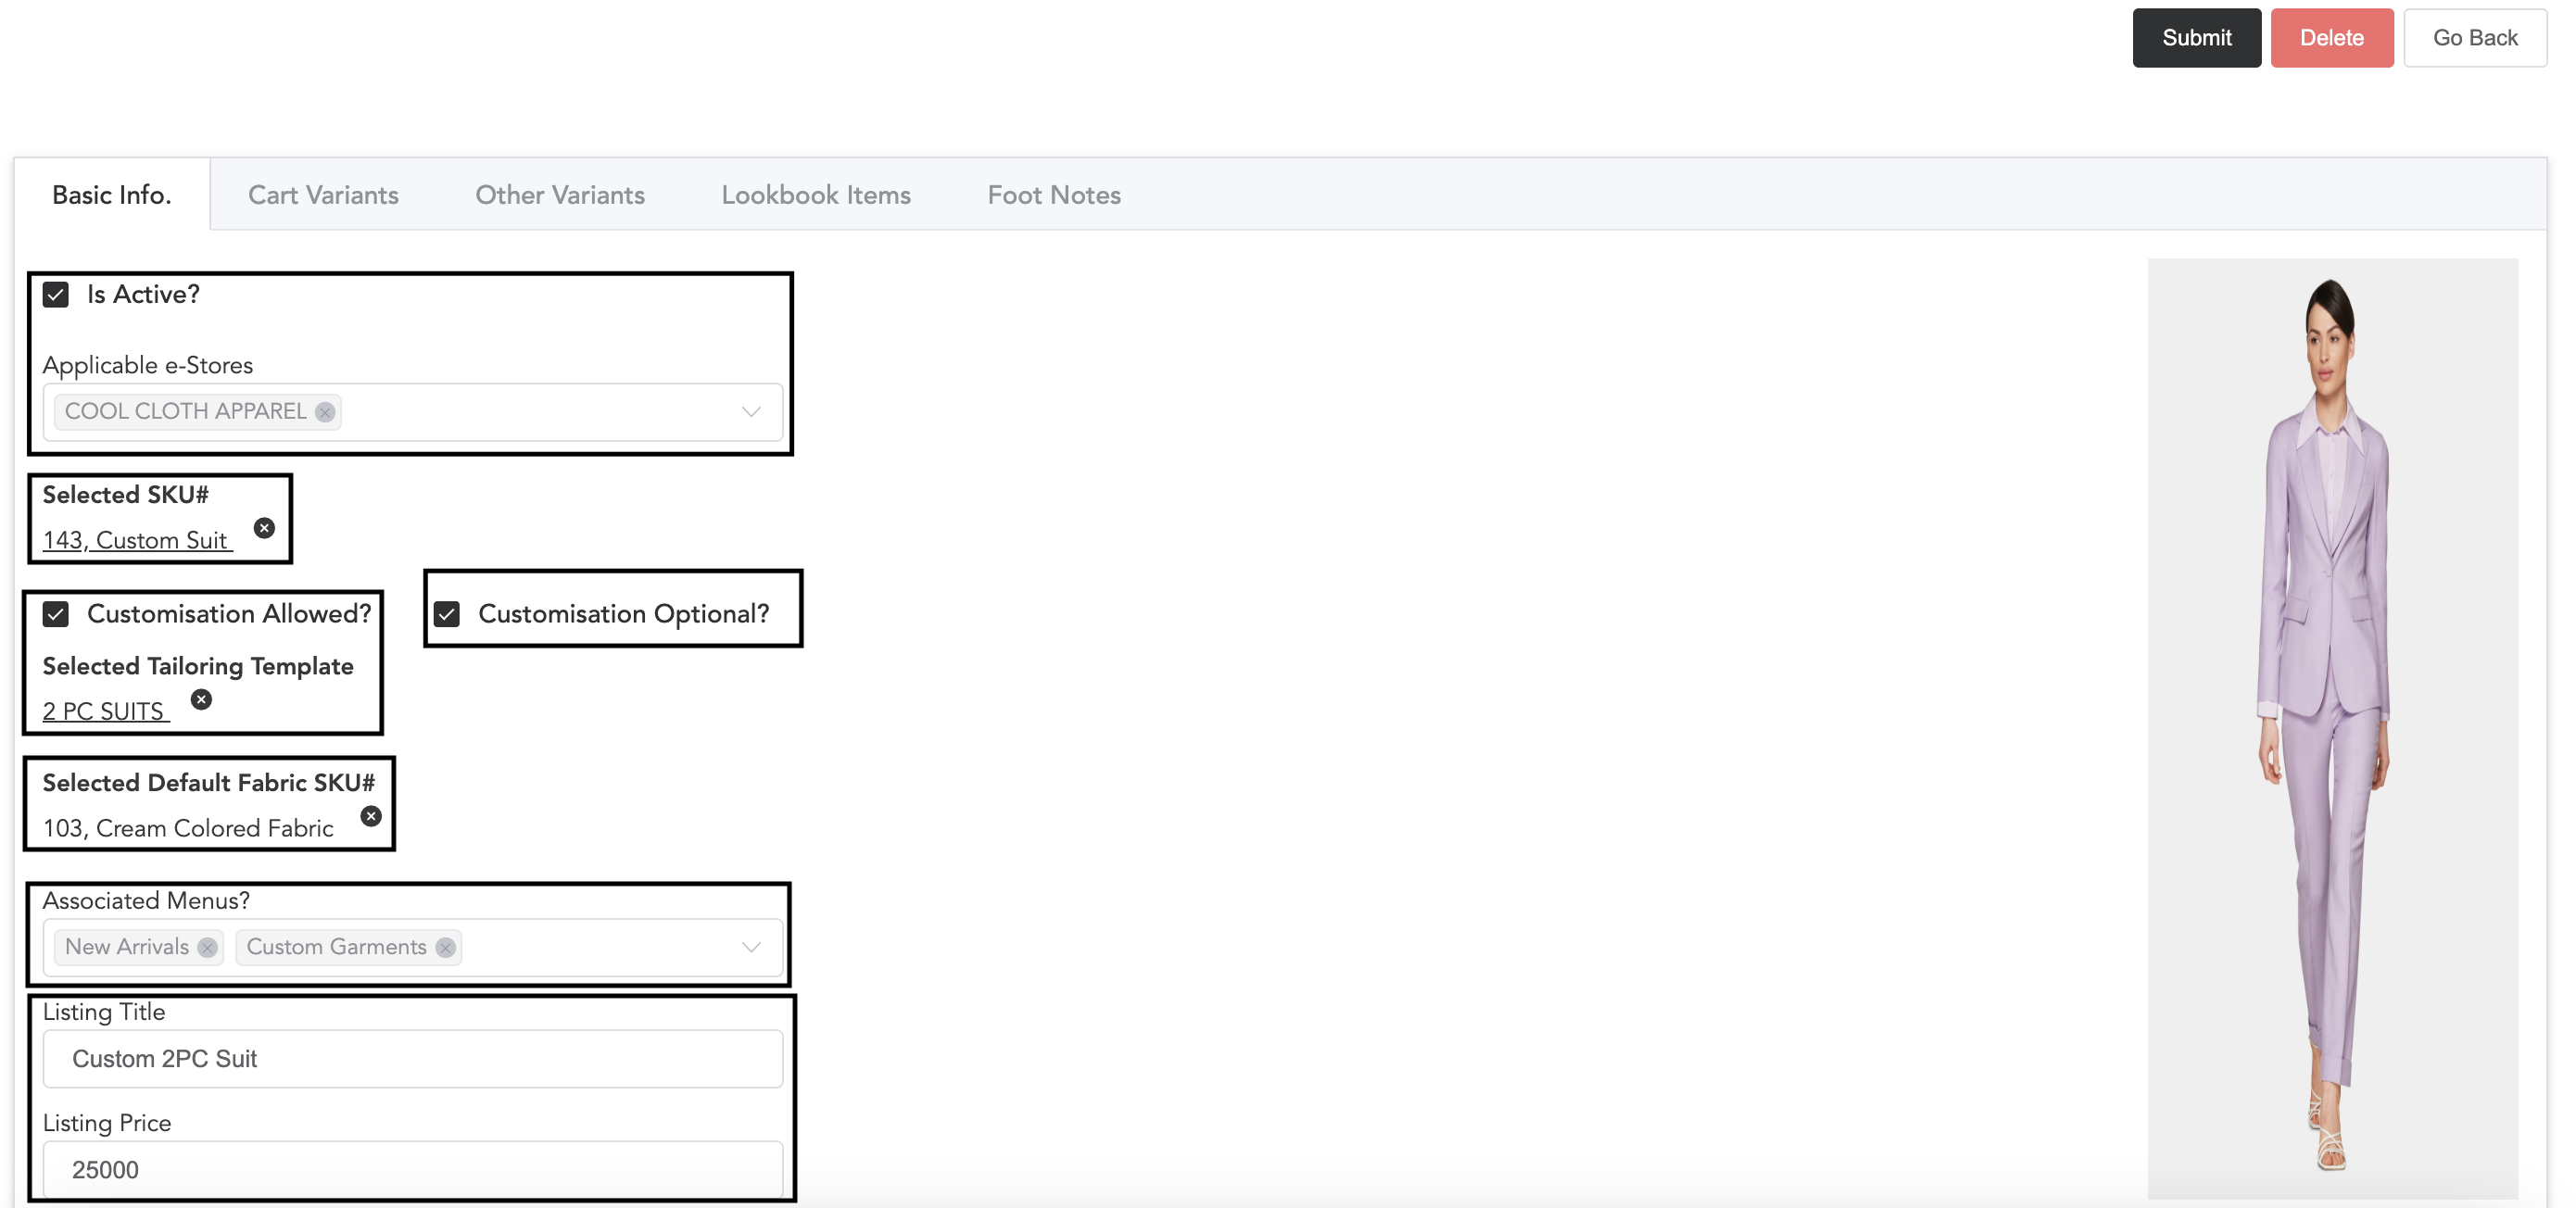
Select if the product is active or not, and select your e-store name. To make any item available, you will need to select the ready item SKU. Once the SKU and item name are selected, you can select whether customization is available for that product. If customisation is available, then select the option ‘Customisation Allowed‘ and choose the tailoring template. You can select if customization is optional or not.
Next, select the default fabric SKU for the customised items.
Associated menus are the categories. You need to select the menu under which the product will be listed.
Then select the Listing title/name of the product and listing price.
Cart Variants and Other Variants
In these sections, the size and colour variants can be added. In the cart variant, you may add different sizes available in the ready item stock. And in other variants, you may add different available colors. In both cart and other variants, any two particular types of variants can be added.
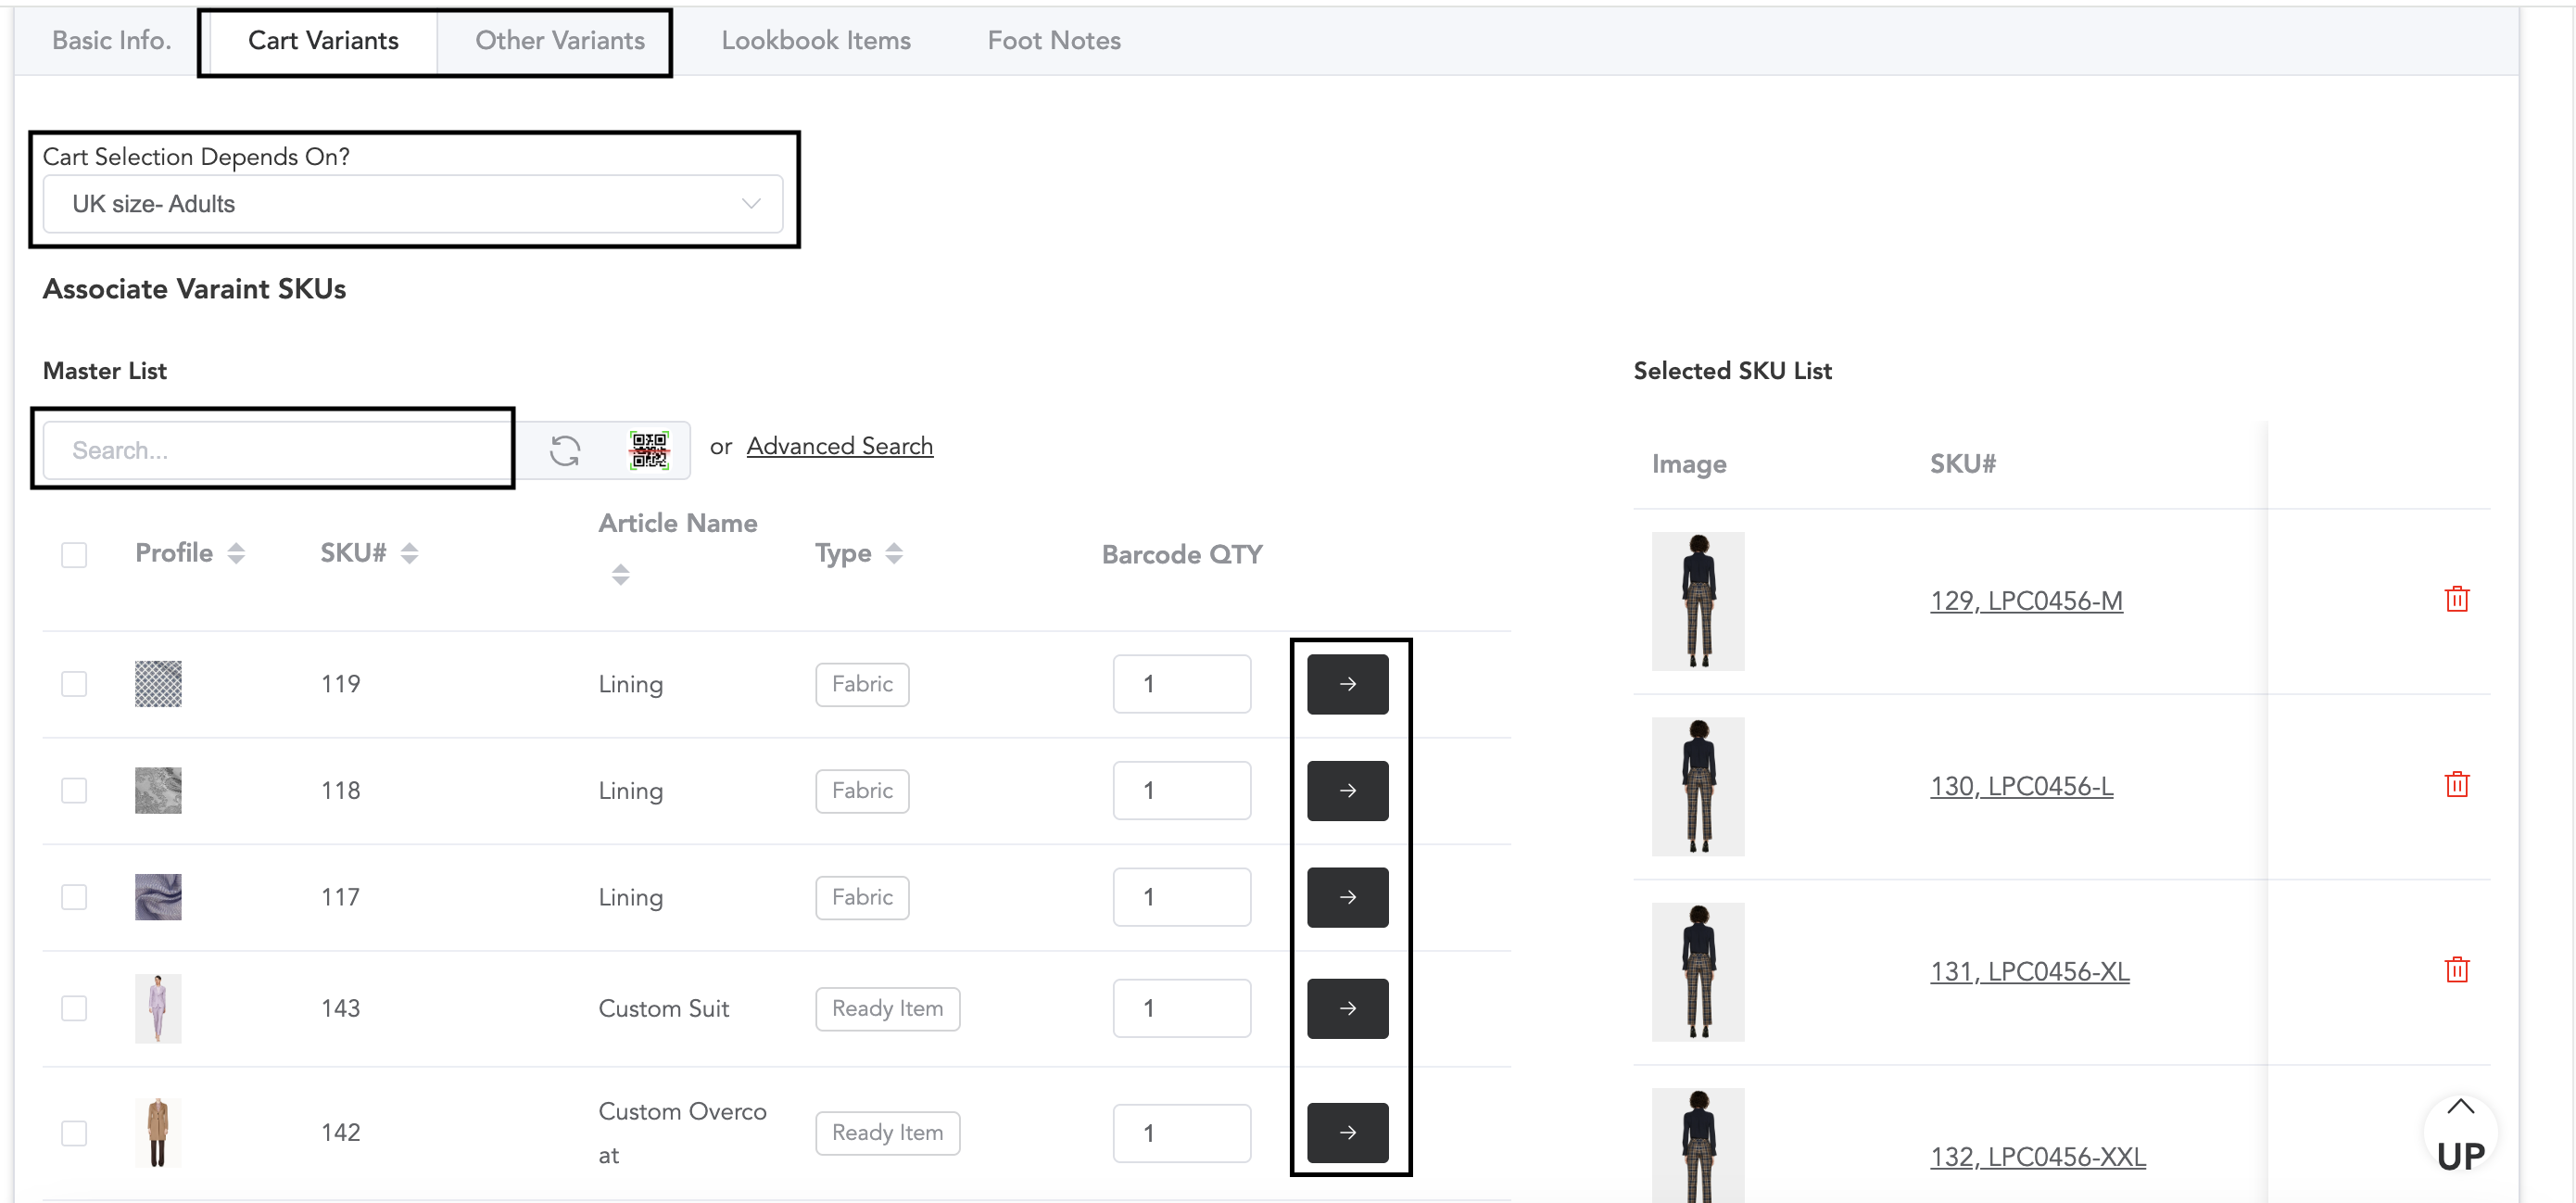
Click on the ‘Cart Selection Depends On’ column to select any variant. Select the variant name, and then you can search and add the SKUs associated with the selected variant. You can search the SKUs in the search bar and add them to the list by clicking the arrow mark available on the right side.
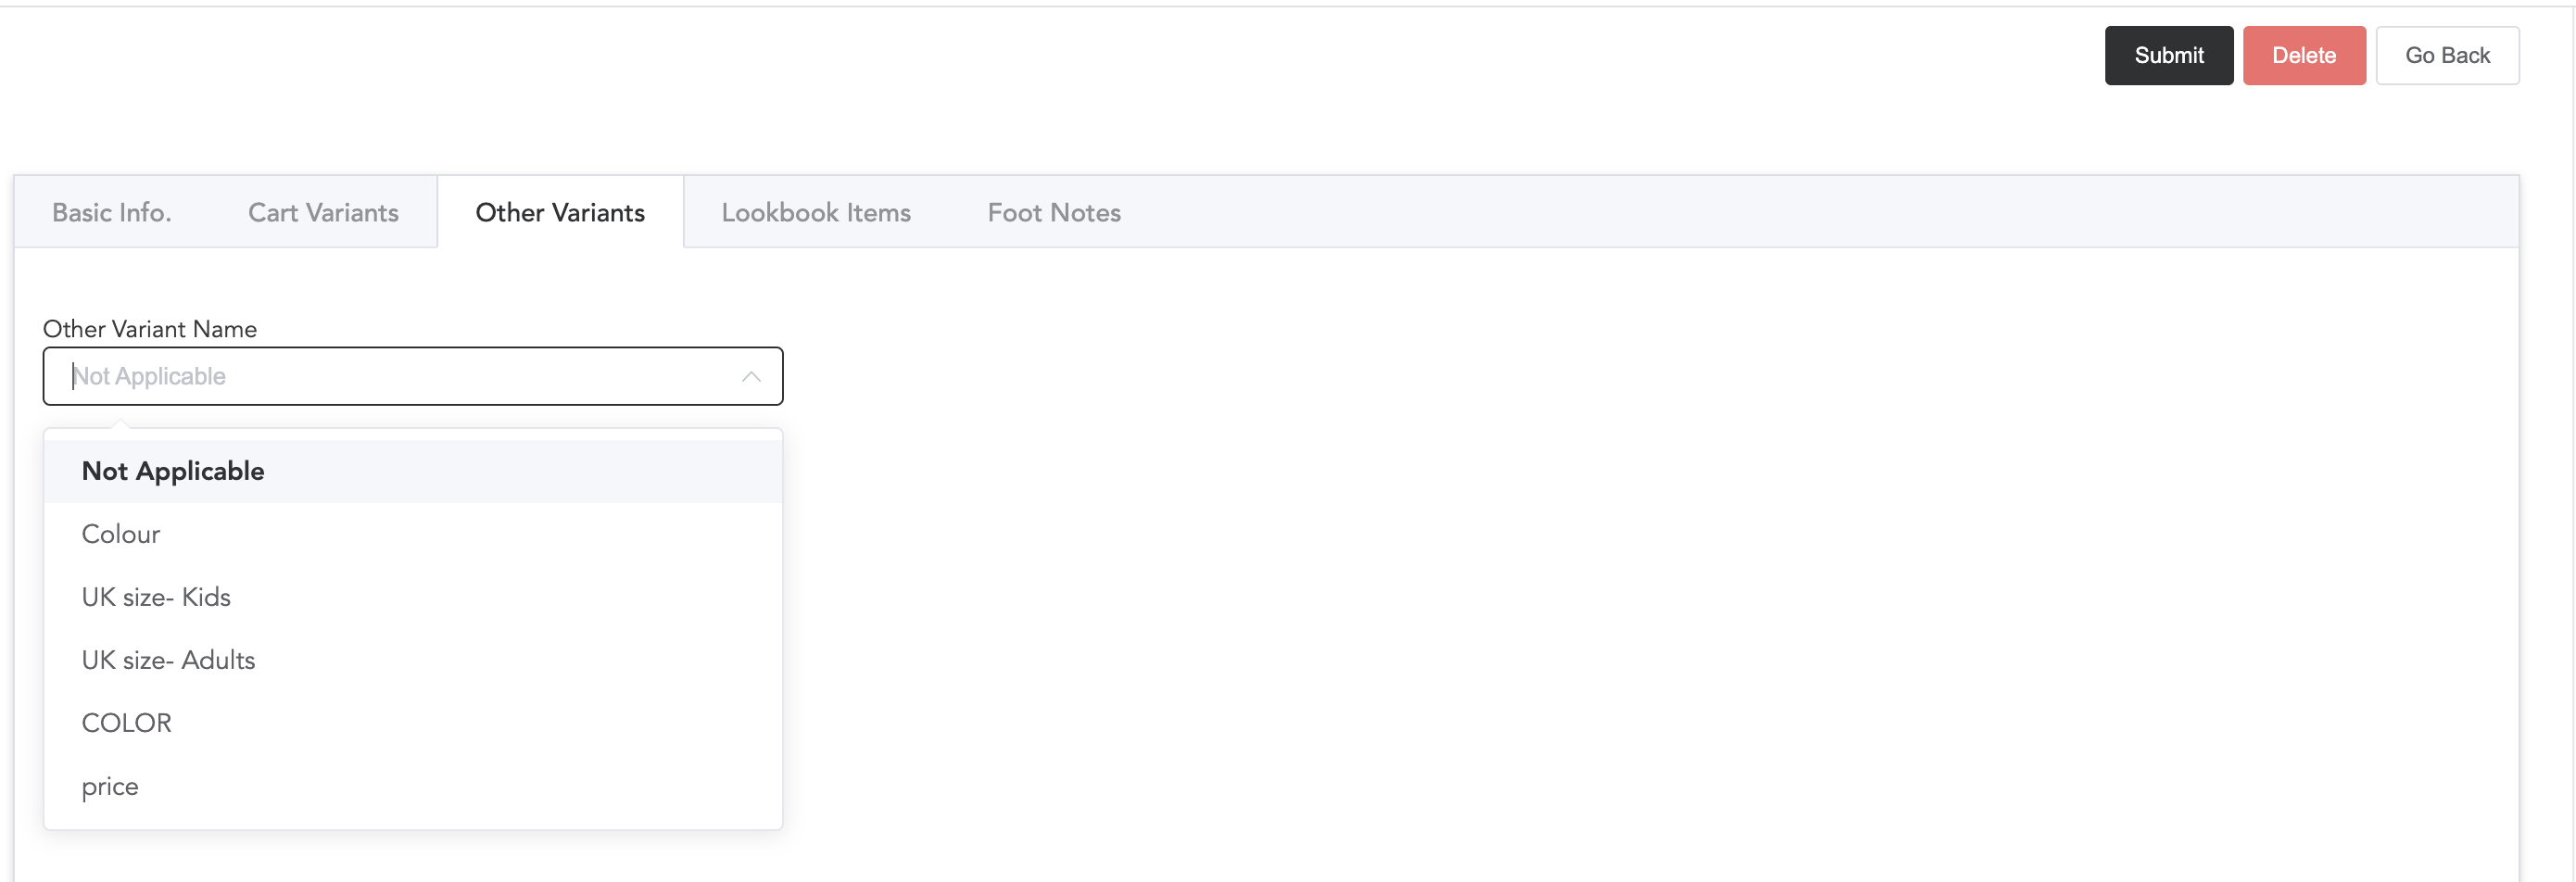
If you do not want to add any variant, you can select the Not Applicable option.
Lookbook Items
For one product, you can suggest to the buyers more products related to that particular product. I.e., in one product, which is a suit, you can display multiple other items that can be combined/styled with the suit.
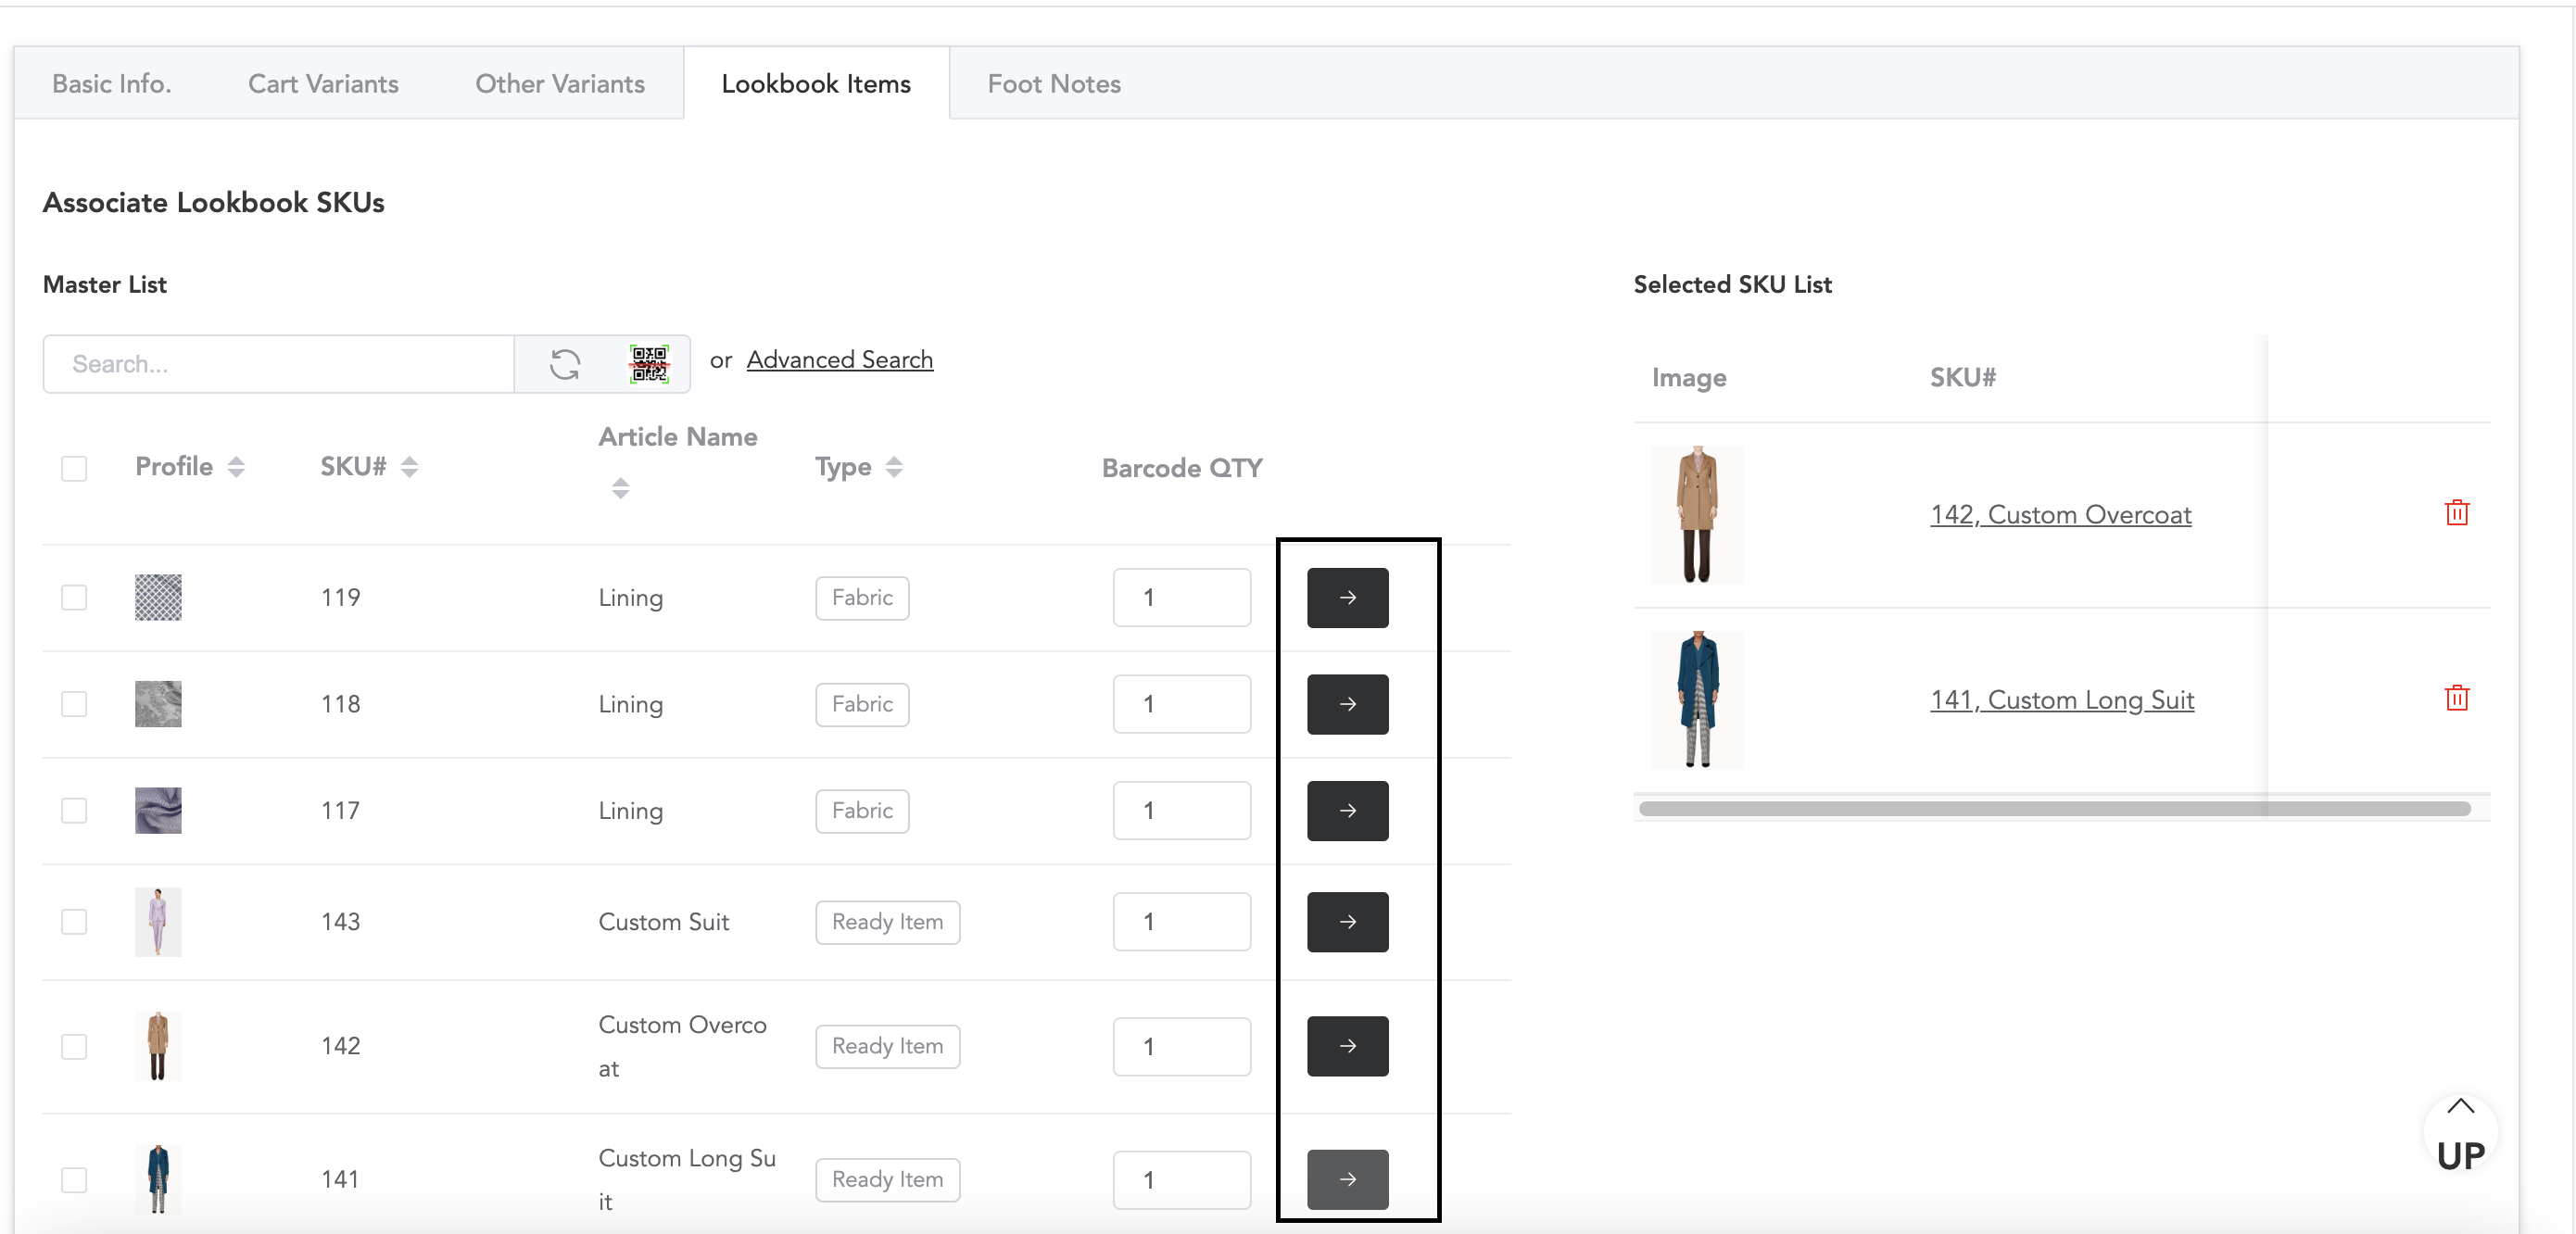
Search and add the lookbook products to the list by clicking the arrow icon.
FootNotes
In this section, you can add any descriptions of the product.
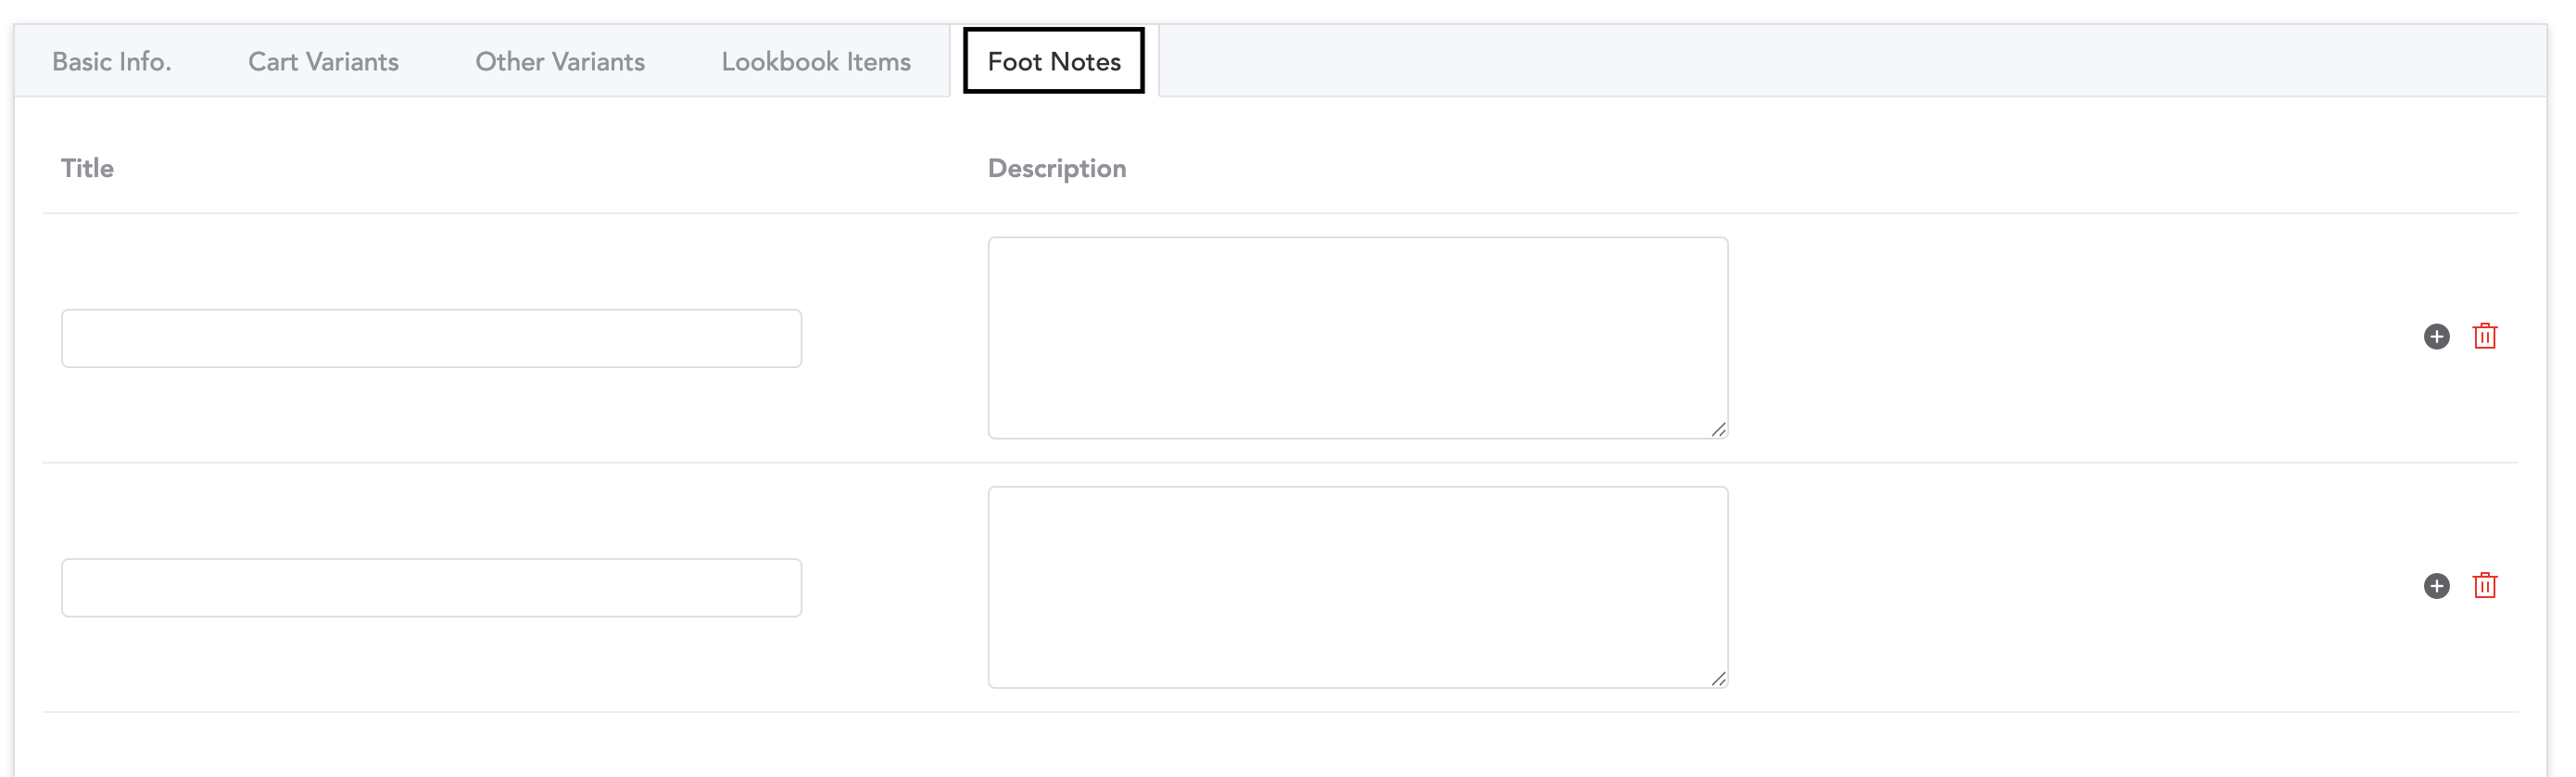
The information, such as care instructions and model details, etc, can be added.
Top Menu Configurator
The menus that will be displayed at the top of the website can be set. Under those menus, products can be listed.
To set the menu, go to the E-Store module, then Top Menu Configurator. Click on Add New Menu.
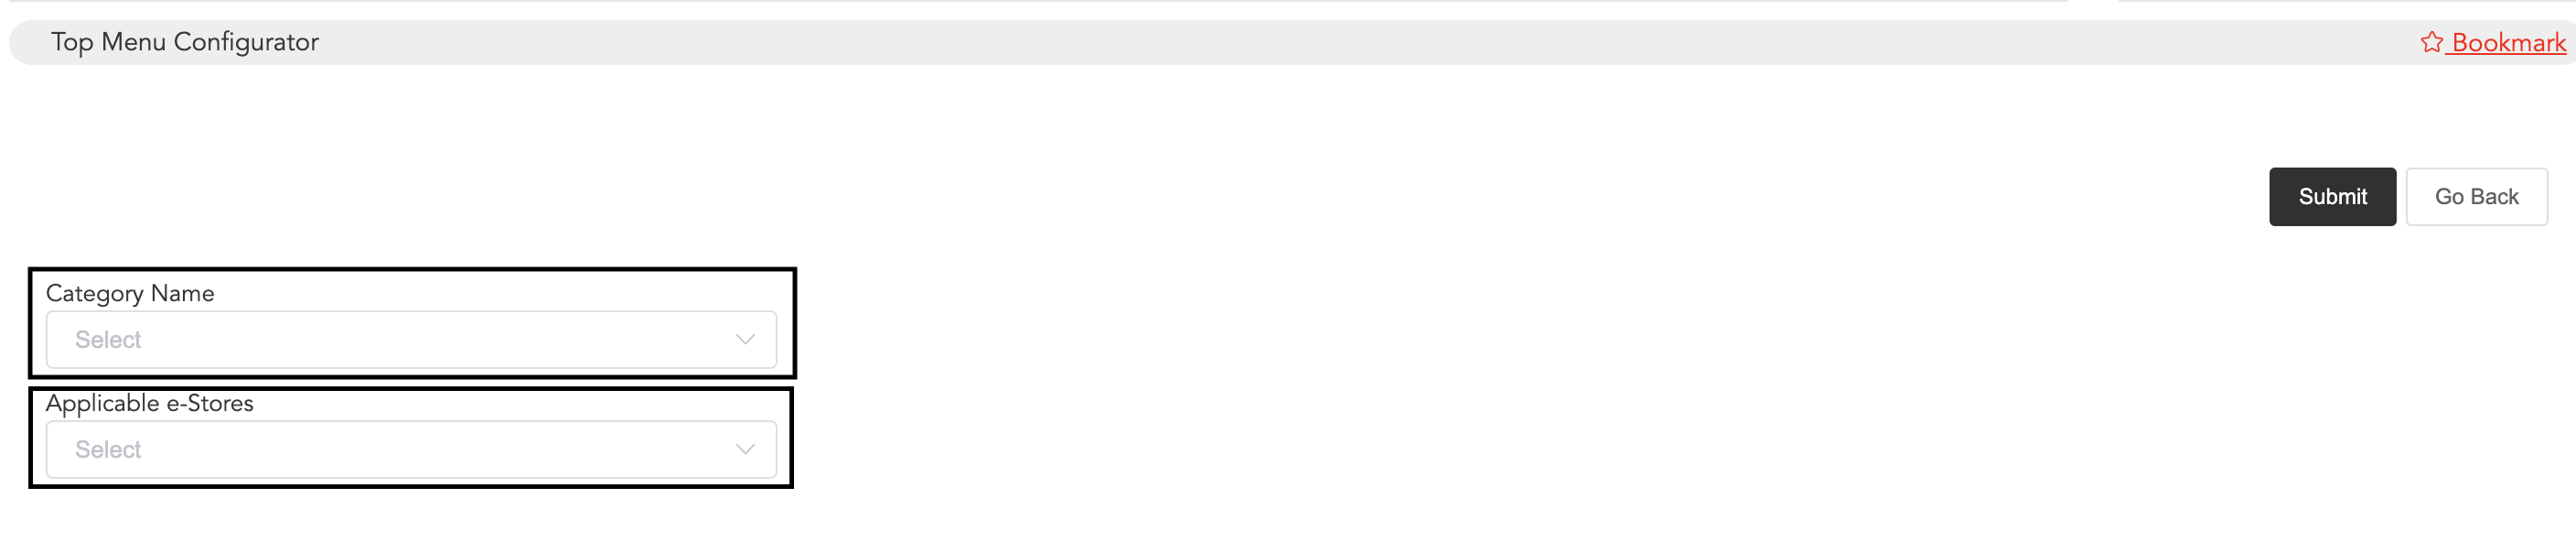
Select the menu from the category and select the e-store to which it will be applicable. And then submit. Note that, before configuring the top menu, you will need to add the categories.
Home Configurator
From here, you can set the homepage of your website. Go to the E-store module and then Home Configurator. Then click on Add New Configuration.
Hero Section
Here, three types of designs can be set. Dual Panel, Slider, Hero Image. One can be set among these at a time.
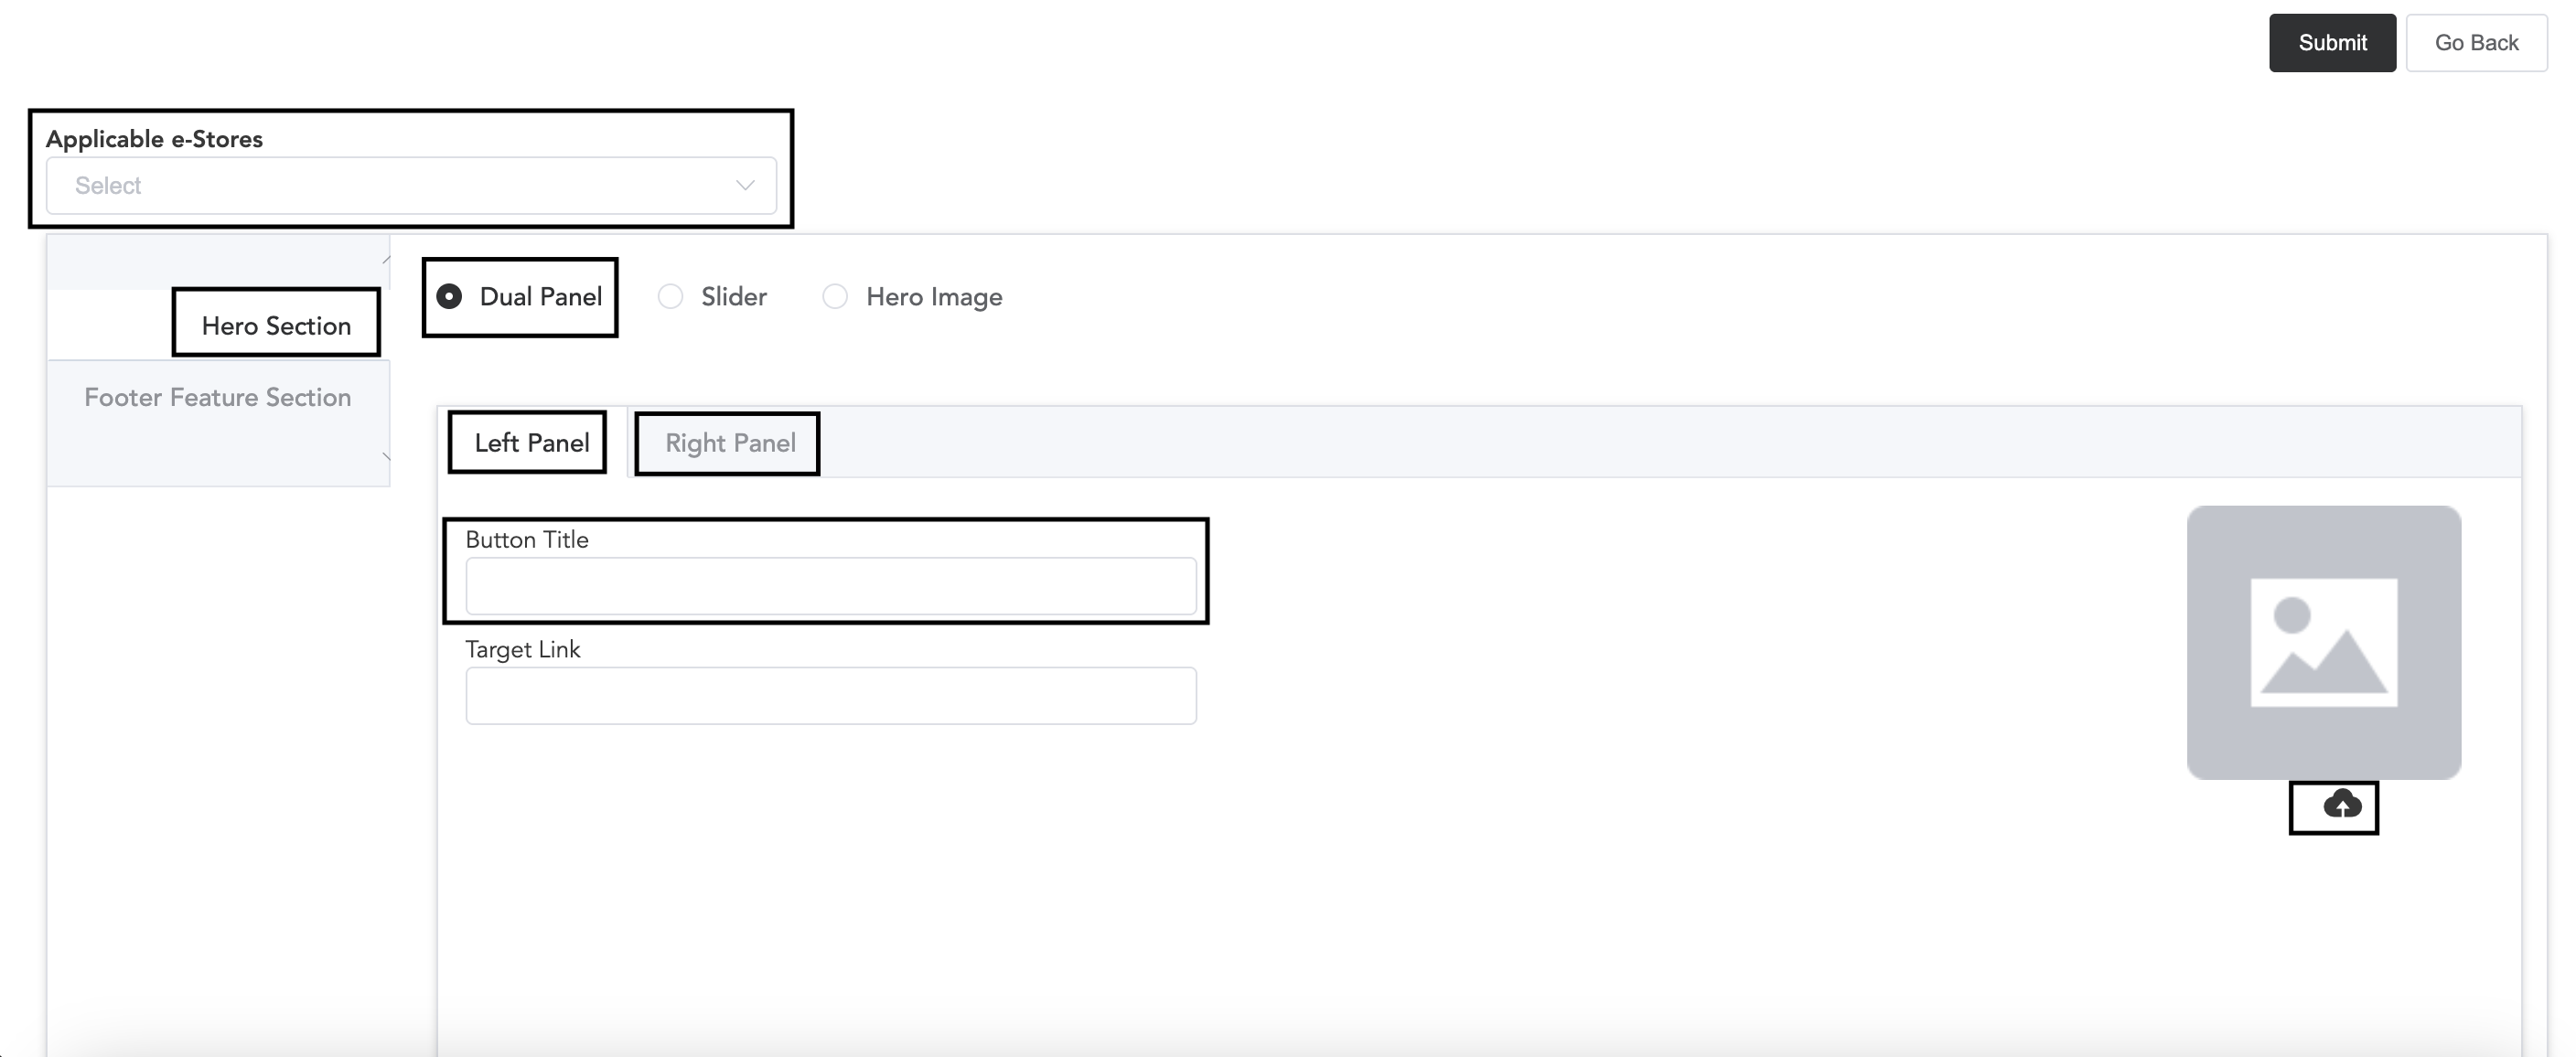
Select the e-store name to which this will be applicable. If Dual Panel is selected, in the right and left panels, individual images can be uploaded with titles.
In Slider also, multiple images can be uploaded with garment links.

Upload slider images, and if you want to add any product link, you can add that.
If you choose to set the Hero Image, then one image can be uploaded with the target product link.

Upload the image by clicking the cloud icon and enter any product page link to the image.
Once you set any home page, click submit.
Footer Feature Section
In the footer of the home page, multiple items can be uploaded.
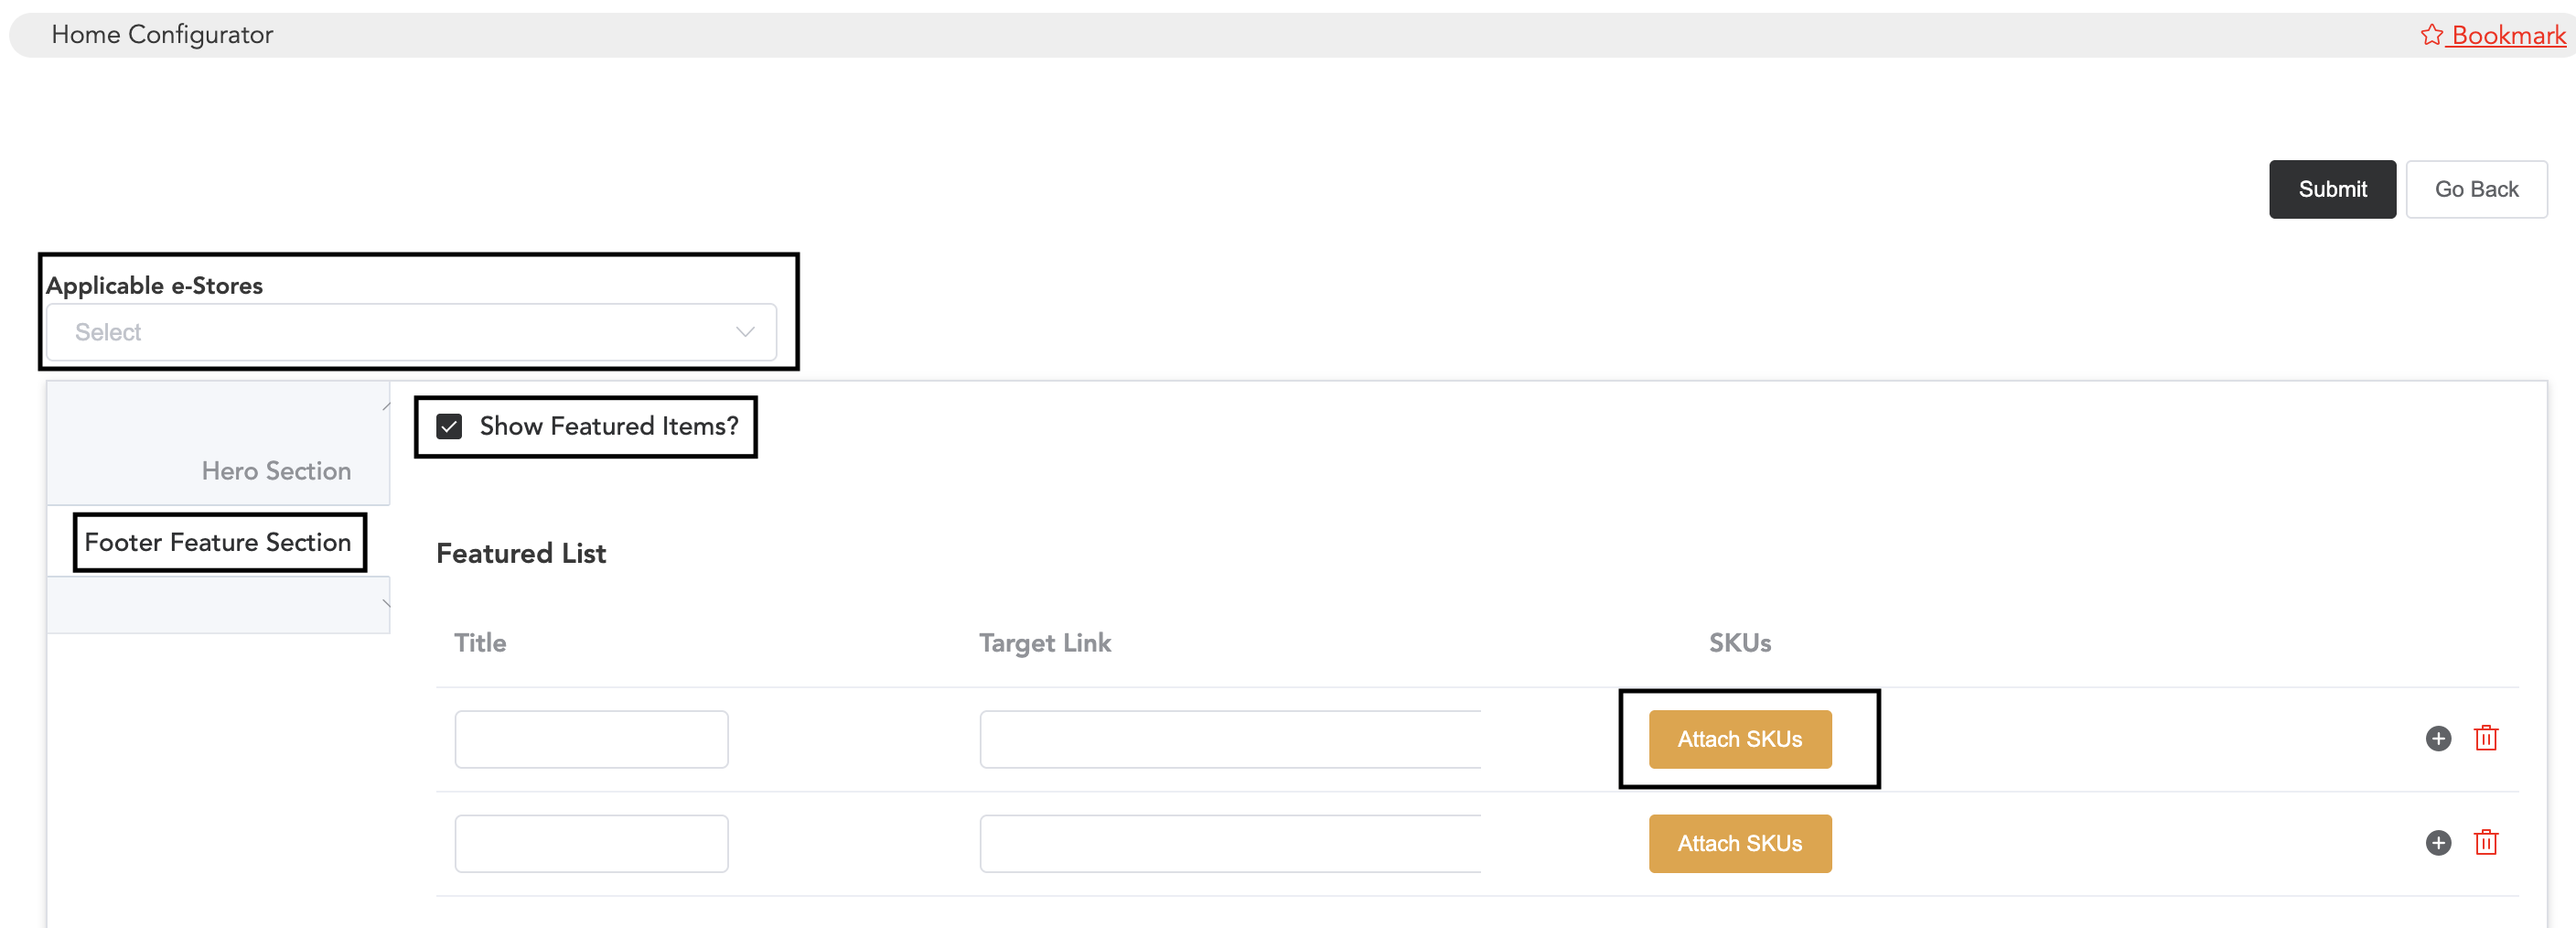
Select the e-Store name. Enable the option Show Featured Items. Once enabled, you can add the required featured items. You may add any title and select the items by clicking Attach SKUs. Once you are done with the footer section customisation, click submit.